Linux Mint 17 Qiana Recovering Partition/Disk
How to Install and Getting Started with TestDisk Partitions Scan and Disk Recovery Tools on Linux Mint 17 Qiana LTS Linux.
Inside the Article you’ll Find a Link to Detailed Guide on Get Started Scanning and Recovering Partitions on Linux Mint.

-
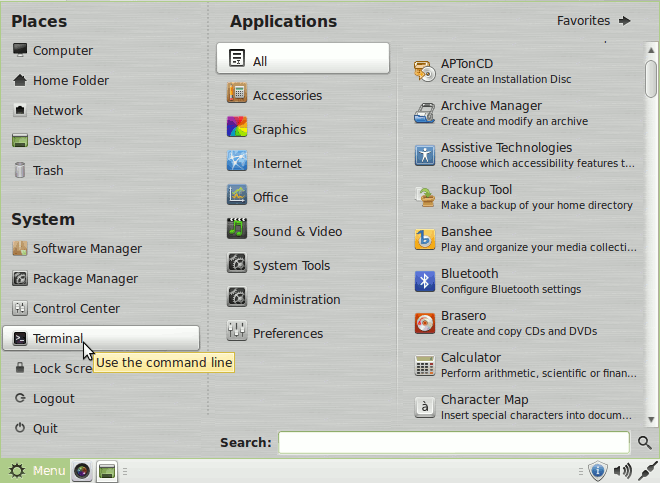
Open Terminal Window
(Press “Enter” to Execute Commands).
-
Install TestDisk for Linux Mint.
sudo su -c "apt-get install testdisk"
-
Getting Started Recover Disk Partitions on Linux Mint
This recovery example guides you through TestDisk step by step to recover a missing partition and repair a corrupted one.