Shrink/Reduce/Resize LVM with Swap on Xubuntu 14.04 Trusty LTS
How to Reduce/Shrink/Resize a LVM/LVM2 Volume to Free Up Space on Xubuntu 14.04 Trusty Tahr LTS GNU/Linux desktop – Step by step Tutorial.
After to have Shrinked the LVM Logical Volume to FREE up Space you will Need also to Reduce the Physical LVM Volume!

-
Boot System with Ubuntu (Kubuntu/Lubuntu/Xubuntu) Live Media.
How to Create a Live Ubuntu Media
-
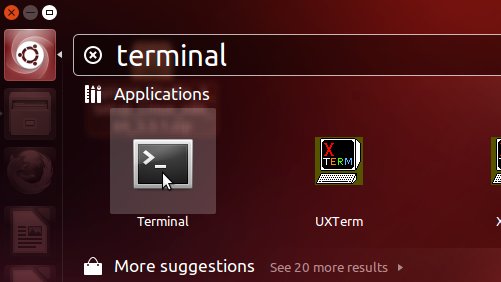
Open Terminal Window
Ctrl+Alt+t
(Press “Enter” to Execute Commands)
In case first see: Terminal Quick Start Guide.
-
Find the LVM Volume Name to Shrink
sudo su && lvmdiskscan
It will be of the Form: /dev/my-vg/my-lv
And if it’s the Root Volume it should Contains the ‘root’ Keyword… -
Shrinking/Reducing a LVM Volume on Xubuntu.
Specifing the Final Size:
lvreduce --resizefs --size 100G /dev/my-vg/my-lv
/nor Specifing the Amount to Take Off:
lvreduce --resizefs --size -50G /dev/my-vg/my-lv
The ‘–resizefs‘ Flag is Fundamental in Succeeding because First, as needed it will Resize the File System.
-
How to Shrink the LVM Physical Volume to Free Up Space