Mac OS X locate Command Quick Start
This short Unix Tutorial Get you Started on macOS Mavericks 10.9 with a Very Useful Shell Utility: the locate Command.
Everybody when Working on Linux, Mac or Unix need so Often to Find some Files, Directories, Images or Paths.
One of the Best and Fastest Ways to Find System’s Entities in Unix-like Platforms is Matched Using the “locate” Shell Command.
This Exact Procedure Works on all macOS Versions, but some times the updatedb Command is Not Under the Same Nomination or Path like Here, so if you Do Not Find the updatedb on your System Look For a more Specific Tutorial.
Take the Time of Reading and Understanding Getting a Clear Insight…

-
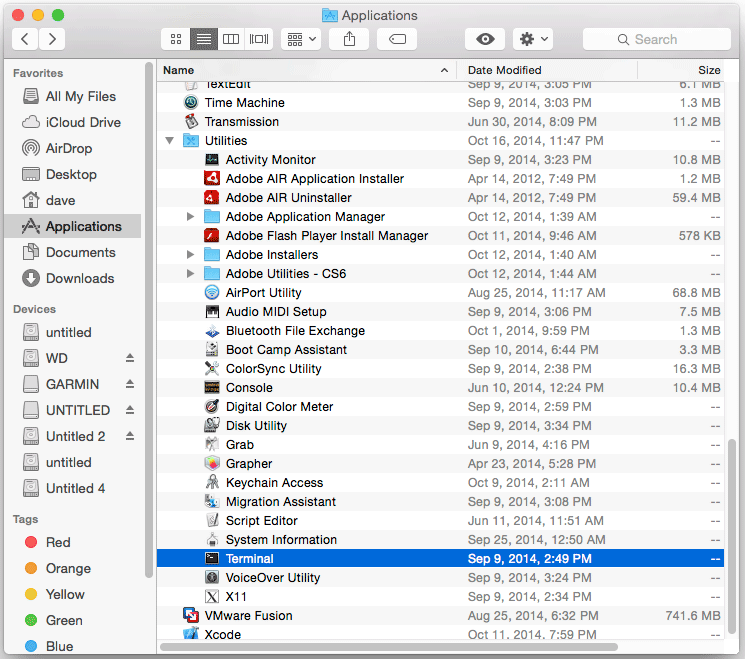
Open a Command Line Terminal Window
Applications > Utilities > Terminal
(Press “Enter” to Execute Commands)
In case first see: Terminal QuickStart Guide.
-
Make a Command Alias to Update the locate Database
nano $HOME/.profile
Append:
alias updatedb="sudo /usr/libexec/locate.updatedb"
-
Update the Locate Database:
updatedb
You’ll be Propted to Insert the root User Password
You need to Wait for a little while Until the Locate Database is Updated…
This procedure Should be Repeated Every Time you Use the locate Command and your System made some Signifitive Change. -
Simple Keyword Searching
locate KEYWORD
Whith this Syntax above you can simply Locating All Files, Directories, Images and Paths Containing the Given “KEYWORD”
-
How to Automatically Update the locate Database
-
How to Refine your locate Search-Results
How to Use grep with locate