Gradle Quick Start for Linux Mint 17.1 Rebecca
How to Install and Getting Started with Gradle Enterprise Automation Tools on Linux Mint 17.1 Rebecca desktop.
Gradle is the next evolutionary step in JVM-based Build Tools. It draws on lessons learned from established tools like Ant and Maven and takes their best ideas to the next level.
Following a build-by-convention approach, Gradle allows for declaratively modeling your problem domain using a powerful and expressive domain-specific language (DSL) implemented in Groovy instead of XML.
Gradle Evolved Automation Features:
- Strong yet flexible conventions
- Enterprise level control capabilities
- Manageable and understandable builds
To the Gradle Installation Tutorial on Mint Linux Bottom you will find a Link to Hello-World Build Script Guide.

-
Download Latest Gradle Complete Release
-
Open a Command Line Terminal Window
(Press “Enter” to Execute Commands)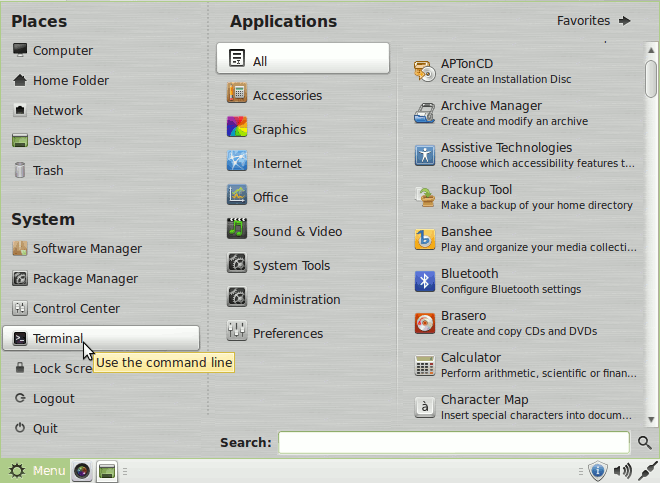
In case first see: Terminal Quick Start Guide.
-
How to Install Recommended Oracle JDK on Linux Mint
-
Check if Java Development Kit is Installed.
java -version
-
Unzip Gradle Archive into /tmp.
unzip -d /tmp/ $HOME/Downloads/gradle*.zip
rm $HOME/Downloads/gradle*.zip
-
Relocate Gradle Archive.
sudo su -c "mv /tmp/gradle* /opt/"
-
Add Gradle Env Variables and Set Path.
echo "GRADLE_HOME=/opt/gradle-[X.Y]" > $HOME/.bashrc
Just Replace the Gradle Version to [X.Y] in above Command
echo 'export PATH=$PATH:$GRADLE_HOME/bin' > $HOME/.bashrc
source $HOME/.bashrc
-
Testing Gradle Installation.
gradle -v
-
(Optional) Speed Up Gradle Builds with Gradle Daemon
echo "org.gradle.daemon=true" > $HOME/.gradle/gradle.properties
Once you have globally enabled the Gradle Daemon in this way, all your builds will take advantage a Speed Boost.
-
Getting Started with Gradle Automation Build Script