Installing Epson Inkjet Printer Driver on SuperX Linux
How to Quick Start with a Epson InkJet Printer in SuperX GNU+Linux KDE desktop.
Especially relevant: before to Install the Driver Check on the Download page if your Epson Model is Included in the specifications.
Otherwise Search this WebSite or the Epson Support site with the initials of the Epson model as e.g. “L300”.
To Get the Epson Printer Installed on SuperX Linux you need to Download and Install the Epson Proprietary Driver.
Then to Get the Scanner Working on SuperX Linux Follow the Guide on Getting Started Easily with imageScan Scanning on SuperX.

-
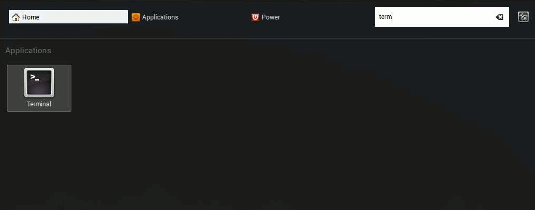
Open a Terminal Shell Emulator
Cmd/Win > Search ‘Terminal’
(Press “Enter” to Execute Commands)
In case first see: Terminal QuickStart Guide.
-
Download Epson Printer .deb Generic Driver on Linux
Get the Epson Printer Generic Driver on Linux.
-
Checking/Installing GDebi Package Installer.
which gdebi
If Not there then:
sudo su -c "apt-get install gdebi"
-
Then to Install Epson Printers Driver on SuperX.
cd ~/Downloads
sudo su -c "gdebi ./epson*printer*lsb*.deb"
GDebi Package Installer will Manage the Software Dependecies…
-
Finally, Go on System Settings to Add Printer
And the Printer will be Recognized and Installed. -
How to Get Started with Epson Scanning on SuperX