Frog CMS Quick Start for Ubuntu
[ad_slider autoplay=”true” interval=”8″ count=”5″]
How to Install and Getting Started with a Frog CMS WebSite Creation on a LAMP Ubuntu 15.04 Vivid Vervet GNU+Linux WebServer.
Frog CMS simplifies content management by offering an elegant user interface, flexible templating per page, simple user management and permissions, as well as the tools necessary for file management.
Born as phpRadiant in January 2007, Frog CMS is a PHP version of Radiant CMS, a well known Ruby on Rails application.

-
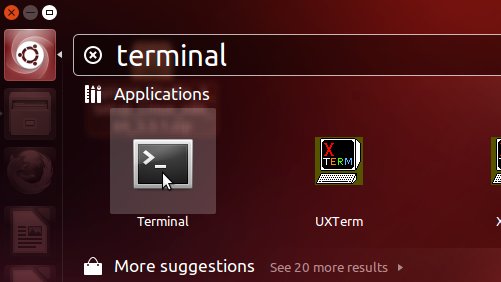
Open a Shell Session
Ctrl+Alt+t on desktop
(Press “Enter” to Execute Commands)
In case first see: Terminal Quick Start Guide.
-
How to Install LAMP WebServer for Ubuntu.
Apache mod_rewrite is Highly Recommended!
Follow Instructions on Virtual Domain Creation to Use a mydomain.com URL for the WebSite… -
Testing LAMP WebServer Installation.
cd /var/www/html
Create a PHP Info file:
sudo touch info.php
sudo chown www-data:www-data info.php
sudo nano info.php
If Got “User is Not in Sudoers file” then see: How to Enable sudo
Append:<?php phpinfo(); ?>
Ctrl+x to Save & Exit from nano Editor ;)
Open on Browser the URL:
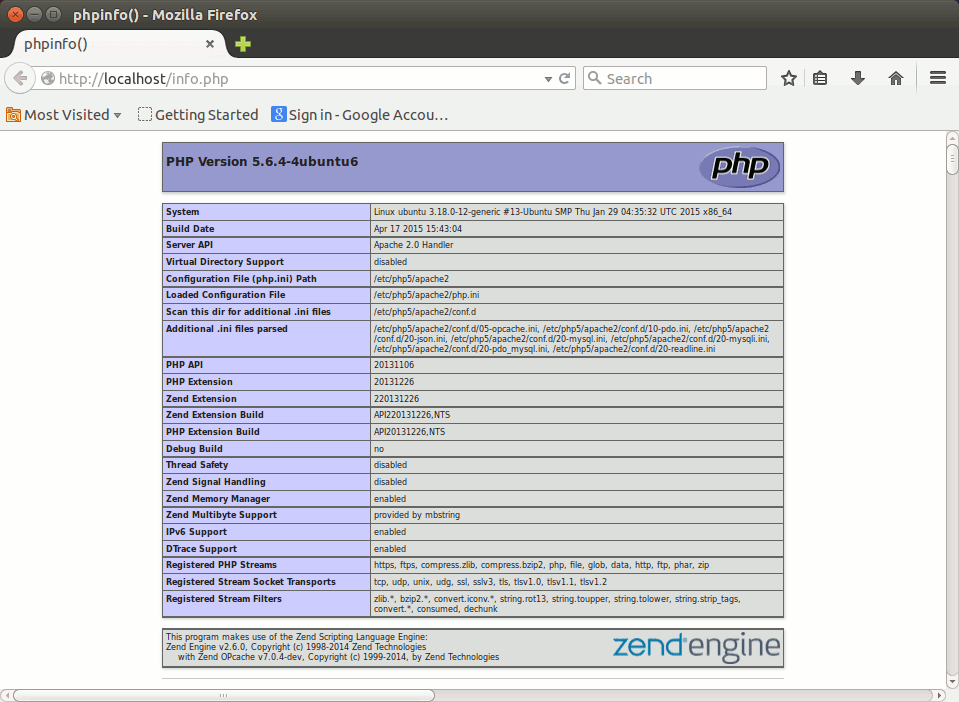
http://localhost/info.php
In case Replace “localhost” with your Server IP in the above URL.

You should Successfully see the PHP Info notice :) -
Download the Latest Frog CMS Release.
-
Double-Click/Right-Click on Archive and Extract into /tmp.

Or from Command Line:tar xvzf ~/Downloads/frog*.tar.gz -C /tmp/
Giving Right Permissions:
sudo chown -R www-data:www-data /tmp/frog*
-
Relocating Frog CMS
sudo mv /tmp/frog* /var/www/html/[mysiteDomain]
-
Creating a MySQL Database for Frog CMS WebSite.
sudo mysql -uroot -p
Insert the MySQL Admin Pass!
Then on MySQL prompt to Create a Database & then exit:create database frog;
exit
-
Giving Write Permissions.
cd /var/www/html/[mysiteDomain]
sudo chmod 777 config.php public
-
Frog CMS WebSite Installation
Point to:http://localhost/[mysiteDomain]
Or with an Enabled Apache Virtual Domain simply:
http://[mysiteDomain]
Fill in at least the MySQL Database name & Pass and Click on Install now!
Then you Should be Noticed of the Successful Frog CMS Installation! -
Removing Write Permission from config.php.
sudo chmod 444 /var/www/html/[mysiteDomain]/config.php
-
Remove the install Directory.
sudo rm -rf /var/www/html/[mysiteDomain]/install
-
How to Quick Start with Frog CMS Content Creation.
Building a Frog CMS WebSite[ad_slider autoplay=”true” interval=”8″ count=”5″]