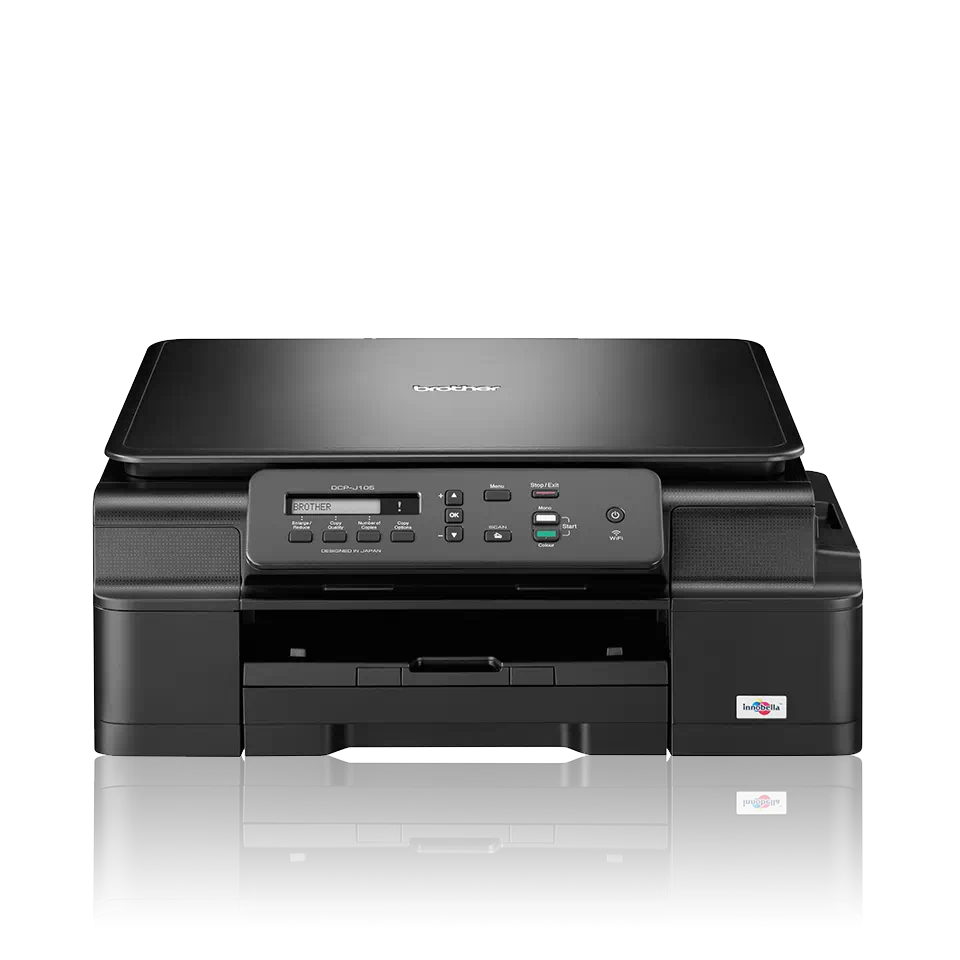
Brother DCP-J125 Getting-Started Printing on CentOS Linux
You are Welcome! The Tutorial shows you Step-by-Step How to Install the DCP-J125 Brother Printer in CentOS GNU/Linux Desktop.
Included inside the Article a Link to Guide about Get Started Scanning on CentOS Linux.

-
Download the Brother Printer Driver Installer for Linux
First, Choose Driver Install Tool
Then Select the Language: English or English (China)
The Driver Installation Script is the Same for All Brother Printers! -
Double-Click on Archive Extract into /tmp
Or from Command Line:
gunzip -c $HOME/Downloads/linux-brprinter-installer*.gz > /tmp/linux-brprinter-installer
-
Open Terminal Window
(Press “Enter” to Execute Commands) -
Give Execution Permission.
cd /tmp
chmod +x linux-brprinter-installer*
If Got “User is Not in Sudoers file” then see: How to Enable sudo
-
Installing Brother Printer Drivers
sudo ./linux-brprinter-installer*
In case of “CUPS is not installed” issue then to see How to Install it Here.
When Prompted Insert ‘DCP-J125’ as Brother Printer Model!
Then the Installer will Provide Automatically to Download and Install the Printer and potentially also the Scanner Drivers…
Again following the CLI wizard, when Prompted about a Device URI:- For a USB Connection Simply Enter “n”!
- For a Network Shared Connection Setup Go to: http://localhost:631/printers/
Select the Printer
Select “Modify Printer”
Enter Your sudo Username & Pass
Select the Protocol and Continue…
For Help see Instructions on:
http://localhost:631/help/network.html
-
Get Started Scanning on CentOS