SeaMonkey Quick Start for Xubuntu 15.04 Vivid 64-bit
How to Install Mozilla SeaMonkey for Xubuntu 15.04 Vivid Vervet Amd64 GNU+Linux desktop.
SeaMonkey Suite Contains Internet browser, email & newsgroup client, HTML editor, IRC chat and web development tools, SeaMonkey is sure to appeal to advanced users, web developers and corporate users.
The How to Install SeaMonkey on Xubuntu 15.04 Vivid Include the Basic Screen-Shots to Make Easier the Whole Visualization Steps Involved.

-
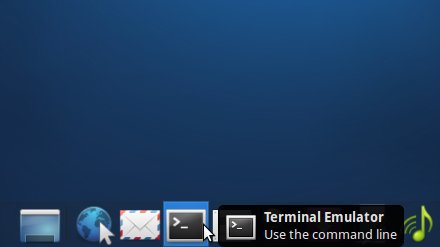
Open a Shell Terminal emulator window
(Press “Enter” to Execute Commands)
In case first see: Terminal QuickStart Guide.
-
Download Latest SeaMonkey Linux Stable Release
SeaMonkey in Contrib x8664.tar.bz2 -
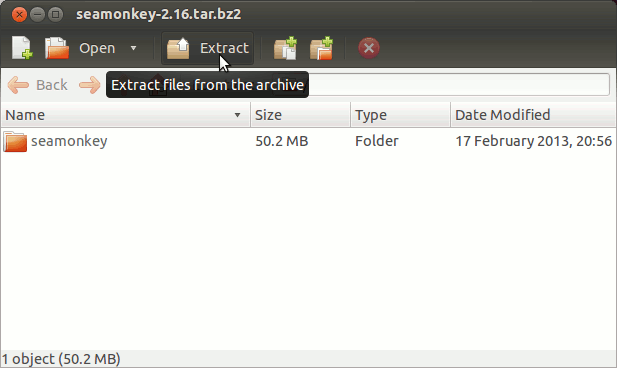
Double-Click on Archive and Extract into /tmp

-
Relocate SeaMonkey.
sudo su -c "mv /tmp/seamonkey* /opt"
If Got “User is Not in Sudoers file” then see: How to Enable sudo
Create a Symlink:
sudo su -c "ln -s /opt/seamonkey*/seamonkey /usr/local/bin/seamonkey"
-
Create a SeaMonkey Xubuntu Launcher for Easy-Starting
So Now Thanks to the Mozilla Foundation
you Should Fully Enjoy a SeaMonkey Browsing and Mail Experience on Xubuntu Linux ;)
How to Install Evernote Clone on Xubuntu:
Installing Nixnote on Xubuntu.