Shutter Quick Start for Linux Mint 17.2 Rafaela
How to Install/Upgrade and Getting Started with the Latest Shutter Release on Linux Mint 17.2 Rafaela GNU/Linux Mate/Cinnamon/Xfce desktop.
The Latest Shutter installation is Ported on Ubuntu-based OS by the Work of the GetDeb Project Developers.
Shutter is a feature-rich screenshot program. you can take a screenshot of a specific area, window, your whole screen, or even of a website – apply different effects to it, draw on it to highlight points, and then upload to a image hosting site, all within one window.
Shutter is present also in the Default Apt Repository, so use that if you doesn’t care about to get installed right the Latest Release.

-
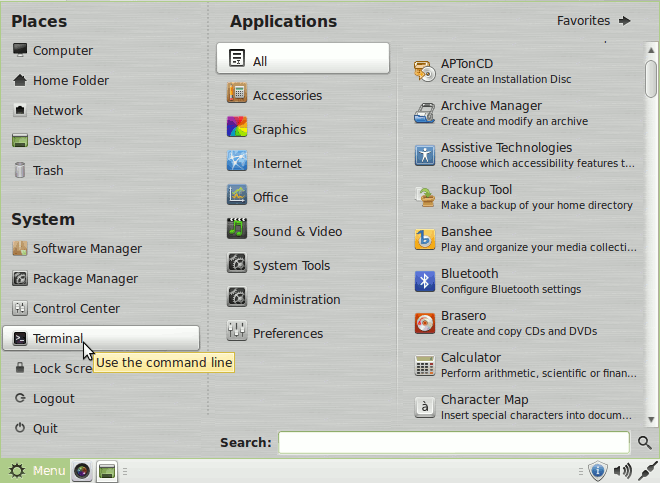
Open a Shell Terminal emulator window
(Press “Enter” to Execute Commands)
In case first see: Terminal QuickStart Guide.
-
Download GetDeb Repos Package Installer for Linux Mint
-
Installing GetDeb Repos on Linux Mint.
cd ~/Downloads
sudo dpkg -i getdeb-repo*.deb
If Got “User is Not in Sudoers file” then see: How to Enable sudo
-
Refreshing Linux Mint Repositories.
sudo apt-get update
-
Click on Link to Install Shutter by GetDeb Package Installer