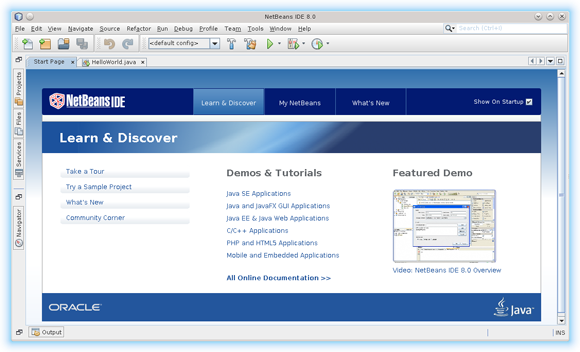
Install Netbeans C/C++ on Ubuntu 16.04 Xenial
How to Install and Getting Started with Netbeans 8.x IDE for C and C++ on Ubuntu 16.04 Xenial Xerus LTS GNU/Linux desktop – Step by step Tutorial.
And the NetBeans C Ubuntu 16.04 Installation it’s easy because it’s enough to Download and Run the Installer.
Moreover, the Netbeans 8 IDE C/C++ Require Java JRE 7+ Working Installation Linux Ubuntu System.
Again this Visual Guide includes the Basic Screenshots of All GUI Steps involved.
The NetBeans 8 C/C++ IDE New Features:
- New Breadcrumbs feature for navigation in editor.
- New GDB Console to enable usage of command line GDB mode.
- New hints and code completions.
- Improved remote performance.
Finally, Contents and Details of NetBeans 8 IDE C/C++ Installation Ubuntu are Expressly Essentials to Give Focus Only to the Essentials Instructions and Commands and Make the Tut Easier to Understand ;)
-
Download Netbeans 8.x IDE C/C++ for Linux
-
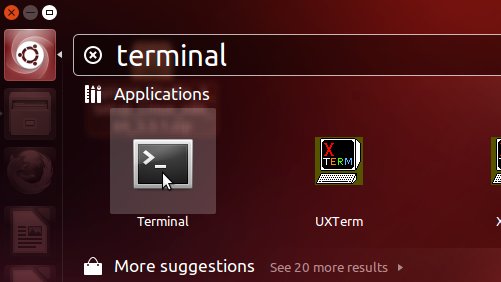
Open Terminal Window
(Press “Enter” to Execute Commands).Ctrl+Alt+T
In case first see: Terminal QuickStart Guide.
-
Checking if Java JRE is Installed:
java -version
Install Oracle JDK 8+ on Ubuntu to Use Java Features
To check your current JDK version:
javac --version && java -XshowSettings:properties -version 2>&1 | grep 'java.vendor'
If it’s the official Oracle JDK, the output will include:
java.vendor = Oracle Corporation. -
Giving Permission and Starting Netbeans 8 Wizard
cd $HOME/Downloads
chmod +x netbeans-8*cpp-linux.sh
sudo su -c "./netbeans-8*cpp-linux.sh"
-
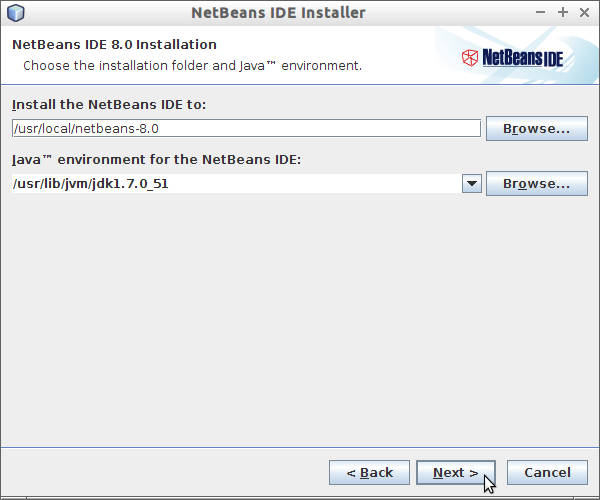
Installing NetBeans 8 IDE C/C++.
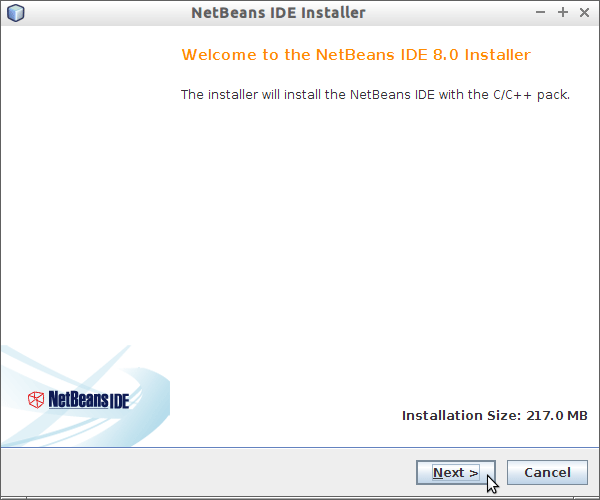
Then Possibly Browse for the Java JRE Installation location.
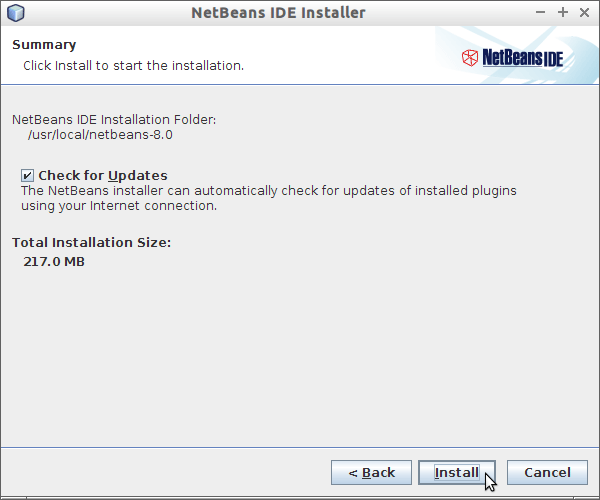
Then Start with Installation.
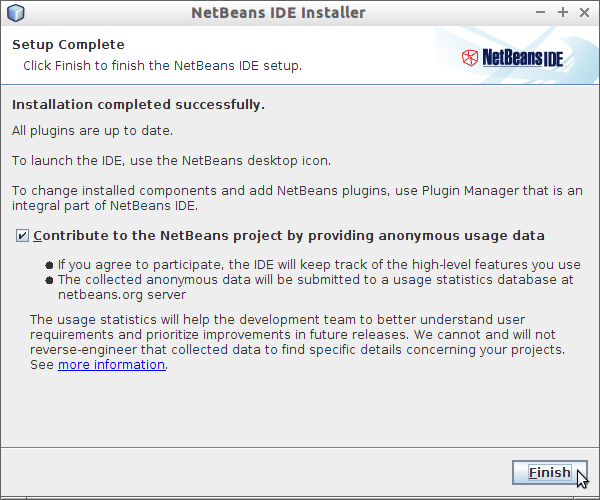
-
Getting Started with NetBeans C/C++ 8 IDE:
The NetBeans 8 IDE.
