Installing Mint 18.1 Serena on a Windows 8 PC
The tutorial shows you step-by-step and Visually How to Install Mint 18.1 Serena LTS GNU/Linux Mate/Cinnamon/KDE/Xfce desktop on a Microsoft Windows 8 Computer.
From Mint 17 Qiana the Installer is able to Manage a Windows PC Partitioning on the Fly, so now is very easy to put Mint on Top of a Windows!
The purpose of Linux Mint is to produce a Modern, Elegant and Comfortable operating system which is both Powerful and Easy to use.
The 64-bit Mint ISO is Recommend for all modern computers (Almost all computers sold in the last 10 years are equipped with 64-bit processors).
Linux Mint 18.1 Serena New Features at a glance:
-
Cinnamon 3.2+
-
Mate 1.16+
-
New ScreenSaver
-
Better look and feel
-
Improved hardware support

-
Download & Burn Mint 18.1 Serena Mate.
-
How to Disable Secure Boot and Booting with Mint
-
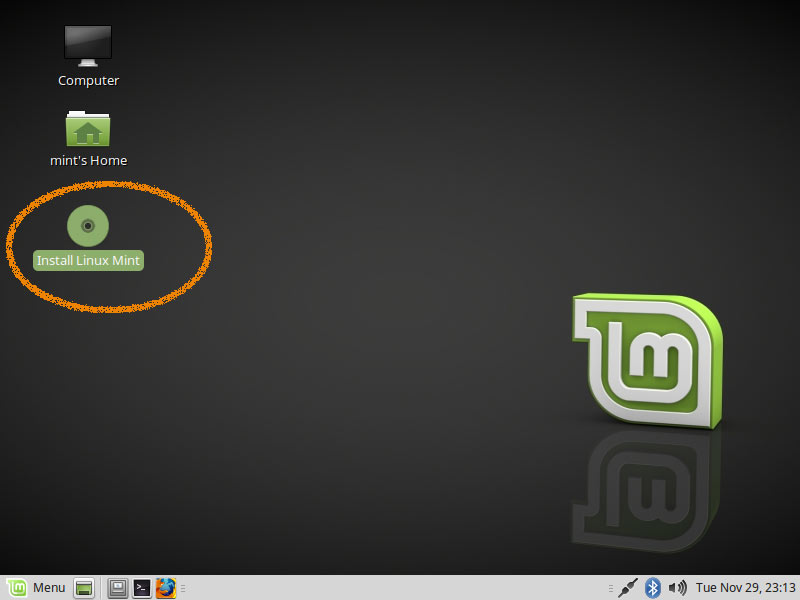
Double-Click/Right-Click on desktop Icon to Start Linux Mint 18.1 Serena Installer
-
Check Box for the 3rd Party Software Installation
It Includes also the Wi-fi drivers..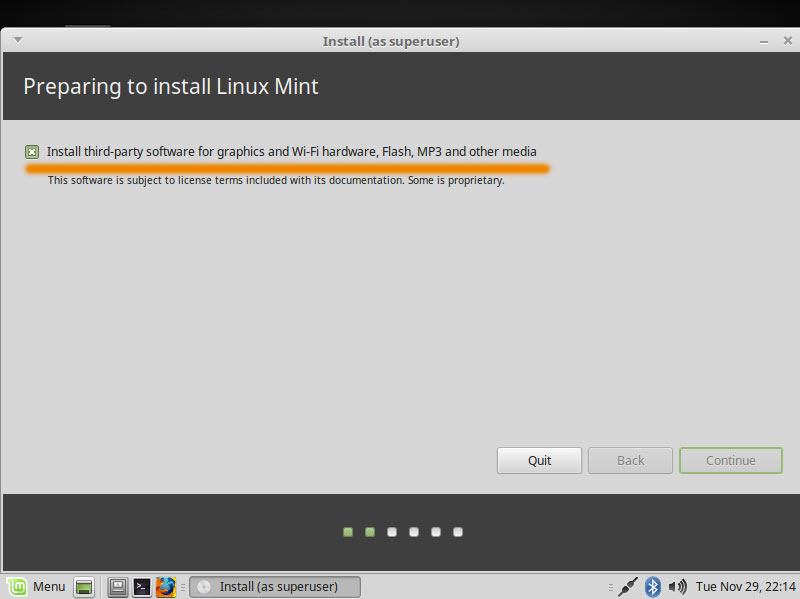
-
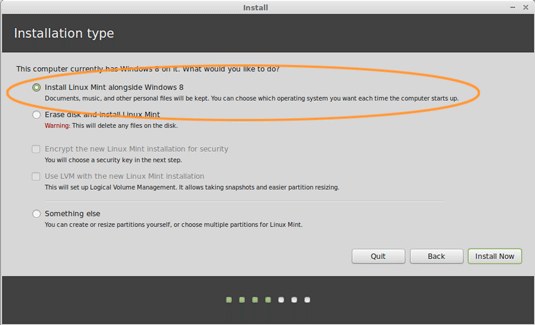
Take the Default “Install Linux Mint alongside Windows 8”.
-
Resizing Win8/Mint Partitions
To Install on an External Drive Select it from the Drop-Down on Top…
If you Install on the Windows Driver then Drag to Resize Partitions
Some 30-40Gb of Space for Linux Mint should be Fine to Getting-Started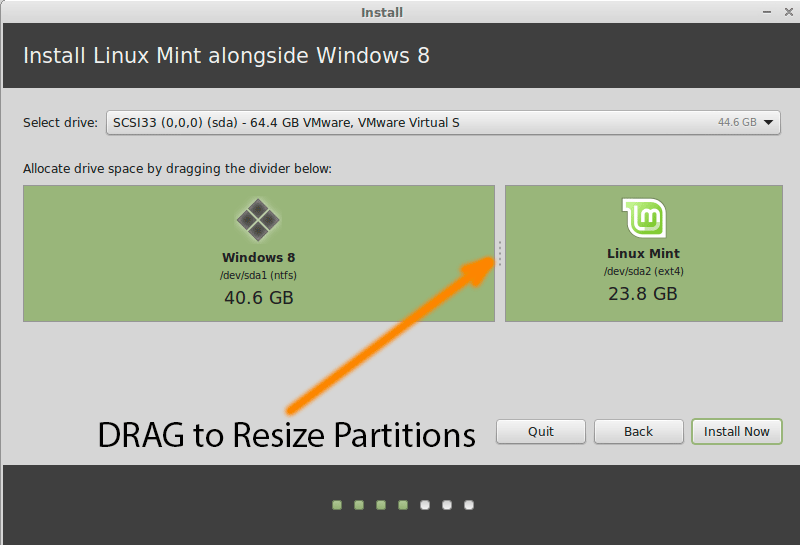
-
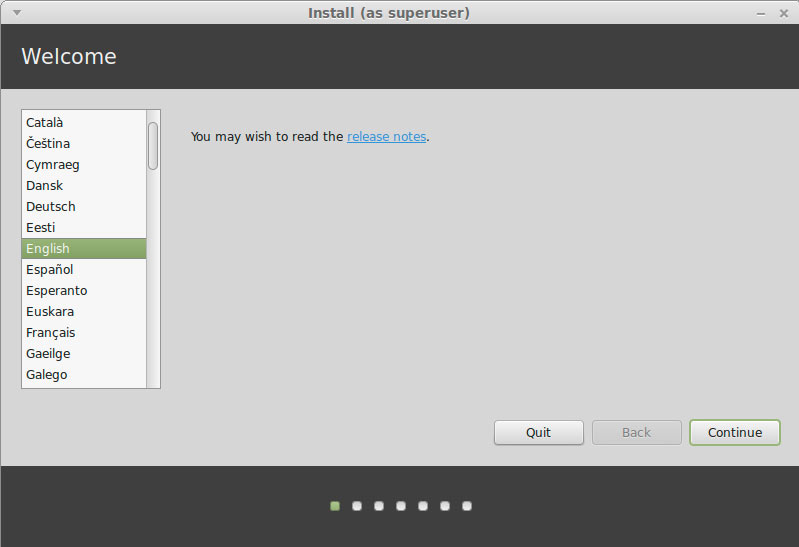
Select Installation Language on Welcome Screen.
-
Formatting Linux Mint Partition.
The Best Choice is to Make a LVM Partitioning Group

-
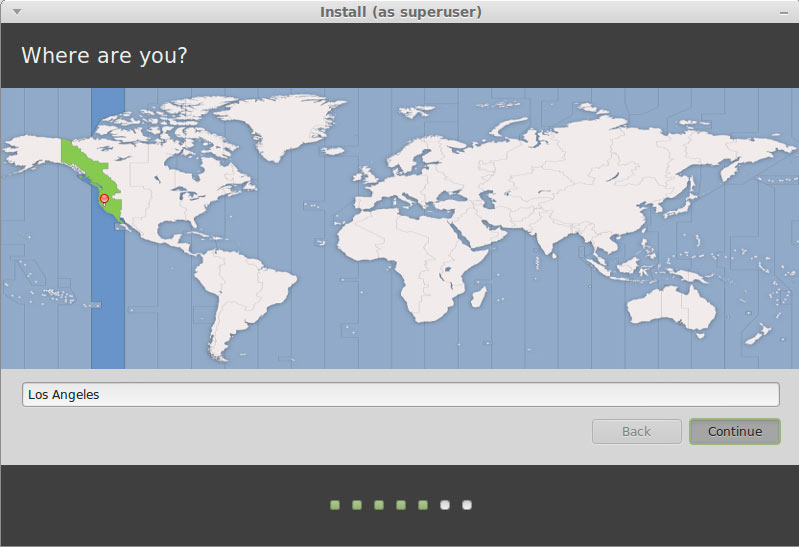
Set the Time-Zone.
-
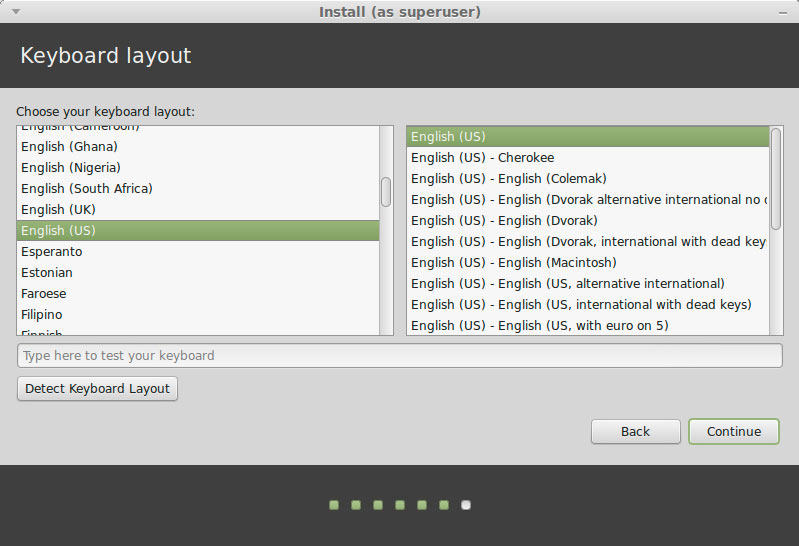
Set the Keyboard Layout.
-
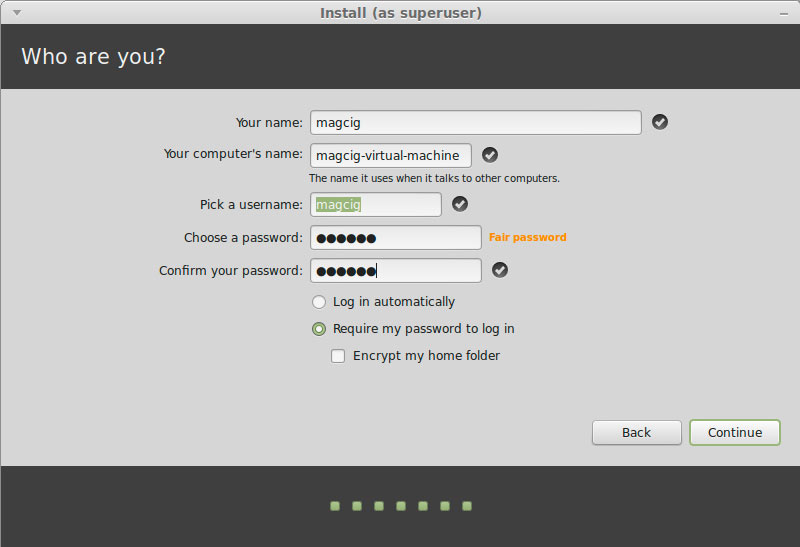
SetUp a Regular User.
-
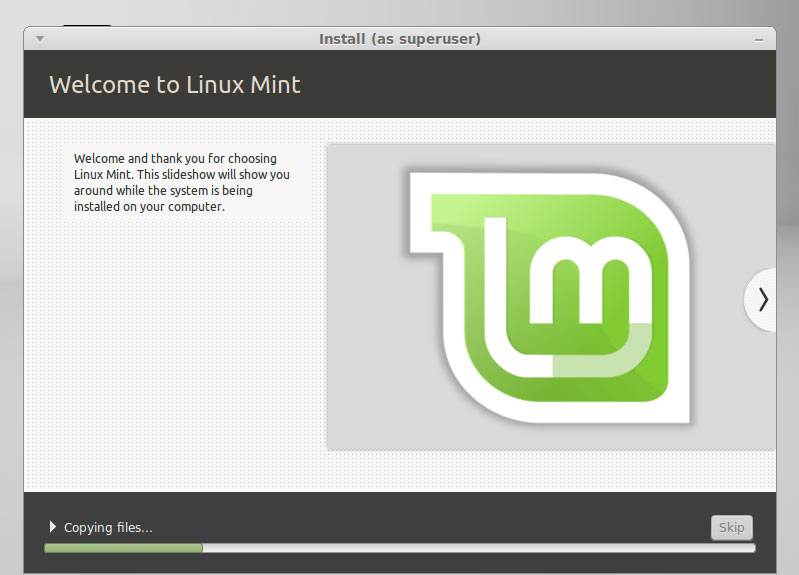
Installing Linux Mint 18.1 Serena.
-
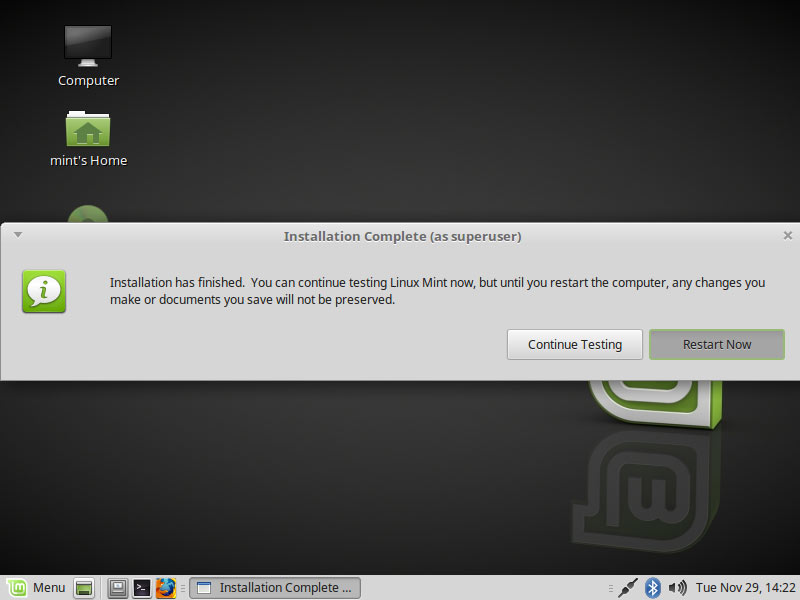
Reboot the Linux Mint 18.1 Serena VM.
-
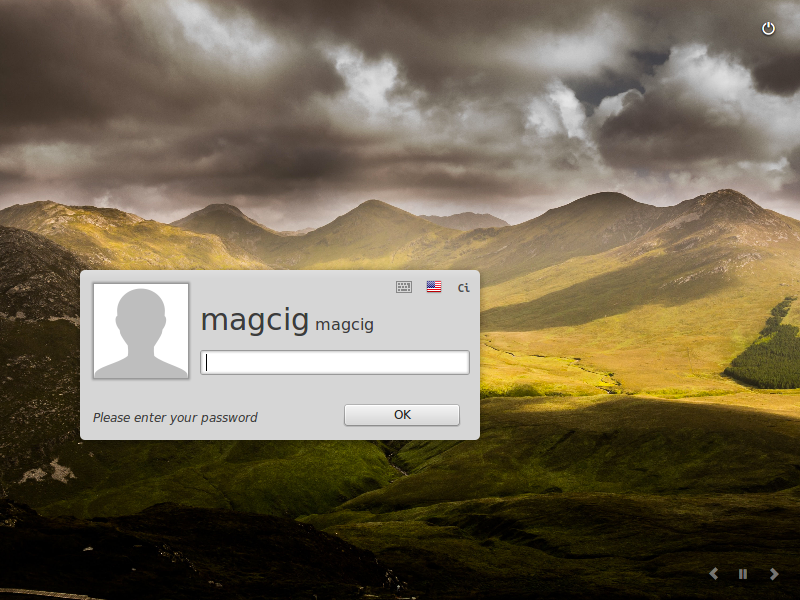
Use the Password to Login.
-
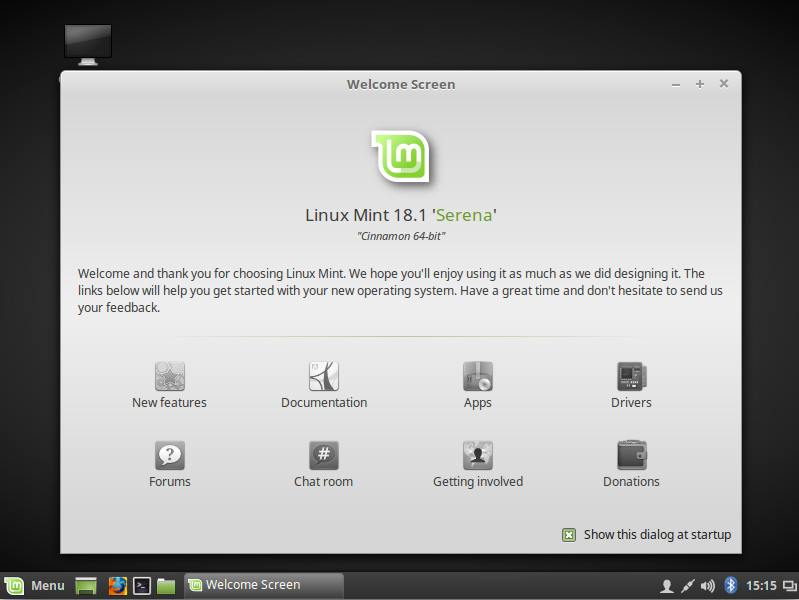
Enjoy Linux Mint 18.1 Serena desktop ;)
-
Mint Linux Quick Start Guides