Repairing Linux Mint 18.1 Serena LTS
How to Recover/Fix/Restore a Broken Linux Mint 18.1 Serena LTS Mate/Cinnamon/KDE/Xfce Broken System.
Especially relevant: this Linux Mint Reparation workflow is working also in case of an “input/output“, “fatal error” and error (2) Issues!
Finally, this is the Ultimate Procedure to try to get Recovered your Linux Mint system from a severe Issue.

-
As First-Aid Try a Simple Reparation of Linux Mint 18.1 Serena.
-
Open a Shell Terminal emulator window
(Press “Enter” to Execute Commands)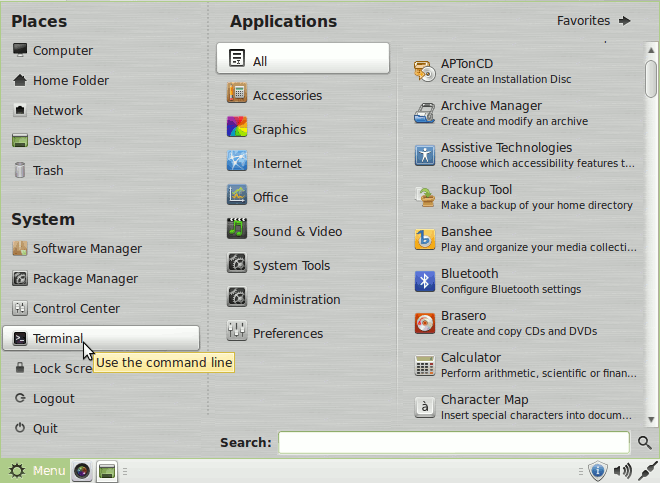
In case first see: Terminal Quick Start Guide.
- And Execute the Commands:
sudo su -c "apt-get update"
sudo su -c "dpkg --configure -a"
sudo su -c "apt-get -f install"
-
-
Then you have to Make Sure that the Hard Drive isn’t Corrupted.
If Mint Non Bootable Go to Next Step!
- Make sure that All the Drives on /etc/fstab are Connected
- Reboot Linux Mint
- On Grub Boot Splash Screen Select “Advanced Options”
- Then “Boot in Recovery Mode“
- Select “Repair Broken Packages“
- Look at the Output of the Drivers Check-Up Containing “blocks”
If No Errors are Shown then your Hard Drive should be still Healty… - If the Issue is still Not Solved then Look to the Next Step
-
How to Fix Disk Errors Even if Mint Non Bootable
-
How to Manually Repair an Linux Mint Broken System
The Linked Guide shows you Step-by-Step How to Manually Recovering an Linux Mint 18.1 Serena LTS with Broken Packages.