TeamSpeak Client Installation on Ubuntu Linux
How to Install and Getting Started with TeamSpeak VoIP Audio Client for Linux Ubuntu 16.04 Xenial Xerus LTS GNU/Linux desktop – Step by step Tutorial.
TeamSpeak 3 offers the ideal tool for online gaming, education and training, internal business communication, and staying in touch with friends and family.
TeamSpeak 3 key Features:
- Voice Quality: Opus audio codec for unmatched voice quality
- Scalability: from small to large groups
- Permissions: complete control over server
- Security: AES based encryption optionally enabled
- Customization: themes, soundpacks and designs
- File Transfer: share and download files stored on server
- Mobile: connection on the go with Android and iOS TeamSpeaks apps

-
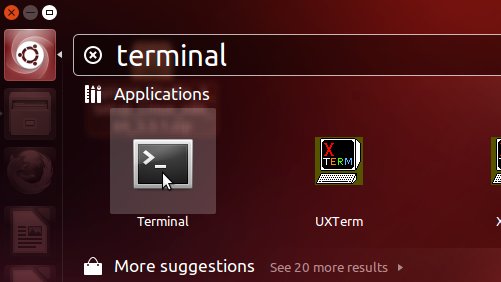
Open a Terminal Shell emulator window
Ctrl+Alt+t on desktop
(Press “Enter” to Execute Commands)
-
Download TeamSpeak 3 Client for Linux
-
Access the Target location
(Usually Downloads go in the Home folder or when Downloaded with Firefox may be into the Temporary directory /tmp/mozilla*)cd ~/Downloads
Or when downloaded with Firefox maybe:
cd /tmp/mozilla*
To Verify that it’s there List the contents with:
ls .
-
Installing TeamSpeak Client
Give Execution Permission:chmod +x ./TeamSpeak*.run
Run the Installer:
sudo ./TeamSpeak*.run
On License: ‘Enter’, ‘Down-Arrow’ to read, ‘q’ to Quit and ‘y’ to Accept.
-
Relocating TeamSpeak Stuff
First, Delete the Installer:rm TeamSpeak*.run
Then Switch contents with:
sudo mv TeamSpeak* /opt/TeamSpeak-Client
-
Launching TeamSpeak from CLI:
sudo ln -s /opt/TeamSpeak-Client/ts3client_runscript.sh /usr/local/bin/ts3client
Finally, Launch it with:
ts3client
-
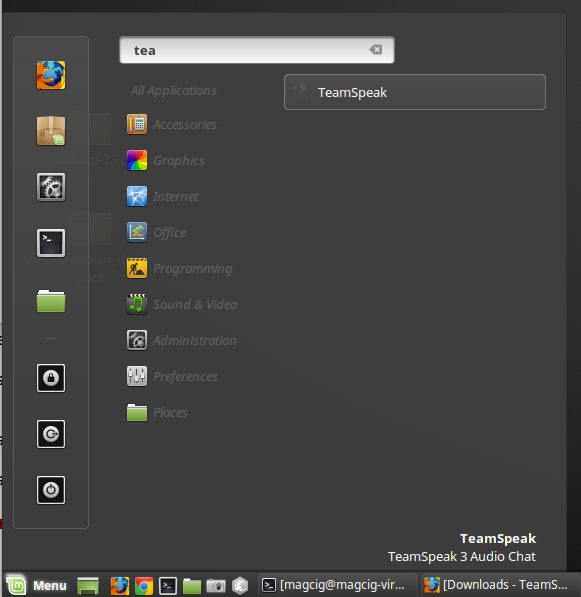
(Optional) To Launch from desktop Create a TeamSpeak Launcher

