<< 3/5 Previous Step – Oracle 12c DB Installation on Ubuntu 17.04 64-bit
.
The article contains the necessary instructions about How to Install Oracle 12c Database on Ubuntu 17.04 Zesty by Installing the Oracle 12c Software.
Oracle 12c DB Installation on Ubuntu 17.04 Zesty
4/5 Installing Oracle 12c Software
-
Run the Installation Script.
chmod -R +x /tmp/database
/tmp/database/runInstaller
If Got Display Not Set or Issue:
-
Then Follow the Installation WorkFlow.
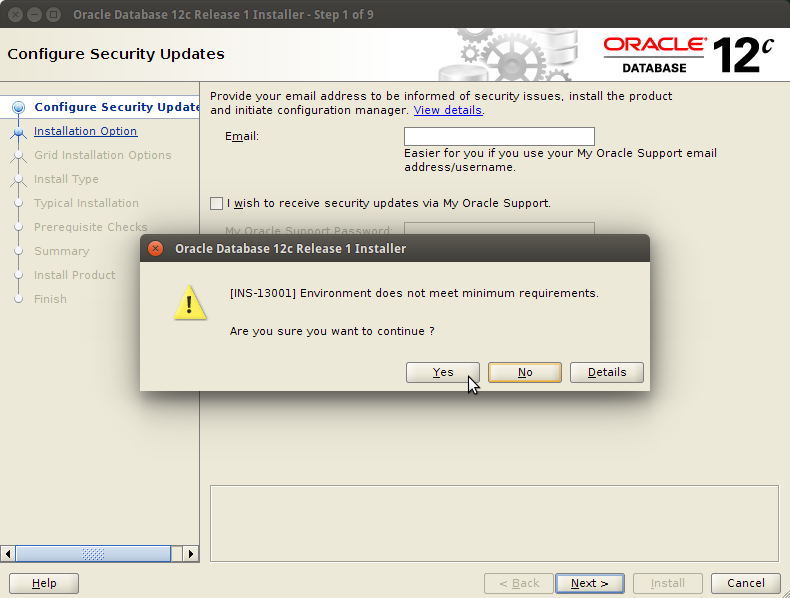
Confirm for Installation also on Warning about System does Not Meeting Minimum Requirements!

If you Do Not Dispose of a Subcription Uncheck Security Updates and leave Blank Support Password and Pursue!

Then Check “Install Software Only”!

Click on “Next”

Select Languages and Click on “Next”

Select Edition and Click on “Next”

Check Installation Locations and Click on “Next”

Check Inventory Directory and Click on “Next”

Click on “Next” on Groups
Then Possibly Check “Ignore All” if Warned again about Missing Requirements…

Click on “Install” to Start Installation Process

-
Solving Oracle 12c DB Libs Linking Errors on Ubuntu Zesty.

-
Then Run the Configuration Scripts for Oracle 12c Database
sudo su
/u01/app/oraInventory/orainstRoot.sh
/u01/app/oracle/product/12/dbhome_1/root.sh
exit

And Finally, the Installation Should be Achieved Successfully!

5/5 Next Step – Oracle 12c DB Installation on Ubuntu 17.04 64-bit >>.