Getting Started with Vagrant for Ubuntu 16.04 Xenial
[ad_slider autoplay=”true” interval=”8″ count=”5″]
How to Install and Getting Started with Vagrant Virtual Machines Management Tool on Ubuntu 16.04 Xenial Xerus LTS GNU/Linux – Step by step Tutorial.
Vagrant is a Tool that Makes it Easier to Run and Manage Virtual Machines on your computer.
Vagrant main Features:
- Makes a VM with an OS of your choice
- Changes the Settings of a VM (e.g., RAM, number of CPUs, etc.)
- Settles Network Interfaces to access a VM from outside
- Etablishes Shared Folders to exchange with your computer
- Defines the Hostname of a VM
- Provides Software for the VM by shell scripts or configuration management solutions
- Operates specific Tweakings on hosts and guests
- SSH into a VM from you computer
By Default Vagrant Works only with VirtualBox VMs, to get it Working with VMware or other Hypervisor you have to Install a Paid Plugin.
To Get Installed right the Latest Vagrant Release for Ubuntu we Provide Directly to the Download from the Vagrant WebSite.

-
Open a Shell session
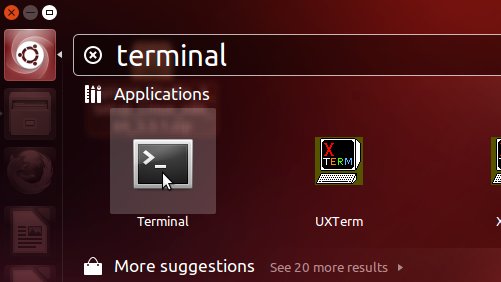
Ctrl+Alt+t to open a Terminal emulator on desktop
(Press “Enter” to Execute Commands)
-
Download Latest Vagrant for Debian
-
Check/Install GDebi Package Installer.
which gdebi
If not there then:
sudo apt install gdebi-core gdebi
If Got “User is Not in Sudoers file” then see: How to Enable sudo
-
Access the Target location
(Usually Downloads go in the Home folder or when Downloaded with Firefox may be into the Temporary directory /tmp/mozilla*)cd ~/Downloads
Or when downloaded with Firefox maybe:
cd /tmp/mozilla*
To Verify that it’s there List the contents with:
ls .
-
Vagrant Installation on Ubuntu.
sudo gdebi ./vagrant*.deb
-
Finally, Test Vagrant Installation.
vagrant -h
But in case of Vagrant Help Ruby Gems Issue Fix with:
sudo vagrant plugin install vagrant-share --plugin-version 1.1.8
-
How to Install Required Oracle VirtualBox on Ubuntu
Oracle VirtualBox Installation[ad_slider autoplay=”true” interval=”8″ count=”5″] -
How to Getting Started with Vagrant VMs Management
Vagrant Getting Started Guide[ad_slider autoplay=”true” interval=”8″ count=”5″]