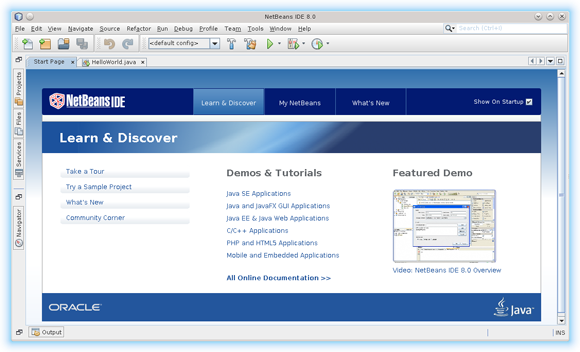
Fedora 25 Netbeans 8.x IDE All Quick Start
How to Install NetBeans on Fedora 25 GNOME/Kde/Lxde/Xfce/Mate GNU/Linux desktop.
Especially relevant: the tutorials shows the NetBeans 8.x All Edition Installation with Tomcat & Glassfish Servers.
And the Netbeans 8 IDE All Require Oracle JDK 8+ Working Installation Linux Fedora System.
Moreover, to make the Entire Easy to Understand and Visualize the Post Includes the Basic Screenshots of All GUI Steps involved.
The NetBeans 8.x All IDE main Features are:
- Java 8 Code Analyzers
- Java 8 Code Editors
- Support for Java SE, Java SE Embedded 8 and Java ME Embedded 8
- Enhanced Maven Support
- Enhanced Java EE 7 Support with PrimeFaces
- New Tools for HTML5 and AngularJS
- Improved PHP and C/C++ Support
- Groovy Support
- GlassFish 4 and Apache Tomcat 8 Runtimes Servers
Finally, the Contents and Details of NetBeans 8 IDE All Installation Fedora are Essentials and Give Focus only to Instructions and Commands.

-
Download Netbeans 8.x IDE All for Linux
-
First, Open Terminal Window
(Press “Enter” to Execute Commands)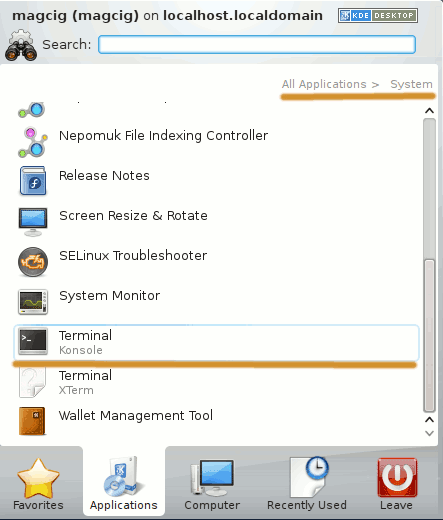
In case first see: Terminal Quick Start Guide.
-
How to Install Recommended Oracle Java JDK on Fedora
To check your current JDK version:
javac --version && java -XshowSettings:properties -version 2>&1 | grep 'java.vendor'
If it’s the official Oracle JDK, the output will include:
java.vendor = Oracle Corporation. -
Then Launch Netbeans 8 Wizard
First, Change to the Download location:cd $HOME/Downloads
If Got “User is Not in Sudoers file” then see: How to Enable sudo
Give Execution Permission:sudo chmod +x netbeans-*-linux.sh
And Start the NetBeans Installer:
sudo ./netbeans-*-linux.sh
-
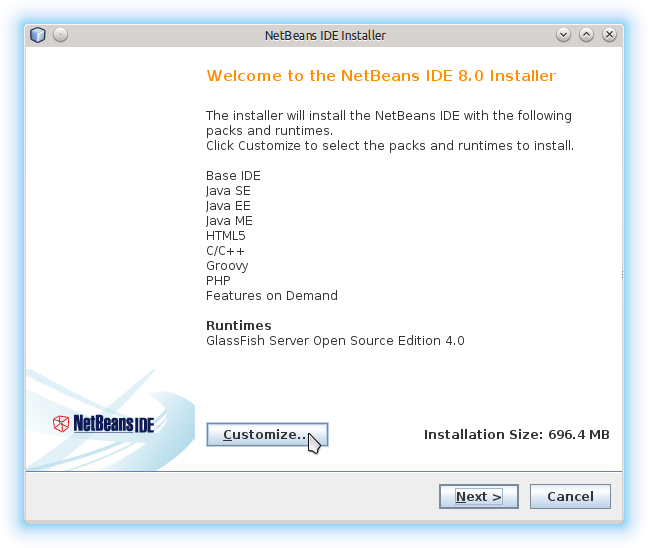
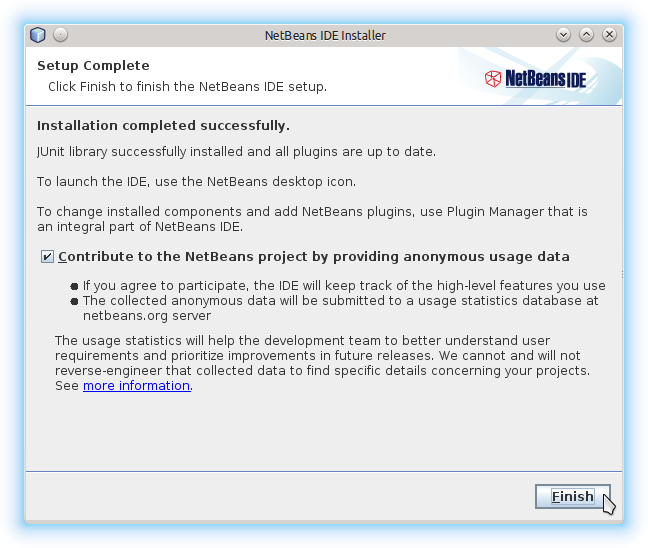
so follow the NetBeans 8 IDE Installation Wizard.
To Get Installed also the Apache Tomcat Click on Customize Button.
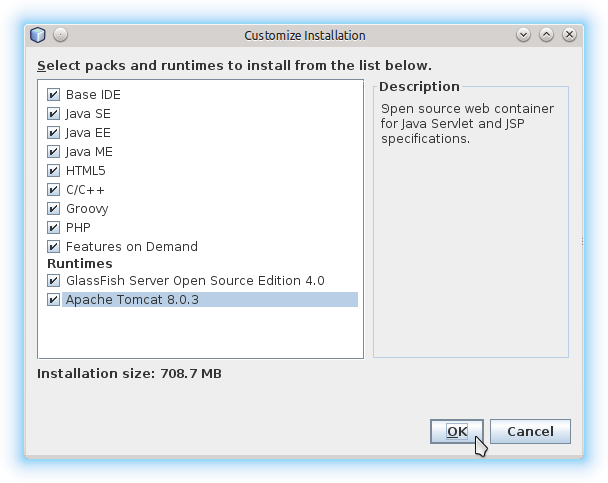
Follow Up and Accept Licenses…
Then Possibly Browse for the Oracle Java JDK Installation location.
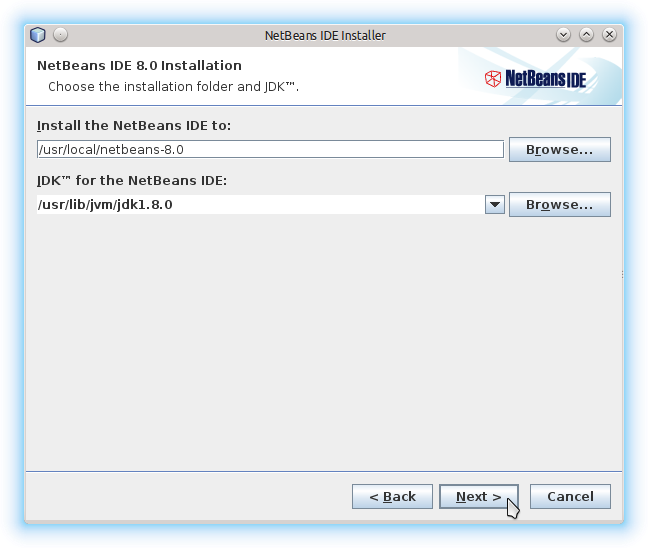
Follow Setting Up also the Java Servers Paths.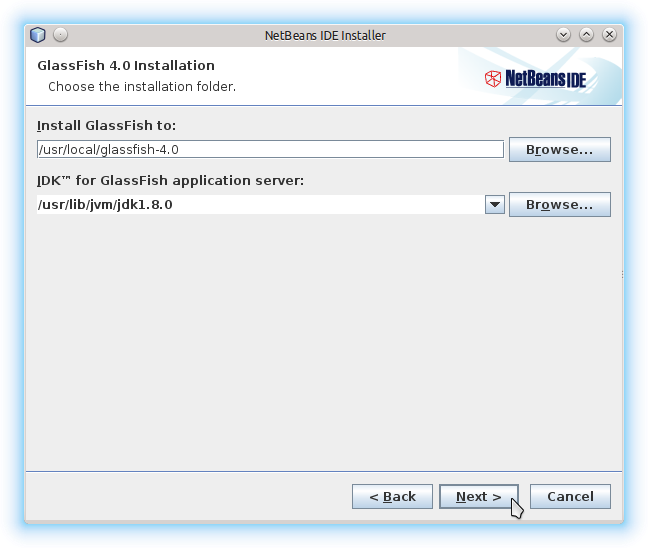
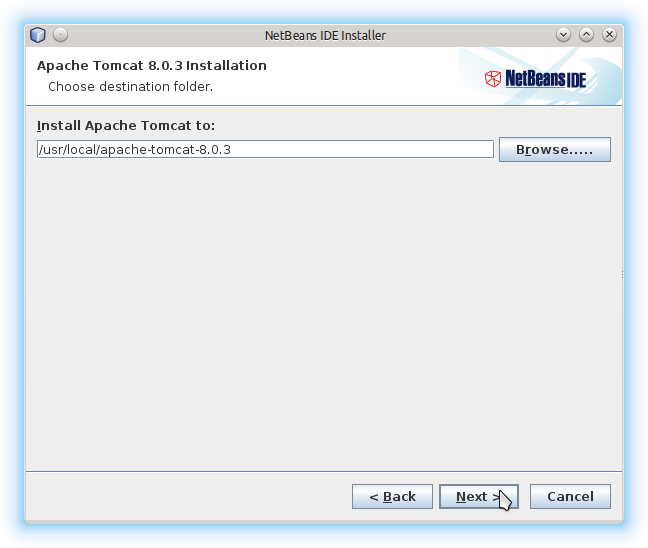
Finally, Start with Installation.
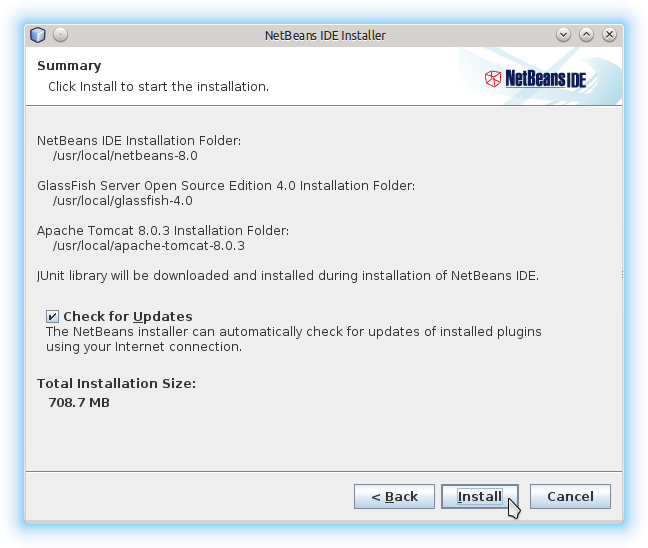
-
Getting Started with Java Dev on NetBeans 8 IDE:
The NetBeans 8 IDE
