Canon SELPHY CP900 Ubuntu Driver Install
How to Install Canon SELPHY CP900 Ubuntu Driver.
First, this Installation procedure has been Tested on Ubuntu 14.04+ based systems.
Especially relevant: Canon has not released a proprietary SELPHY CP900 Linux Driver.
So to Install Canon SELPHY CP900 on Ubuntu we’ll make use of the Gutenprint suite Drivers release.
Because Gutenprint is a Suite of Printer Drivers that may be Used with most common UNIX Print Spooling Systems, including CUPS, lpr, LPRng, or others.
Finally, Gutenprint Drivers provide High Quality Printing for UNIX and Linux systems in many cases Equal to or Better than Proprietary Vendor-supplied Drivers.

-
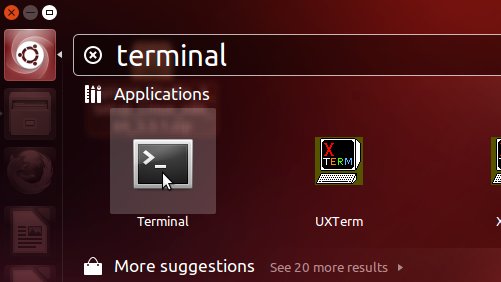
First, Open Terminal Window
Ctrl+Alt+t
(Press “Enter” to Execute Commands)
In case first see: Terminal QuickStart Guide.
-
Then Install Required Packages
First, Update the Apt repositories:sudo apt update
And Setup the tools:
sudo apt install gcc libtool libssl-dev libc-dev
libjpeg-turbo8-dev libpng12-dev libtiff5-dev cups
-
Download GutenPrint Source for Linux
Grab the Latest gutenprint tar.bz2 file.
-
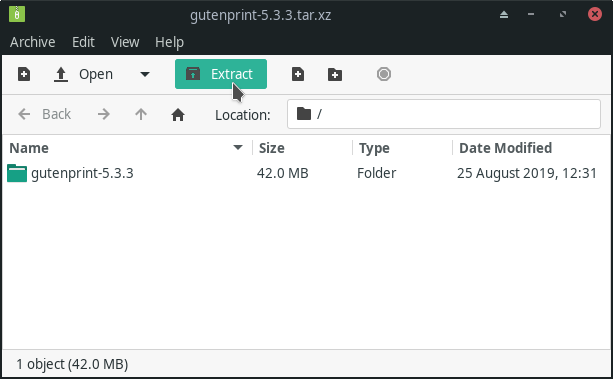
Next Double-Click on Archive
And Extract into /tmp
Or from Shell:
tar xvf ~/Downloads/gutenprint*.tar.bz2 -C /tmp
-
Finally, Install Gutenprint for Ubuntu.
cd /tmp/gutenprint*
./configure
make clean
make
sudo make install
The Installation will be Quickly Achieved in about 5 Minutes.
For further Instructions and Details Look to the README File…