Install WildFly Linux Mint 18
How to Install Latest WildFly Java EE App Server for Linux Mint 18 GNU/Linux desktop.
To make the whole WildFly Install on Linux Mint 18 Easy to Understand and Visualize the Post Includes the Basic Screenshots of All GUI Steps involved.
WildFly App Server main Features:
- Unparalled Speed: Fast Startup. Ultimate Web Performance & Scalability.
- Exceptionally Lightweight: Memory Diet. Slimable / Customizable Runtime.
- Powerful Administration: Unified Configuration & Management. Domain & Standalone Management.
- Supports Latest Standards and Technology: Java Jakarta EE. Modern Web.
- Modular Java: No more jare hell! Fast Linking & Concurrent Loading
- Easily Testable: Arquillian. Smarter Development.
Finally, inside the Post you Find Links to Installing JDK and to Getting Started with WildFly on GNU/Linux.

-
Download Latest WildFly JEE App Server
Grab the Application Server Release.
-
Open a Shell Terminal emulator window
(Press “Enter” to Execute Commands)
In case first see: Terminal QuickStart Guide.
-
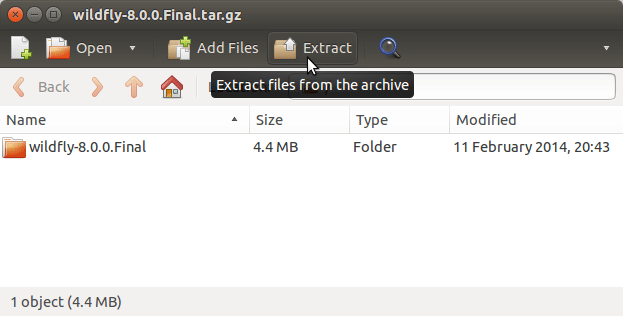
Double-Click on Archive and Extract Into /tmp.

Or from Shell:tar xvfz wildfly*.tar.gz -C /tmp/
-
How to Install Recommended Oracle JDK on Linux Mint
To check your current JDK version:
javac --version && java -XshowSettings:properties -version 2>&1 | grep 'java.vendor'
If it’s the official Oracle JDK, the output will include:
java.vendor = Oracle Corporation. -
Relocate WildFly App Server.
-
Login as SuperUser
sudo su
If Got “User is Not in Sudoers file” then see: How to Enable sudo
-
And Switch WildFly
sudo chown -R root:root /tmp/wildfly*
mv /tmp/wildfly* /opt/wildfly
-
-
Set User’s Env Variable and Path.
-
Logout from SuperUser
exit
-
Edit User .bashrc File Settings
nano ~/.bashrc
Append:
export JBOSS_HOME=/opt/wildfly;
export AS=$JBOSS_HOME;
export PATH=$JBOSS_HOME/bin:$PATH
Ctrl+x to Save & Exit from nano :)
-
Load New Environment Set-Up
bash
-
-
How to Getting Started with WildFly on Linux
So Now Thanks to Red Hat Inc
you Should Finally, Fully Dispose of a Latest WildFly JEE Server Installation Linux Mint ;)