Change File Owner on Ubuntu 16.10
How to Change File/Directory Owner on Ubuntu 16.10 Yakkety GNU/Linux desktop/server – Step by step Tutorial.
And the Ubuntu 16.10 Change File Owner instruction is to Set a different Owner for Files and Directories on the Ubuntu Linux File System.
Moreover, Mastering the Ownerships Over Files and Directories is the First, Step in Setting Up Permissions and so Establishing a Security over the System.
Finally, Following the Tutorial you will Get a Little Practice with the Ubuntu Linux Shell Command Line.

-
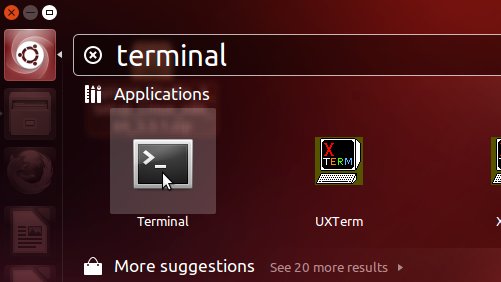
Open a Shell session
Ctrl+Alt+t on desktop
(Press “Enter” to Execute Commands)
-
Who Can Set/Change the Ownership?.
Only the Administrators or a Super-User Can Change a File/Directory Ownership!
-
How to Set/Change the Ownership?.
-
To Set/Change Ownership Over a Single File/Directory:
sudo su -c "chown [myUser]:[myGroup] [myEntity]"
Where [myUser] is your’s user Name & [myGroup] is your’s user Primary Group.
How to Look Up Username & Group on Terminal
For Instance:
mkdir -p $HOME/hello/world
Now to Give the ‘world’ Directory to the ‘root’ User do:
sudo su -c "chown root:root $HOME/hello/world"
Checking Ownership:
ls -l $HOME/hello
-
To Set/Change Permissions Recursively Over a Directory and it’s Content (Subdirectories and Files):
sudo su -c "chown -R [myUser]:[myGroup] [myEntity]"
For Instance:
sudo su -c "touch $HOME/hello/world/happy"
Checking Ownership:
ls -l $HOME/hello && ls -l $HOME/hello/world
Now to Get Back the ‘world’ Directory with the ‘happy’ File:)
sudo su -c "chown -R [myUser]:[myGroup] $HOME/hello/world"
Check again Ownership like Above…
-
-
How to Set Permissions on Ubuntu File System
Command Line Tutorial for Beginners Ubuntu 16.10
Ubuntu Best Software Installation Guides:
Best Software to Install on Ubuntu.