PyCharm Ubuntu 17.04 Installation Guide
The Tutorial for Linux shows you Step-by-Step How to Install and Getting Started with PyCharm Community Edition Python IDE for Ubuntu 17.04 Zesty GNU/Linux desktop – Step by step Tutorial.
And PyCharm for Ubuntu is a Python IDE with Complete Set of Tools for Python development. In Addition, the IDE provides capabilities for Professional Web Development using the Django Framework.
PyCharm Community Edition Features:
- Lightweight IDE for Python development
- Free, Open-Source, Apache 2 license
- Intelligent Editor, Debugger, Refactorings, Inspections, VCS integration
- Project Navigation, Testing support, Customizable UI, Vim key bindings

-
Open Terminal Window
(Press “Enter” to Execute Commands).Ctrl+Alt+t
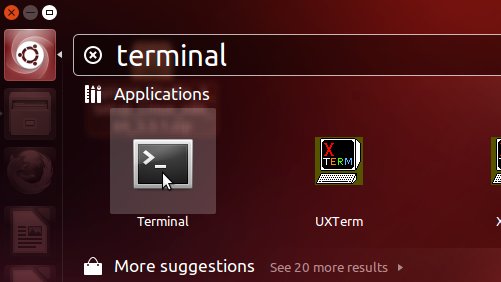
In case first see: Terminal Quick Start Guide.
-
Download PyCharm Community Ed. for Ubuntu
Select the PyCharm Community Edition for Linux.
-
Double-Click on Archive Extract into /tmp
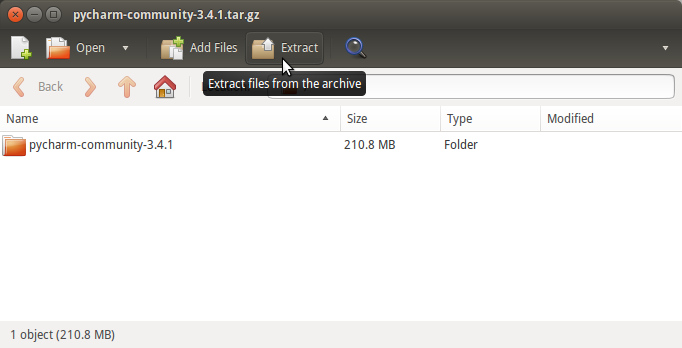
Or from Command Line:
tar xvzf ~/Downloads/pycharm-community*.tar.gz -C /tmp/
-
Relocating PyCharm.
sudo su -c "chown -R root:root /tmp/pycharm*"
sudo mv /tmp/pycharm-community* /opt/pycharm-community
-
Making PyCharm Symlinks.
sudo su -c "ln -s /opt/pycharm-community/bin/pycharm.sh /usr/local/bin/pycharm"
sudo su -c "ln -s /opt/pycharm-community/bin/inspect.sh /usr/local/bin/inspect"
-
Finally, to Launch PyCharm Python IDE.
pycharm
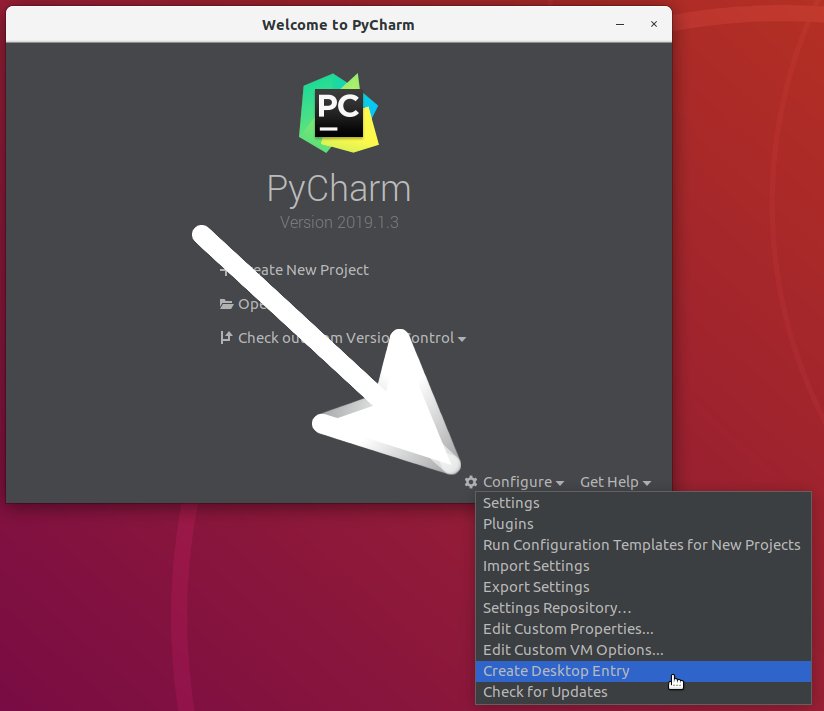
Then choose Create desktop Entry from the ‘configure‘ Menu to make a Launcher:
-
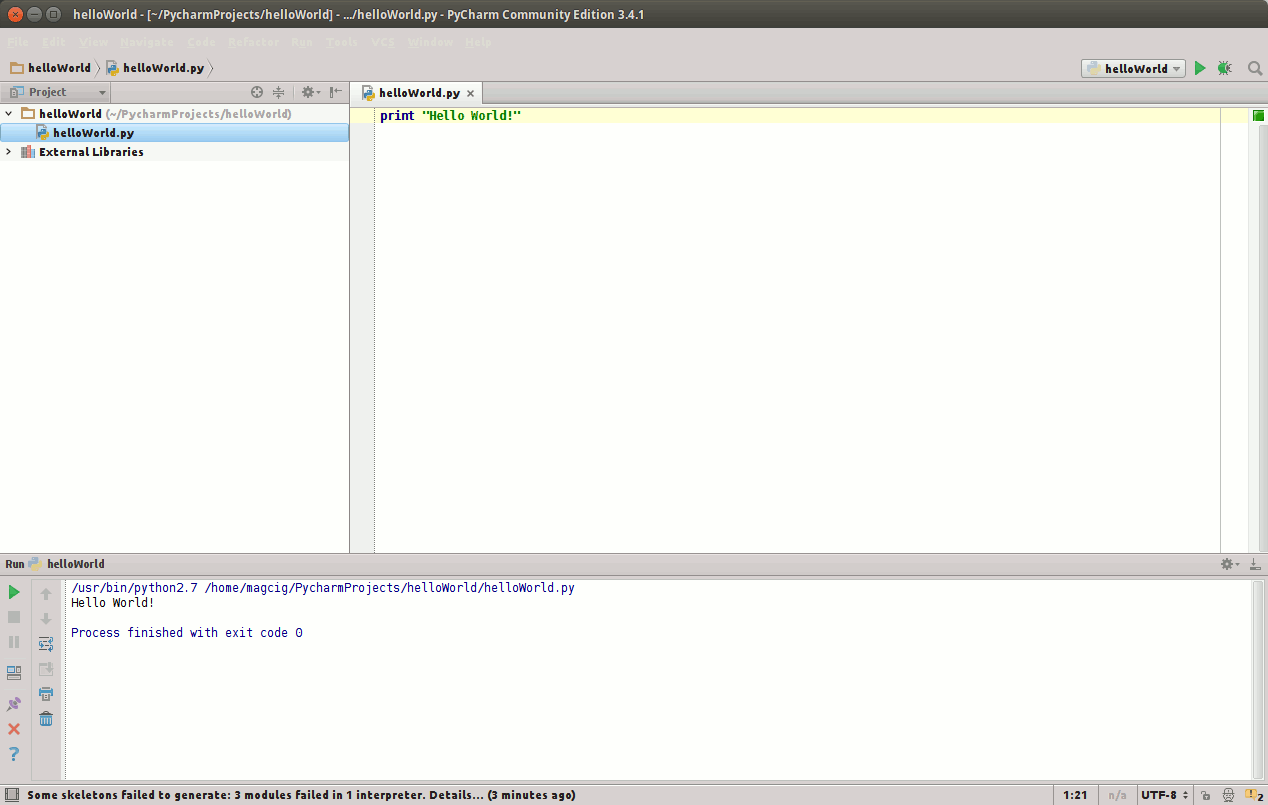
PyCharm Quick Start Hello-World Python
