PhpStorm Install Xubuntu 18.04 Bionic
Hello Xubuntu User! Install PhpStorm in Xubuntu 18.04 Bionic LTS 64-bit GNU/Linux desktop – Step by step Tutorial.
Because PhpStorm for Xubuntu 18.04 Bionic is One of the most Intelligent PHP IDE with Refactorings, Code Completion, On-the-Fly Code Analysis and Coding Productivity Orientation.
And the PhpStorm IDE main Features are:
- Intelligent Coding Assistance
- Debugging, Tracing & Testing
- HTML/CSS/JavaScript Editor
- Development Environment

-
Open a Shell Terminal emulator window
Ctrl+Alt+t on desktop
(Press “Enter” to Execute Commands)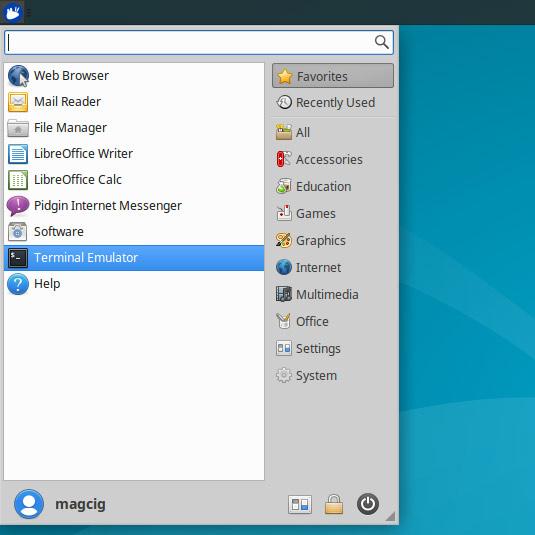
-
Download Latest PhpStorm 30 day Trial Installer
-
And Extract into /tmp
Possibly Double-Click on Package on File manager.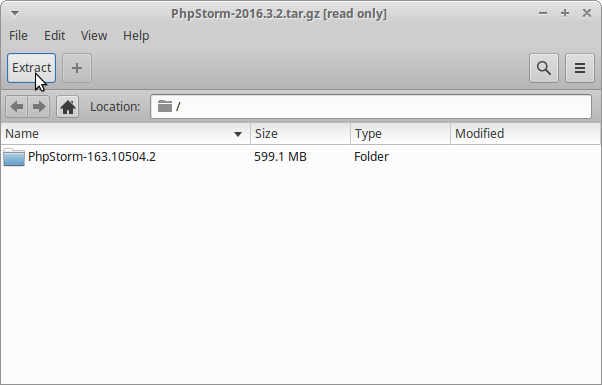
Or from Command Line:tar xvzf ~/Downloads/PhpStorm*.tar.gz -C /tmp/
-
Then to Install PhpStorm on Xubuntu 18.04 Bionic.
Set the SuperUser as Owner:
sudo chown -R root:root /tmp/PhpStorm*
If Got “User is Not in Sudoers file” then see: How to Enable sudo
Next Relocate PhpStorm contents:sudo mv /tmp/PhpStorm* /opt/PhpStorm
And Make a Symlink:
sudo ln -s /opt/PhpStorm/bin/phpstorm.sh /usr/local/bin/phpstorm
-
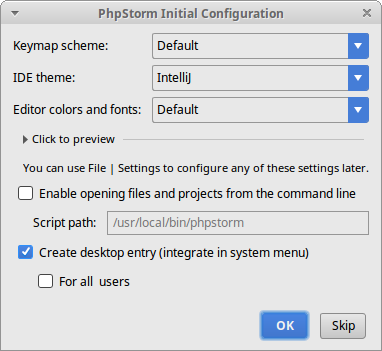
Finally, Launch the PhpStorm IDE.
phpstorm
Install as a Trial or Insert your Credentials…

Finally, confirm for Path updating and menu Launcher Creation!
-
How to Getting Started with PhpStorm IDE