GNU/Linux Ubuntu 18.04 Installing Jenkins – Step by step Guide
How to Install Jenkins Server on Ubuntu 18.04 Bionic LTS GNU+Linux desktop/server – Step by step Tutorial.
And in a nutshell Jenkins CI for Ubuntu Bionic is the Leading Open-source Continuous Integration Server.
Moreover, Jenkins is Built with Java, it provides 922 plugins to support building and testing virtually any project.
Finally, included inside this article you find detailed instructions on How to Getting Started with Jenkins CI on Ubuntu Linux.

-
Open a Shell session
Ctrl+Alt+t on desktop
(Press “Enter” to Execute Commands)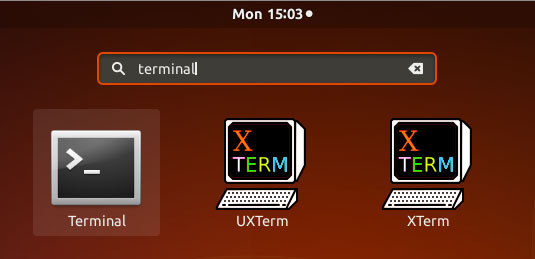
In case first see: Terminal Quick Start Guide.
-
Check if Java is Installed:
java -version
How to Install Recommended Oracle Java JDK on Ubuntu
To check your current JDK version:
javac --version && java -XshowSettings:properties -version 2>&1 | grep 'java.vendor'
If it’s the official Oracle JDK, the output will include:
java.vendor = Oracle Corporation. -
How to SetUp Jenkins Apt Repo for Ubuntu
-
Installing Jenkins CI for Ubuntu:
sudo su -c "apt update; apt install jenkins"
-
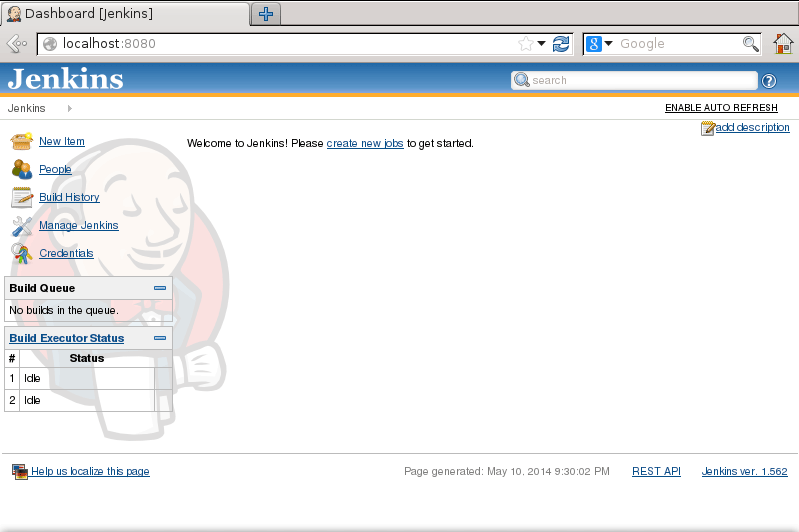
Getting Started with Jenkins CI on Linux