Install Tomcat 9 on antiX GNU/Linux
Hello antiX Linux User! Install Tomcat 9 on antiX Linux desktop – Step by step Tutorial.
First, the Apache Tomcat 9 for antiX Linux supports the Java Servlet 4.0, JavaServer Pages 2.4, Java Unified Expression Language 3.1 and Java API for WebSocket 2.0 specifications.
Moreover, in the Guide is included a Link to Tomcat 9 Deployment Getting Started Guide.
Finally, to improve the Visualization of the whole process the How to install Tomcat 9 on antiX Linux includes the essentials Screenshots.

-
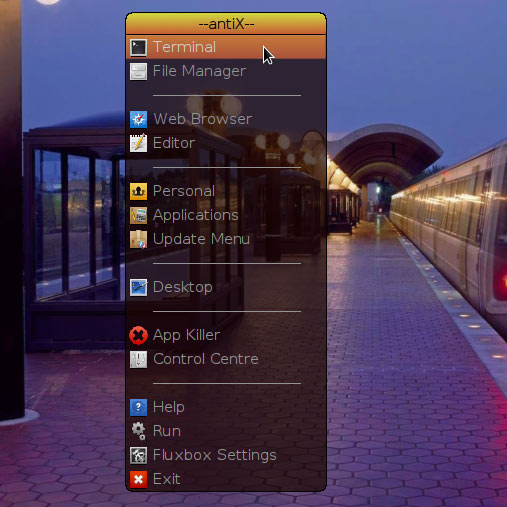
Open Terminal Window
Simply Right-Click & Select Terminal:
(Press “Enter” to Execute Commands).
-
Download Apache Tomcat 9 Java Server
-
Then Double-Click on Archive and Extract into /tmp

Or from Shell:tar xvzf ~/Downloads/apache-tomcat-9*.tar.gz -C /tmp/
-
And Relocate Apache Tomcat 9
First, Set Permissions & Ownership with:sudo chown -R root:root /tmp/apache-tomcat-9*
sudo chmod -R +xr /tmp/apache-tomcat-9*
Then Switch contents:
sudo mv /tmp/apache-tomcat-9* /opt/apache-tomcat-9
-
How to Install Required Gentoo-Sun Java JDK 8+ on antiX Linux:
-
Now the Commands to Start and Stop Tomcat 9 Server.
To Start Up:
sudo /opt/apache-tomcat-9/bin/startup.sh
To Shut Down:
sudo /opt/apache-tomcat-9/bin/shutdown.sh
-
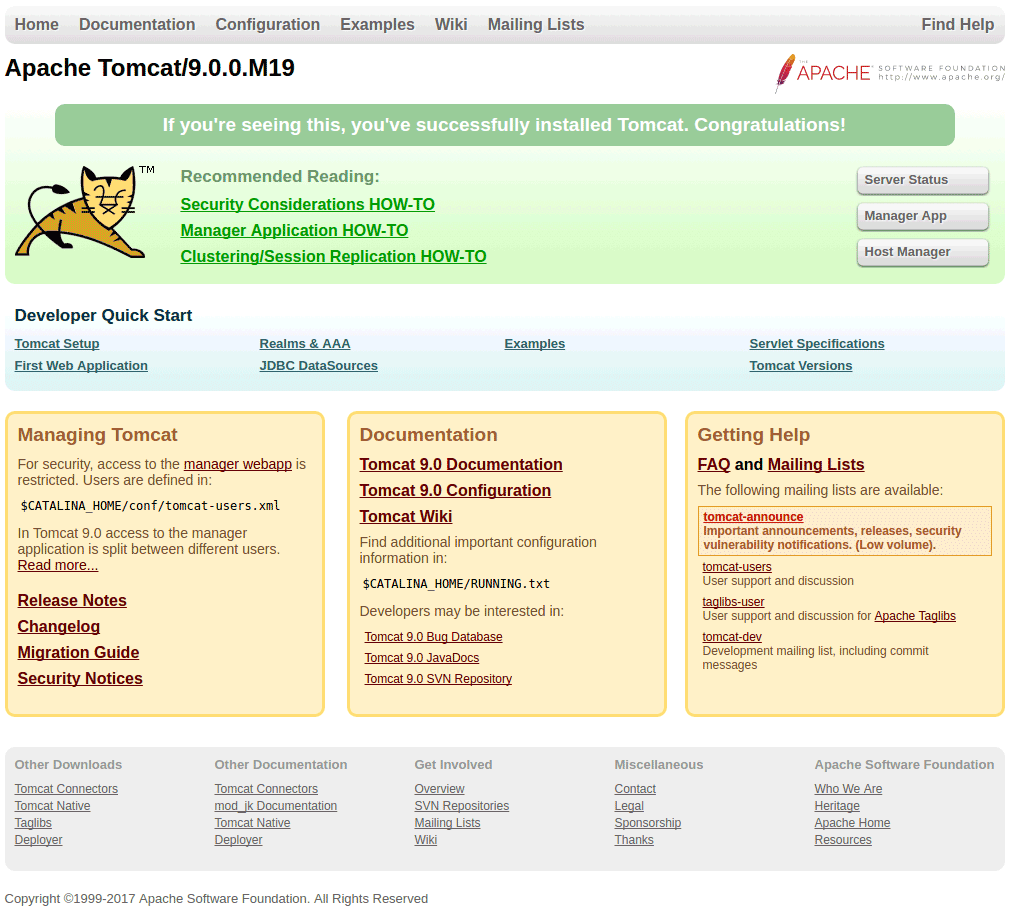
Finally, to Access Tomcat Server Admin on Browser Go to.
http://localhost:8080
Or whatever IP address the Server is installed… -
Tomcat 9 Deployment Quick Start.
