Debian Stretch Canon MAXIFY Setup
How to Install Canon MAXIFY Printer on Debian Stretch 9 GNU/Linux desktop – Step by step Tutorial.
And the Canon MAXIFY Debian 9 Setup it’s easy because it’s enough to Download and Install the Proprietary Driver.
Moreover, Included inside the guide you find also instructions on How to Get Started with Canon Scanning on Debian.

-
Open a Shell Terminal emulator window
(Press “Enter” to Execute Commands)
-
Download Canon Printers Linux Debian Drivers
Grab Linux Debian Package
Furthermore, the Driver is valid for all Series Printer…
EG: the “iB4040” package is valid for all “iB40[X]0” Printer models! -
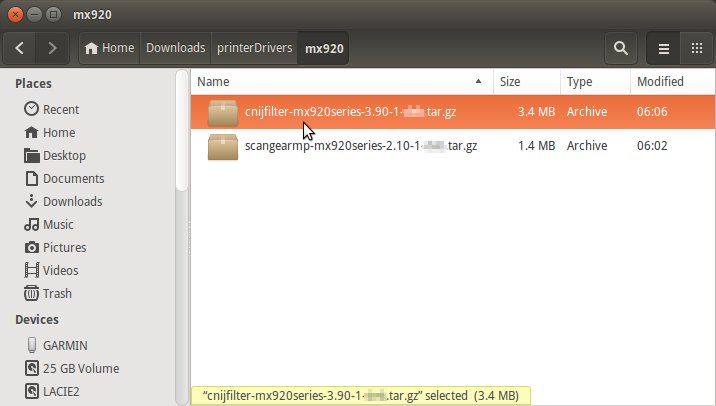
Possibly Double-Click on Printer Driver on the File Manager:
-
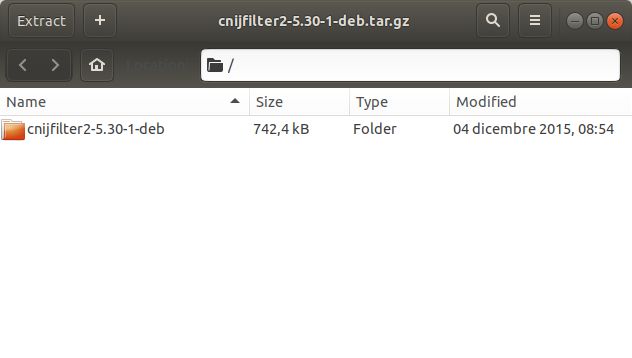
Extract into the /tmp Directory.
-
Installing Canon Printer Driver
Access the Target location:cd /tmp/cnijfilter*
Run the Installation script:
sudo ./install.sh
You could be asked to Connect and Turn On the Printer…
In case of Installation Issues see this Troubleshooting!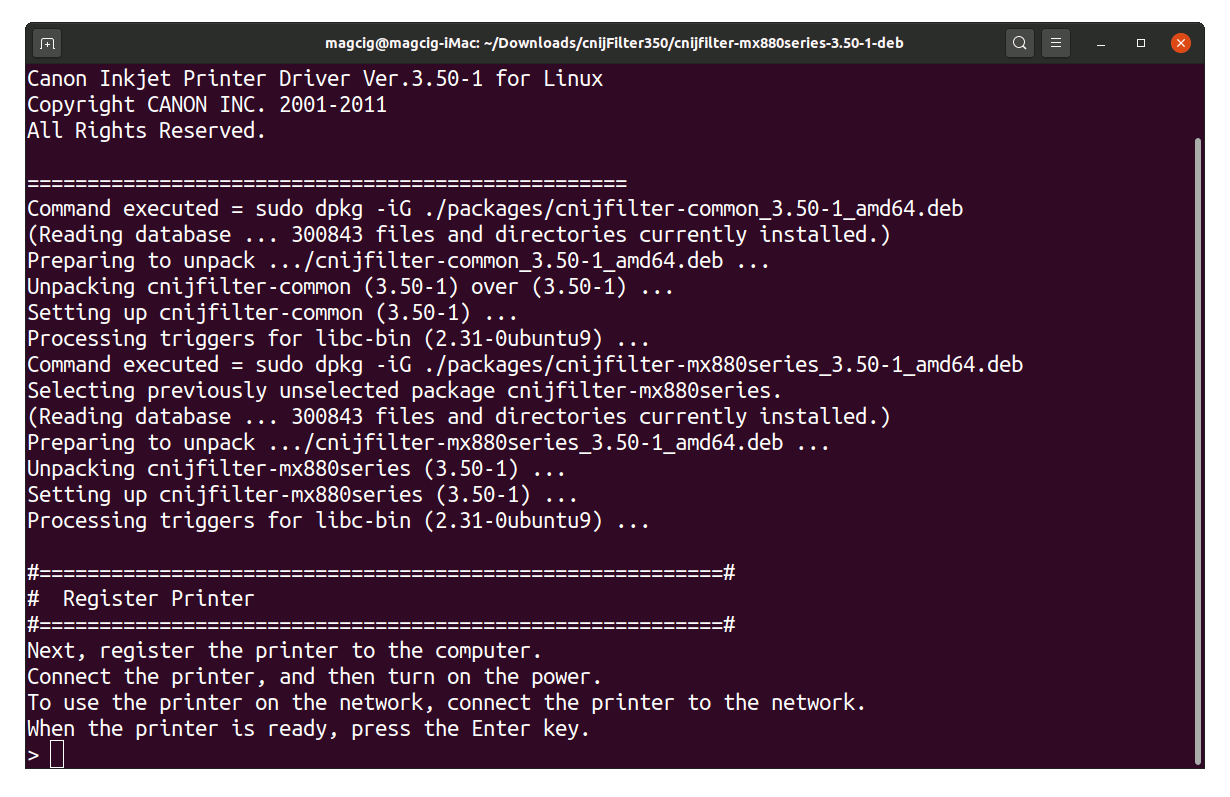
Now in case of Issue then try first to execute:cd packages
And then for 64-bit Systems:
sudo apt install ./*amd64.deb
Instead on 32-bit:
sudo apt install ./*i386.deb
-
Again Install/Update CUPS Package
sudo apt-get install cups
And if Freshly installed it need also to Started with:
sudo service cups start
-
Finally, Go on System Settings to Add Printer
And the Printer will be Recognized and Installed. -
How to Get Started with Canon Scanning on Debian