Install Canon PIXMA Driver on Linux Mint 18.1
How to Install Canon PIXMA InkJet Printer on Linux Mint 18.1 Serena LTS Mate/Cinnamon/Xfce/KDE desktop – Step by step Tutorial.
And to Setup Canon PIXMA Printer on Mint Serena it’s easy because it’s enough to Download and Install the Proprietary Driver.
Especially relevant how the procedure is not always the same for all Canon Printers Models and then the Commands May Vary slightly from model to model.
Finally, included in this post you will find also Link to Guide on Get Started with Canon Scanning on Mint.

-
Open a Shell Terminal emulator window
(Press “Enter” to Execute Commands)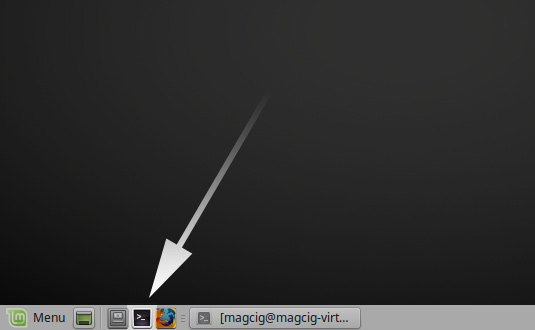
In case first see: Terminal Quick Start Guide.
-
Download Canon Printers Linux Drivers
Search for “linux [myCanonModRounded]”
You may need to Round Down the Printer Model Number as here below…
Eg: for ‘mx472’ search for “linux mx470”
And for ‘MG2240’ search for “linux MG2200” -
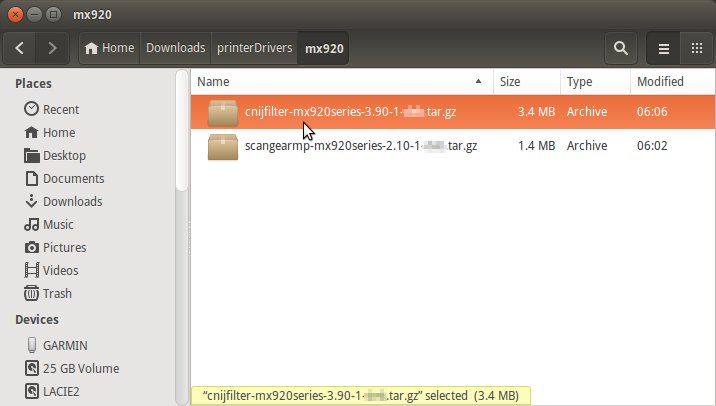
Double-Click/Right-Click & Open with Archive Manager:
-
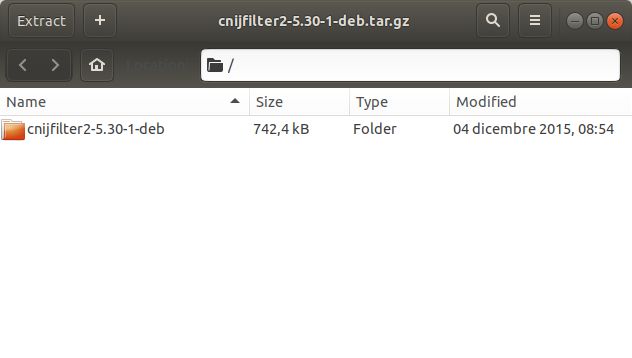
Extract into the /tmp Directory.
-
Only for KDE desktops, Check/Install GDebi Package Installer.
which gdebi
If not there then:
sudo apt install gdebi-core gdebi
If Got “User is Not in Sudoers file” then see: How to Enable sudo
-
Install the Canon Packages
Access the Target with:cd /tmp/cnijfilter*deb/packages
For 32-bit Systems:
sudo gdebi ./*i386.deb
For 64-bit Systems:
sudo gdebi ./*amd64.deb
Or If No cnijfilter Directory then instead:
cd /tmp/
And:
sudo su -c "gdebi ./cnijfilter*.deb"
-
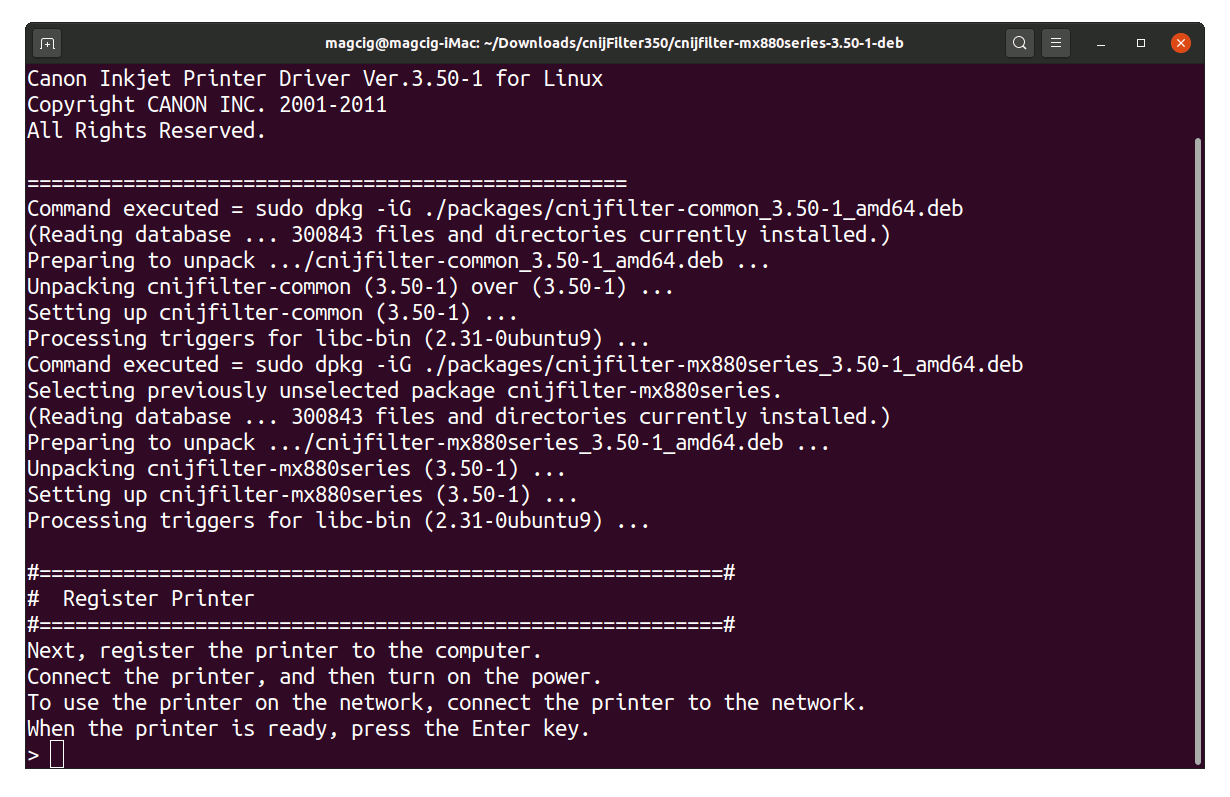
Installing Canon Printer Driver:
If No cnijfilter Directory then Skip this Step!cd /tmp/cnijfilter*
Connect & Power On your Printer.
sudo ./install.sh
In case of Installation Issues see this Troubleshooting!
-
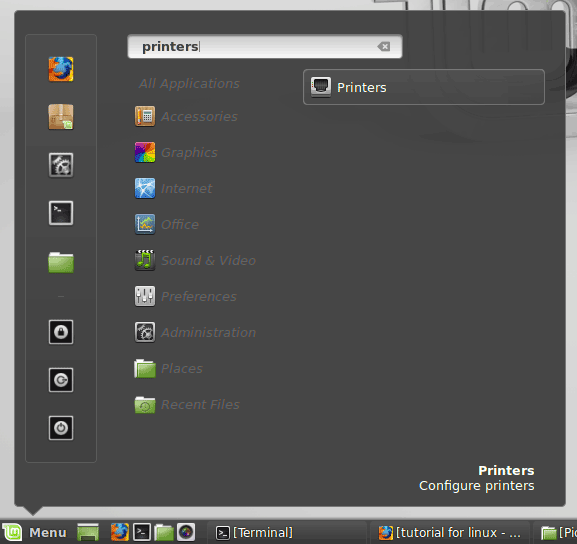
Open Configure Printer App
-
Finally, Add Printer
And it should be Recognized and Installed!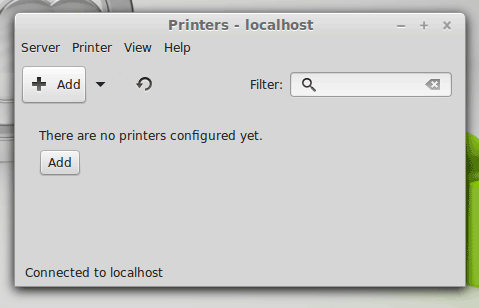
-
How to Getting Started with Canon Scanners on Mint