Install Canon imageCLASS Linux Mint 17
How to Install Canon imageCLASS on Mint 17 Qiana/Rafaela/Rebecca/Rosa GNU/Linux desktop – Step by step Tutorial.
And the Canon imageCLASS Setup on Linux Mint is Quick and Easy, it involves at most some basic Shell commands execution.
Finally, Included in the Linux Mint 17 Canon imageCLASS Setup Guide you find also detailed instructions to Get Started with Canon Scanning on Mint.

-
Open a Shell Terminal emulator window
(Press “Enter” to Execute Commands)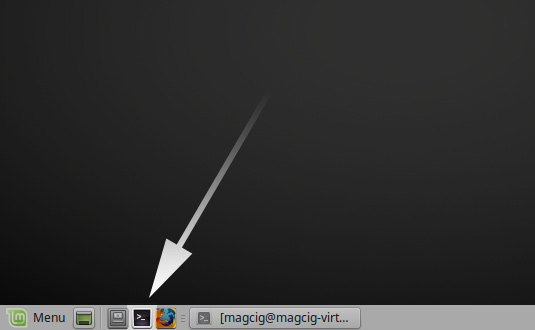
In case first see: Terminal QuickStart Guide.
-
Download Canon imageCLASS Linux Mint Drivers
Search for your Canon imageCLASS Printer Model.
And Grab the Latest UFRII available Driver. -
If Needed Double-Click & Open with Archive Manager
Then Extract into the /tmp directory: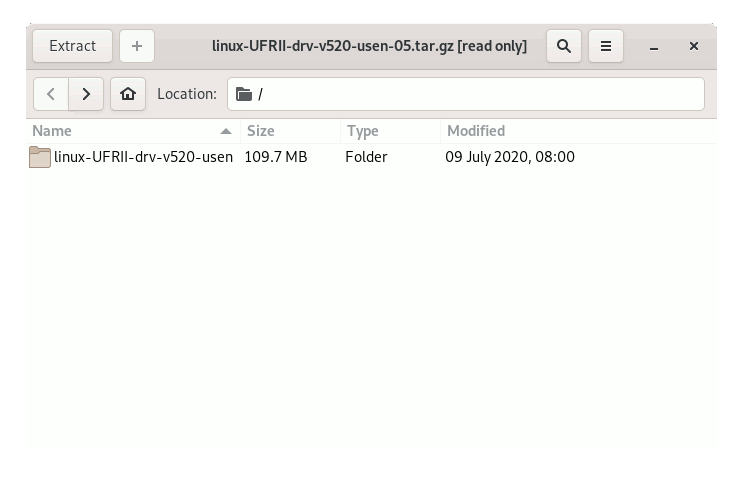
-
Follow Checking/Installing GDebi Package Installer:
which gdebi
If Not there then:
sudo apt-get update
sudo apt install gdebi-core gdebi
If Got “User is Not in Sudoers file” then see: How to Enable sudo
-
Install Canon imageCLASS CQue/UFRII Driver.
If found CQue Driver on your printer then:
sudo gdebi ~/Downloads/CQue*.deb
Else for UFRII:
First, change to the Target Directory
For 32-bit Systems:cd /tmp/*/32-bit*/Debian
For 64-bit Systems:
cd /tmp/*/64-bit*/Debian
Next Install UFRII Packages with:
sudo gdebi ./*.deb
And Finally, Run the Installation Script:
cd ../..
sudo ./install.sh
-
Finally, Add Printer
And it should be Recognized and Installed!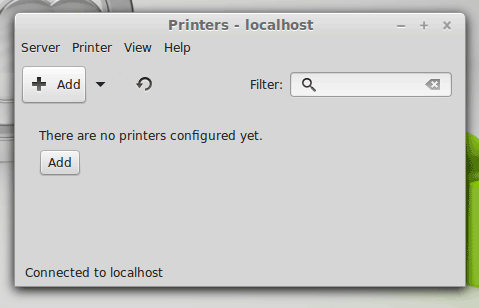
-
How to Get Started with Canon Scanning on Linux Mint