Install Coedit D IDE on Ubuntu 18.04 Bionic
Install Coedit D IDE on Ubuntu 18.04 Bionic LTS 64-bit GNU/Linux – Step by step Tutorial.
And Coedit for Ubuntu Bionic is a Complete D IDE which includes its Compilers, Tools and Libraries.
Moreover, Coedit includes Support for All D Compilers and for DUB Project and Scripts.
Finally, the Coedit Features at a Glance are:
- D Code Completion
- Dynamic D-Scanner Linting
- Single-Click to Compile or Unittest
- Edition Helpers
- GDB GUI
- Static Libraries Manager
- Integrated File Browser

-
1. Launching Terminal
Open a Terminal window
Ctrl+Alt+t on desktop
(Press “Enter” to Execute Commands)
-
2. Downloading Coedit
Download Coedit Package for Ubuntu GNU/Linux
-
2. Installing GDebi
Checking/Installing GDebi Package Installer.
which gdebi
If Not there then:
sudo apt-get update
sudo apt-get install gdebi gdebi-core
-
4. Installing Coedit IDE
Then to Install Coedit IDE on Ubuntu.
sudo gdebi ~/Downloads/coedit*.deb
-
5. Installing DMD
How to Install Required DMD+DUB on Ubuntu
-
6. Running Coedit
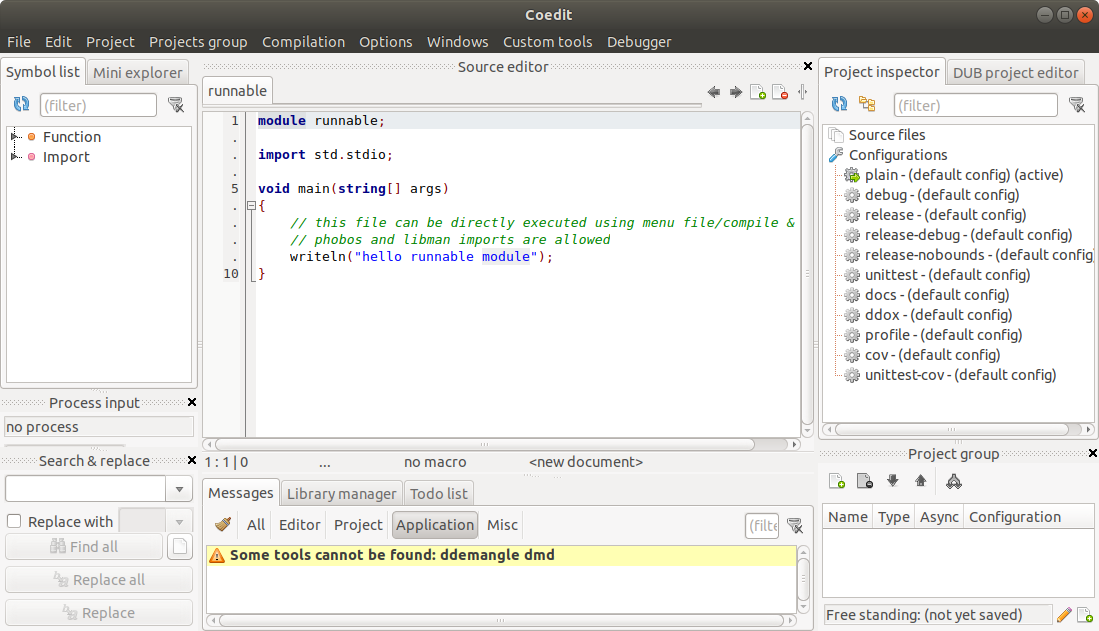
Finally, Launch & Enjoy Coedit on Ubuntu.


So Now I’m truly Happy if My Guide could Help you to Install Coedit D IDE on Ubuntu 18.04 Bionic!