Latest Eclipse Ubuntu 18.04 - Setting Up
-
2. Downloading Eclipse Java for Ubuntu
Download Eclipse IDE 2025-06 R for Java Developers on Linux
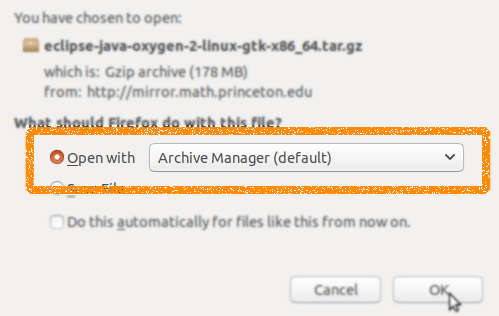
On Firefox if possible on Prompt Select directly “Open with Archive Manager”!

Or after with Chrome Click the Button on the Page’s Bottom, or again Double-Click on it in the File Manager…
-
3. Extracting Eclipse Archive
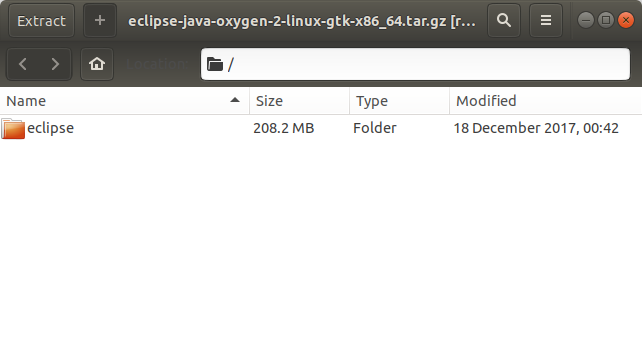
Then Extract Eclipse tar.gz into /tmp Directory
If it does Not Open automatically then Double-Click on File Manager:
Or from Command Line:tar xvzf ~/Downloads/*.tar.gz -C /tmp/
-
4. Installing Eclipse on Ubuntu
Next follow with Ubuntu Eclipse Installation.
For a System wide installation we make the superUser as owner:
sudo chown -R root:root /tmp/eclipse
If Got “User is Not in Sudoers file” then see: How to Enable sudo
Then we Move the Eclipse content into the /opt Directory with:sudo mv /tmp/eclipse /opt/
Again make a Symlink to put Eclipse into the working Path:sudo ln -s /opt/eclipse/eclipse /usr/local/bin/eclipse
5. Oracle Java JDK Installation
How to Install Recommended Oracle Java JDK on Ubuntu
To check your current JDK version:javac --version && java -XshowSettings:properties -version 2>&1 | grep 'java.vendor'
If it’s the official Oracle JDK, the output will include:
java.vendor = Oracle Corporation.
Contents