WebStorm IDE Xubuntu Installation Guide
How to Install and Getting Started with WebStorm IDE in Xubuntu 18.04 Bionic LTS GNU+Linux desktop – Step by step Tutorial.
And WebStorm for Xubuntu 18.04 is a lightweight yet powerful IDE, perfectly equipped for complex client-side development and server-side development with Node.js.
Moreover, WebStorm IDE is for Development in JavaScript, Node.js, Angular.js, Meteor, TypeScript, CoffeeScript, Dart, SASS, CSS and HTML.
Finally, WebStorm IDE main Features:
- Intelligent Coding Assistance
- Debugging, Tracing & Testing
- Seamless Tool Integration
- IDE features

-
Open a Terminal Shell emulator window
Ctrl+Alt+t on desktop
(Press “Enter” to Execute Commands)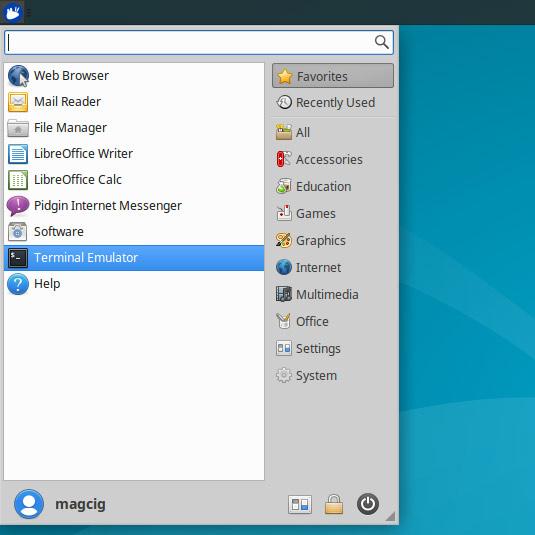
-
Download Latest WebStorm 30 day Trial Installer
-
Double-Click on Archive and Extract into /tmp.
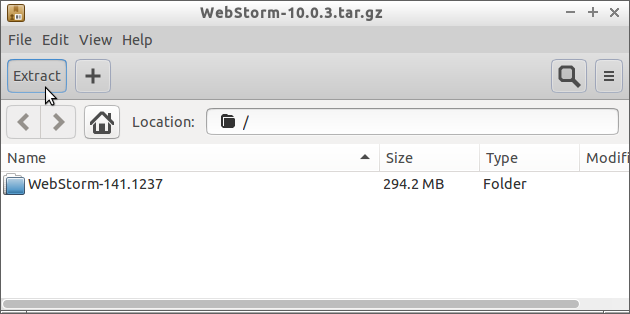
Or from Command Line:tar xvzf ~/Downloads/WebStorm*.tar.gz -C /tmp/
-
Installing WebStorm IDE on Xubuntu GNU/Linux.
Giving the right Permissions:
sudo chown -R root:root /tmp/WebStorm*
If Got “User is Not in Sudoers file” then see: How to Enable sudo
Relocating WebStorm contents:sudo mv /tmp/WebStorm* /opt/WebStorm
Making a symlink:
sudo ln -s /opt/WebStorm/bin/webstorm.sh /usr/local/bin/webstorm
-
Launching the WebStorm IDE.
webstorm
Install as a Trial or Insert your Credentials…
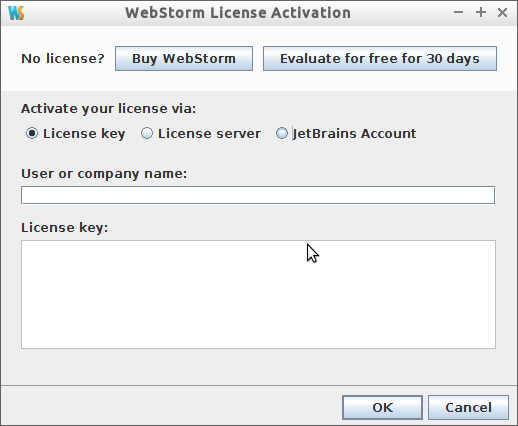
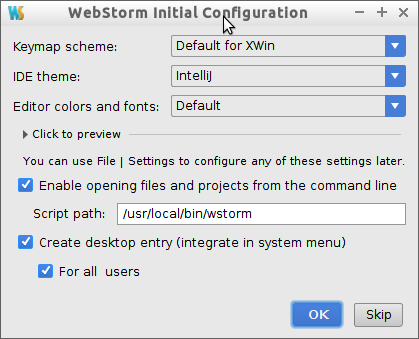
Finally, confirm for Path updating and menu Launcher Creation!
-
Getting Started with WebStorm IDE
