VMware Workstation 14 Player on Ubuntu 18.04 Installation Guide
How to Install VMware Workstation 14 Player on Ubuntu 18.04 Bionic LTS 64-bit GNU/Linux desktop – Step by step Tutorial.
And VMware Workstation 14 Player for Ubuntu 18.04 (formerly known as VMware Player Pro) is a streamlined offering of VMware Workstation Pro 14 that is ready for Windows 10, offers enhanced 3-D graphics support and improved virtual machine performance.
Especially relevant: you do Not need to Buy it because the VMware Workstation Player 14 is Free for Non Commercial Use.

-
First, Open a Shell Terminal emulator window
Ctrl+Alt+t on desktop
(Press “Enter” to Execute Commands)
-
Then Install the Required Packages
sudo apt install gcc build-essential libaio1
Enter your Admin Pass to Execute the Command.
If Got “User is Not in Sudoers file” then see: How to Enable sudo -
Download VMware Workstation Player 14 Free
-
So now Run VMware-Workstation Bundle
Access the VMware Workstation Bundle Location:cd $HOME/Downloads
Give Execution Permissions:
chmod +x ./VMware-Workstation*14*.bundle
Then Run the VMware Workstation Bundle:
sudo ./VMware-Workstation*14*.bundle
If the Graphical Installer do Not Launch then type ‘q’ to Accept License and Follow CLI Wizard.
-
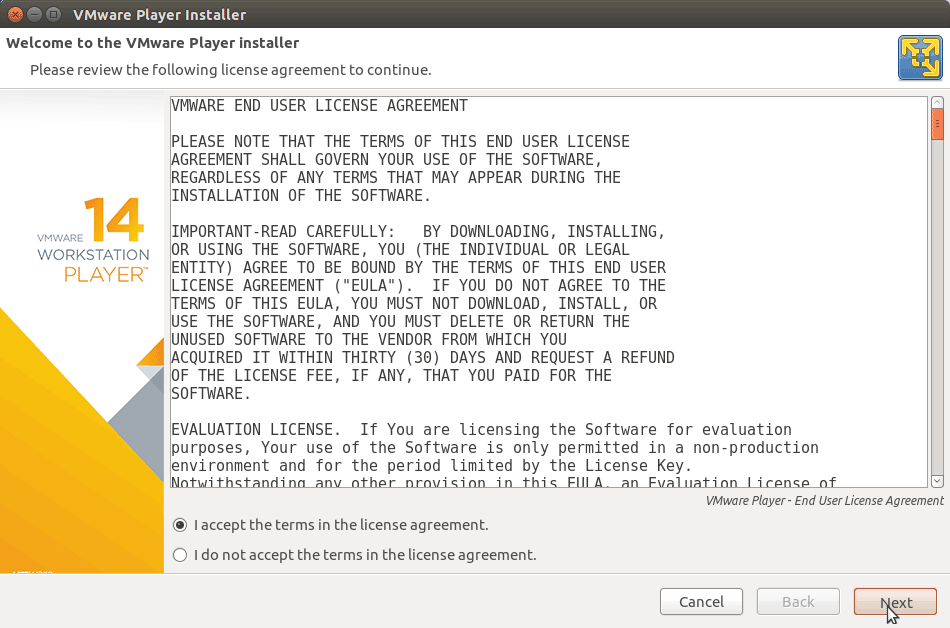
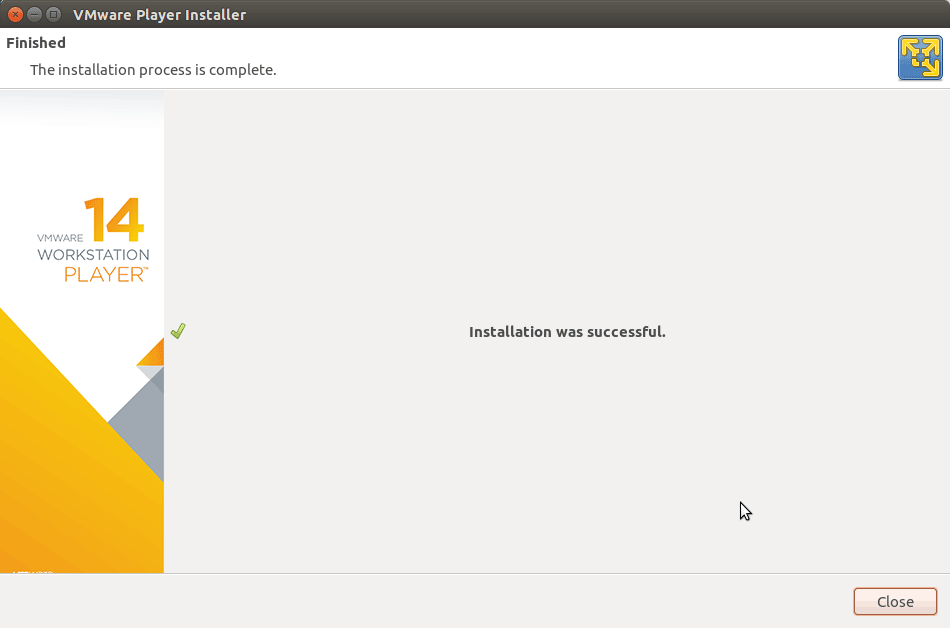
And Follow the VMware Workstation Player 14 WorkFlow
Accept the Licenses:
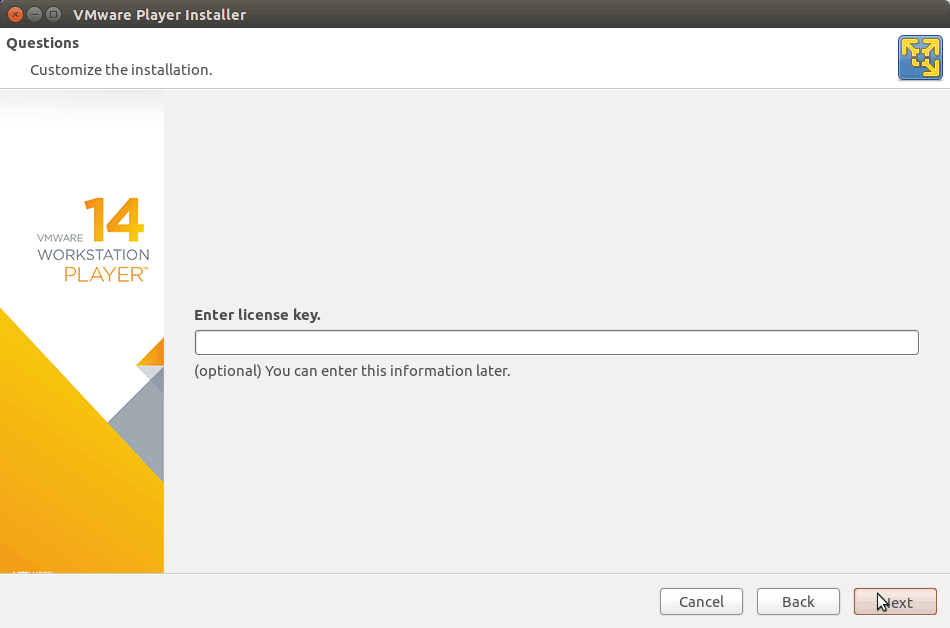
Then Possibly Insert the License Key if Already have One:

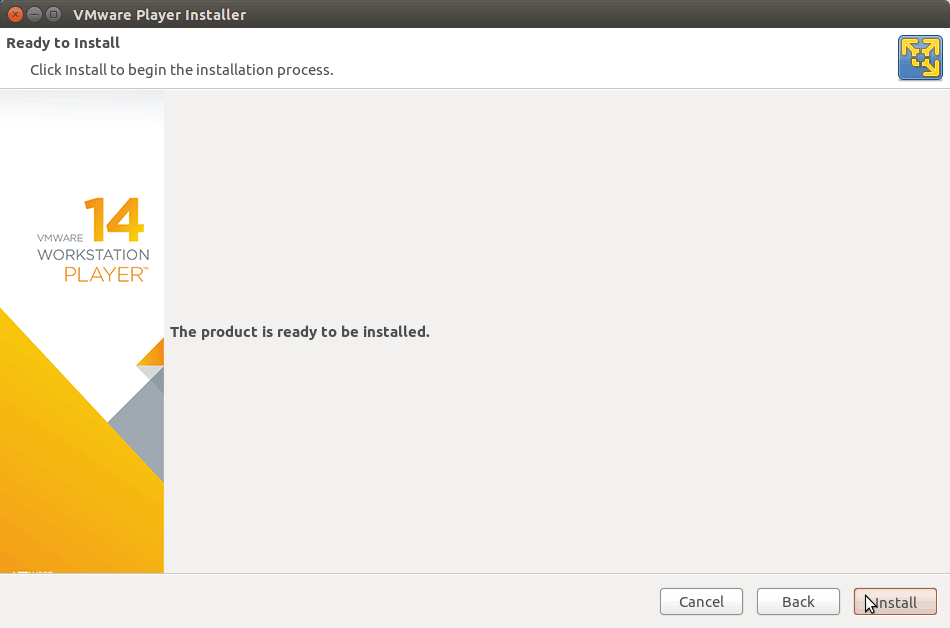
Then Start Installation:


-
Finally, Enjoy VMware Workstation Player 14 on Ubuntu ;)


-
How to Install VMware-Tools on VMware Workstation Guests:
How to Install Google-Chrome Web Browser on Ubuntu Linux
Installing Google-Chrome Web Browser on Ubuntu.