Swift Programming Quick Start for Xubuntu 18.04 Bionic
Hello Xubuntu User! Install Swift Compiler and Getting Started with Swift Programming on Xubuntu 18.04 Bionic LTS GNU/Linux – Step by step Tutorial.
And the Swift Xubuntu 18.04 Release includes: Compiler, Lldb, and related Tools.
Moreover, Swift is a Programming Language for iOS, macOS, watchOS, and tvOS apps that builds on the best of C and Objective-C, without the constraints of C compatibility.
Then Swift‘s Clean Slate, Backed by the mature and much-loved Cocoa and Cocoa Touch Frameworks, is an opportunity to Reimagine how Software Development works.
Again, the Swift Compiler is principally responsible for translating Swift source code into efficient, executable machine code.
However, the Swift Compiler Front-End also Supports a number of other Tools, including IDE integration with Syntax Coloring, Code Completion, and other conveniences.

-
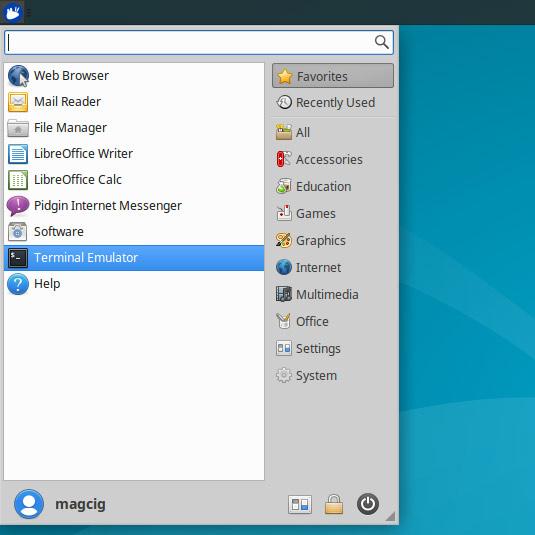
Open a Terminal Shell emulator window
Ctrl+Alt+t on desktop
(Press “Enter” to Execute Commands)
In case first see: Terminal Quick Start Guide.
-
Install the Required Package.
sudo apt install clang libicu-dev
If Got “User is Not in Sudoers file” then see: How to Enable sudo
-
Download Swift Release for Xubuntu Linux
-
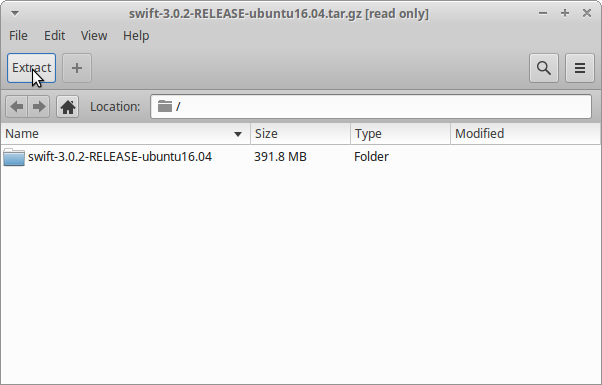
Double-Click on Archive and Extract into /tmp.
Or from Shell:
tar xvzf ~/Downloads/swift*tar.gz -C /tmp/

-
Relocate the Swift stuff.
sudo mv /tmp/swift* /opt/swift
And then Set the SuperUser as Owner:
chown -R root:root /opt/swift
Furthermore, import the GPG Key:
wget -q -O - https://swift.org/keys/all-keys.asc | sudo gpg --import -
-
Amending the User PATH.
echo 'export PATH=/opt/swift/usr/bin:$PATH' >> ~/.bashrc
ReLoad the PATH simply with:
bash
-
Testing Swift Installation.
swift --version
In Output you should see the Swift version notice…
-
How to Quick Start with Swift Programming