Cura openSUSE 42.x Installation Guide
How to Install Ultimaker Cura in openSUSE 42.x LEAP GNU/Linux – Step by step Tutorial.
And Ultimaker Cura for openSUSE 42 prepares your Model for 3D Printing. Optimized, Expert-Tested Profiles for 3D Printers and Materials mean you can Start Printing Reliably in No Time.
Here are some Key Features of Ultimaker Cura:
- Slicing Engine: Ultimaker Cura uses a powerful slicing engine to analyze 3D models and generate the toolpaths required for printing layer by layer. It calculates parameters such as layer height, print speed, and infill density to optimize the printing process.
- Ease of Use: Ultimaker Cura features a user-friendly interface with intuitive tools and settings, making it accessible to both beginners and advanced users. The software provides helpful tooltips and guides to assist users in configuring print settings for their specific needs.
- Customizable Print Settings: Ultimaker Cura offers a wide range of customizable print settings, allowing users to adjust parameters such as layer height, print speed, infill density, support structures, and more. This flexibility enables users to fine-tune their prints for optimal results.
- Plugin Support: Ultimaker Cura supports plugins, which are add-on modules that extend the functionality of the software. Users can install plugins to add new features, import additional file formats, enhance print quality, and integrate with third-party services.
- Material Profiles: Ultimaker Cura includes pre-configured material profiles for a variety of filaments commonly used in 3D printing, including PLA, ABS, PETG, and TPU. These profiles specify optimal print settings for each material, simplifying the printing process for users.
- Print Preview: Ultimaker Cura provides a visual print preview that allows users to visualize the print layers and preview the printing process before sending the job to the printer. This feature helps users identify potential issues and make adjustments to their models or settings as needed.
- Multi-Platform Support: Ultimaker Cura is available for Windows, macOS, and Linux operating systems, ensuring compatibility with a wide range of computers and devices.
- Active Community: Ultimaker Cura has a large and active community of users and developers who contribute to its ongoing development and support. Users can find helpful resources, tutorials, and user forums to assist them in using the software effectively.
Finally, this guide includes instructions on How to Getting Started with Cura on openSUSE Systems.

-
1. Launching Shell Emulator
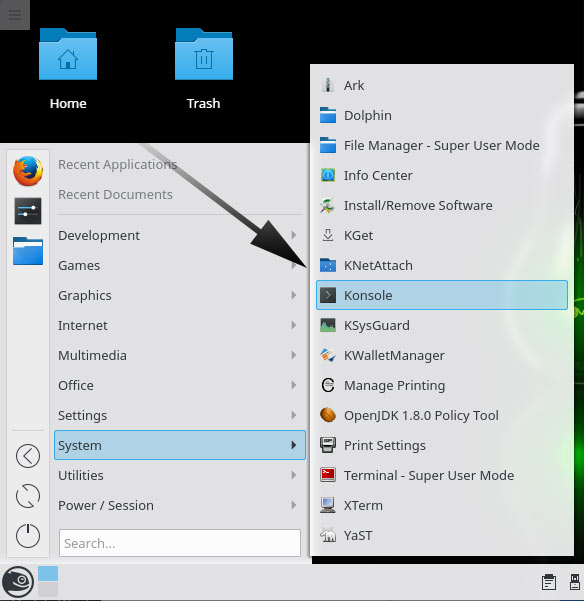
Open a Terminal window
(Press “Enter” to Execute Commands)
-
2. Downloading Cura for openSUSE
Download Ultimaker Cura for openSUSE GNU/Linux
-
3. Giving Execution Permission
Then Give Execution Permissions to Cura AppImage.
chmod +x ~/Downloads/Cura*.AppImage
And after you can Store Cura wherever you prefer on System…
So for Instance to Switch it on your Home Directory do:mv ~/Downloads/Cura* ~
-
4. Running Cura
Finally, Run & Enjoy Cura on openSUSE
From Shell simply with:~/Cura*.AppImage
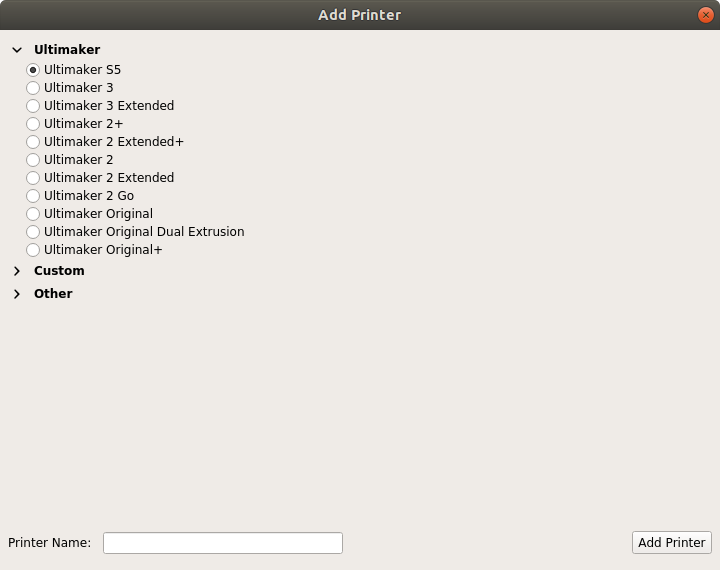
Then Select your Printer:

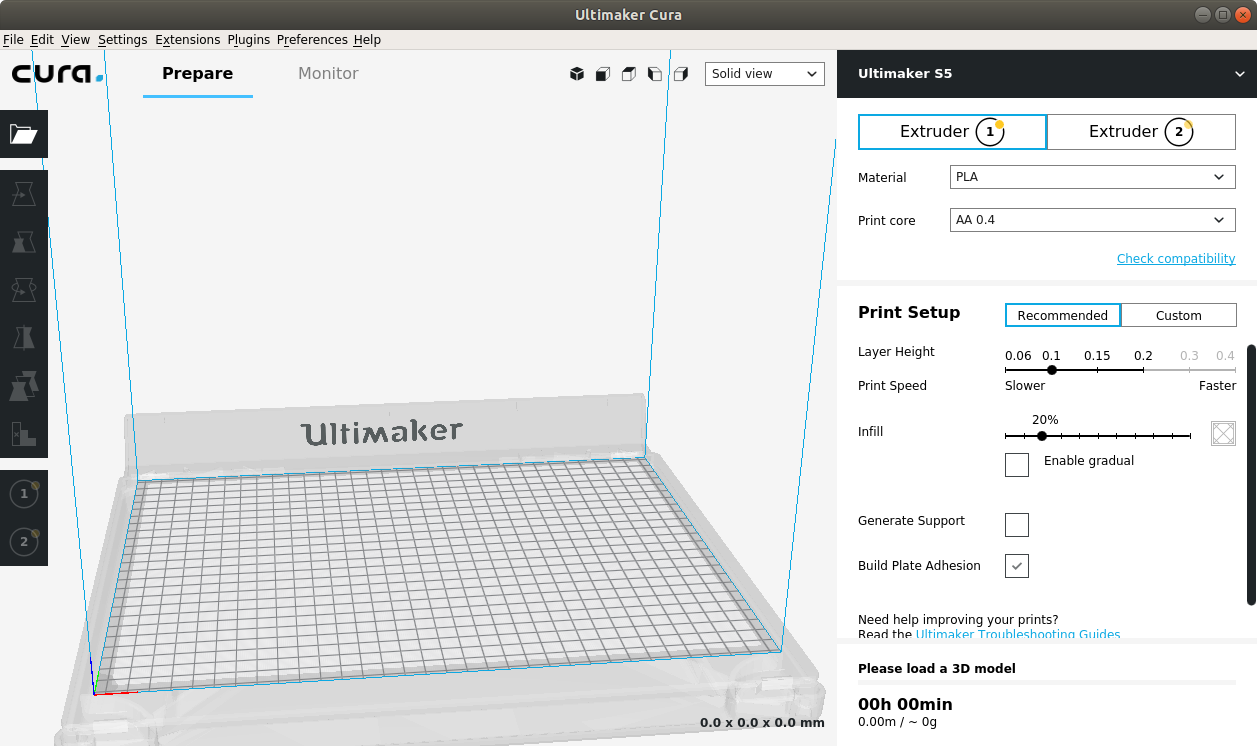
And then you are Ready for the 3D Model Printing! :)

And over the First, Start confirm to Make a desktop Launcher:

-
5. Cura Getting Started Guide
Getting Started with Cura for openSUSE GNU/Linux
So Now I’m truly Happy if My Guide could Help you to Install Cura on openSUSE 42.x LEAP!