Apache Hive Installation on Lubuntu 18.04 Bionic
How to Install Apache Hive in Lubuntu 18.04 Bionic GNU/Linux – Step by step Tutorial.
And Apache Hive for Lubuntu 18.04 is a Data Warehouse Software facilitates Reading, Writing, and Managing Large Datasets residing in distributed storage using SQL.
Especially relevant: the Apache Hive Lubuntu Setup Require both: Hadoop 2+ and Oracle Java 1.8+.
Finally, here it’s described a Hive System-Wide Setup, for a Local one simply Decompress the Archive and Run from a location into your Home folder.

-
1. Installing Java
How to Install Java on Lubuntu GNU/Linux
-
2. Installing Hadoop
How to Install Apache Hadoop on Lubuntu GNU/Linux
-
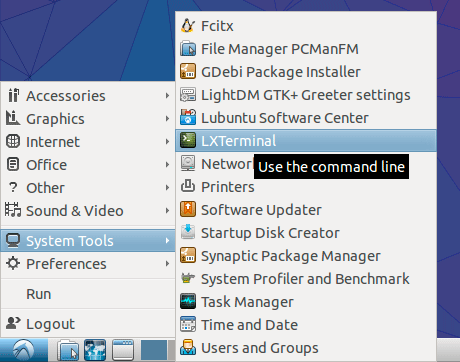
3. Launching Shell Emulator
Open a Terminal window
Ctrl+Alt+t on desktop
(Press “Enter” to Execute Commands)
-
4. Downloading Apache Hive for Lubuntu
Download Apache Hive for Lubuntu GNU/Linux
If possible Select directly “Open with Archive Manager”!
-
5. Extracting Apache Hive Archive
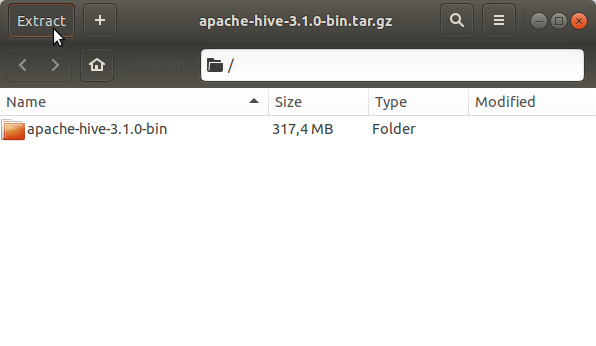
Then Extract Apache Hive tar.gz into /tmp Directory
If it does Not Open automatically then Double-Click on File Manager:
Or from Command Line:tar -xzvf apache-hive*.tar.gz -C /tmp/
-
6. Setting Up Hive
First, Set the SuperUser as Owner with
sudo chown -R root:root /tmp/apache-hive*
Then to Set Up Hive Switch to a Directory into System:
sudo mv /tmp/apache-hive* /opt/apache-hive
-
7. Amending User’s Path
Again Append Hive into the Path
This is strictly needed only to Work with Hive from Command Line..echo 'export PATH=/opt/apache-hive/bin:$PATH' >> ~/.bashrc
Reload the Path with:
bash
-
8. Apache Hive Getting Started Guide
Getting Started with Apache Hive for Lubuntu GNU/Linux
So Now I’m truly Happy if My Guide could Help you to Install Apache Hive on Lubuntu 18.04!