Brother MFC-240C Driver Ubuntu 18.10 Setup
How to Install Brother MFC-240C Driver for Ubuntu 18.10 Cosmic GNU/Linux desktop – Step by step Tutorial.
Especially relevant: with this Brother MFC-240C Driver Ubuntu 18.10 Installer you will also achieve the Scanner Setup.
Finally, Included inside the Article a Link to Guide about How to Getting Started with Brother MFC-240C Scanner Software on Ubuntu Linux.

-
Open a Terminal Shell emulator window
Ctrl+Alt+t on desktop
(Press “Enter” to Execute Commands)
-
Download the Brother MFC-240C Printer Driver Installer for Ubuntu
First, Choose Driver Install Tool
Then Select the Language: English or English (China)
The Driver Installation Script is the Same for All Brother Printers! -
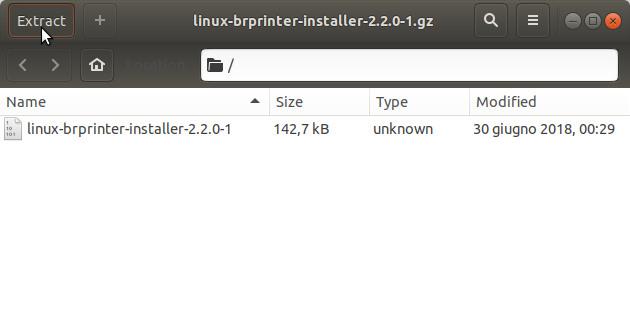
Double-Click on Archive Extract into /tmp

Or from Command Line:
gunzip -c $HOME/Downloads/linux-brprinter-installer*.gz > /tmp/linux-brprinter-installer
-
Give Execution Permission.
cd /tmp
chmod +x linux-brprinter-installer*
If Got “User is Not in Sudoers file” then see: How to Enable sudo
-
Installing Brother Printer Drivers
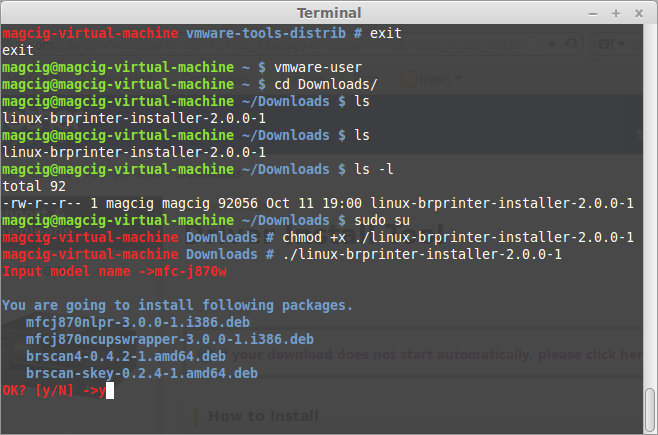
sudo ./linux-brprinter-installer*
In case of “CUPS is not installed” issue then to see How to Install it Here.
When Prompted Insert your Brother Printer Model!

Then the Installer will Provide Automatically to Download and Install the Printer and potentially also the Scanner Drivers…
Again following the CLI wizard, when Prompted about a Device URI:- For a USB Connection Simply Enter “n”!
-
For a Network Shared Connection Setup Go to: http://localhost:631/printers/
Select the Printer
Select “Modify Printer”
Enter your sudo Username & Pass
Select the Protocol and Continue…
For Help see Instructions on:
http://localhost:631/help/network.html
-
Finally, Go on System Settings to Add Printer
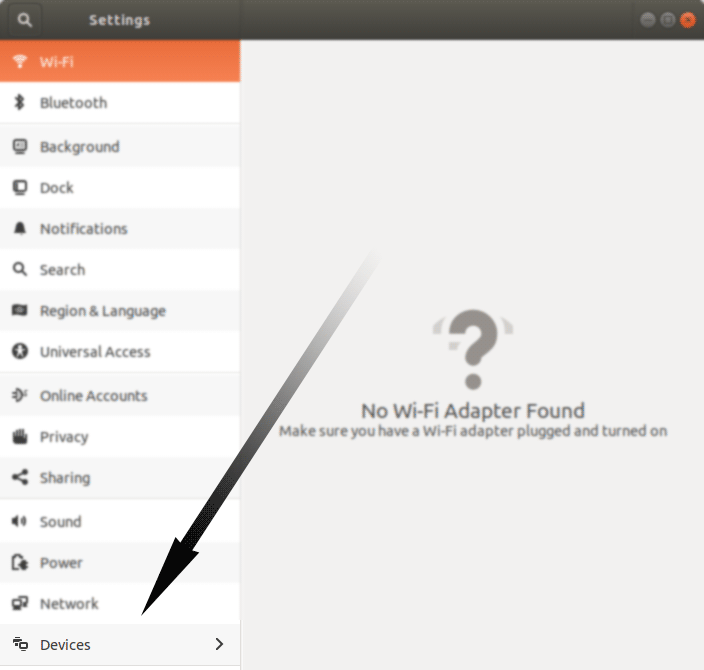
So First, Open Ubuntu Settings:
Simply Hit Cmd/Win and Search for ‘Settings’.
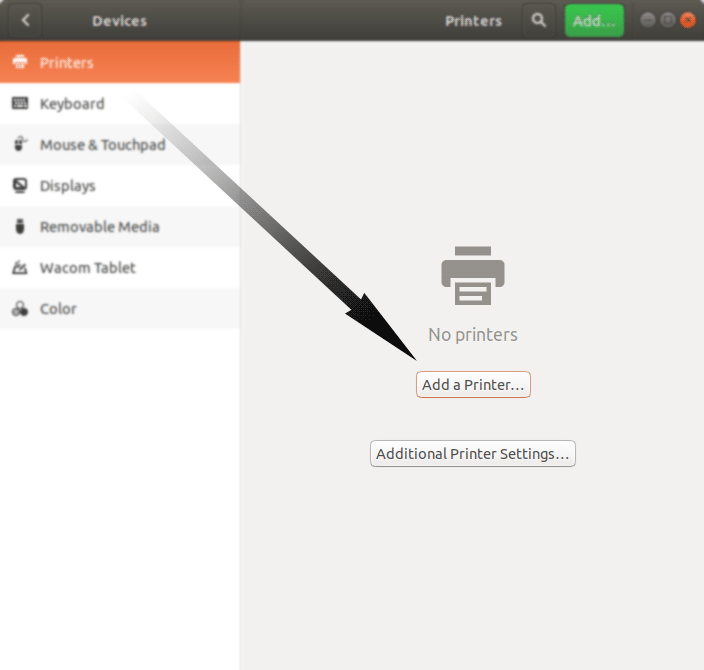
And then Add Brother MFC-240C Printer

Click the ‘Add Printer’ Button:

And the Brother MFC-240C Printer should be Successfully Installed! :)
-
Get Started with Brother Scanning on Ubuntu