Installing
-
2. Downloading
Download Miniconda Installer for Ubuntu GNU/Linux
-
3. Installing
Then to Set up Miniconda on Ubuntu
First, Access the Target, usually in the Downloads folder:
(But if you are in Trouble to Find it out on Terminal then See: How to Access Downloads Folder from Browser)cd && cd Downloads
Then give Execution Permission:
chmod +x ./Miniconda*.sh
Finally, to Setup Miniconda:
./Miniconda*.sh
But for a System Wide Setup instead use the sudo Command like:
sudo ./Miniconda*.sh
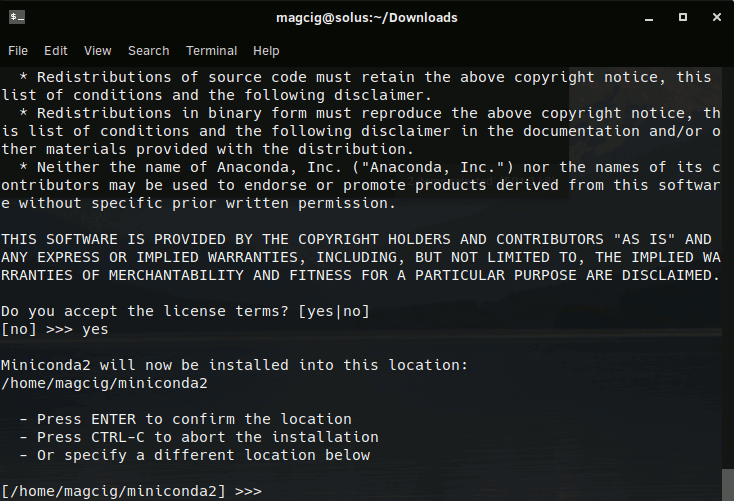
On the License Agreement Type ‘q’ and then ‘yes’ to Accept.

Then Set the Installation Location, for a Local Setup you can simply Confirm the Default location into your User’s Home.

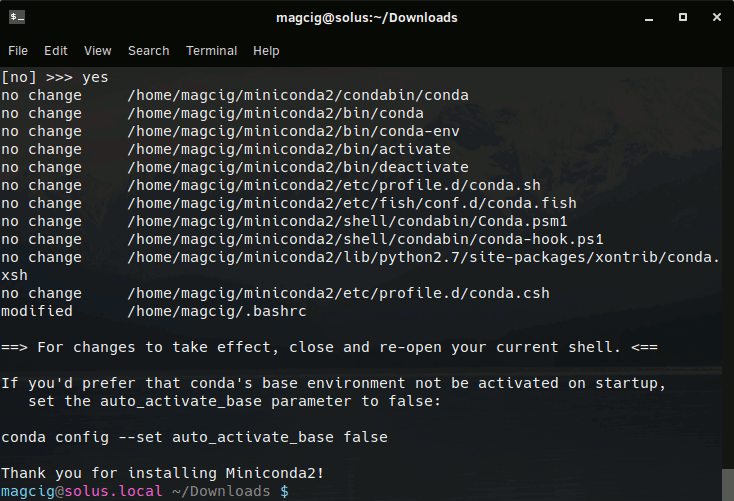
Finally, you’ll be Prompted about conda Inizialization. The Documentation Recommend to answer ‘yes’ to Setup the PATH Automatically.
Then to Activate the conda Command Open a New Terminal Window.
And Test the Miniconda Setup with:conda --help
Contents