Visual Studio Code PCOSLinux - Installation
-
1. Launching Shell Emulator
Open Terminal Window
(Press “Enter” to Execute Commands).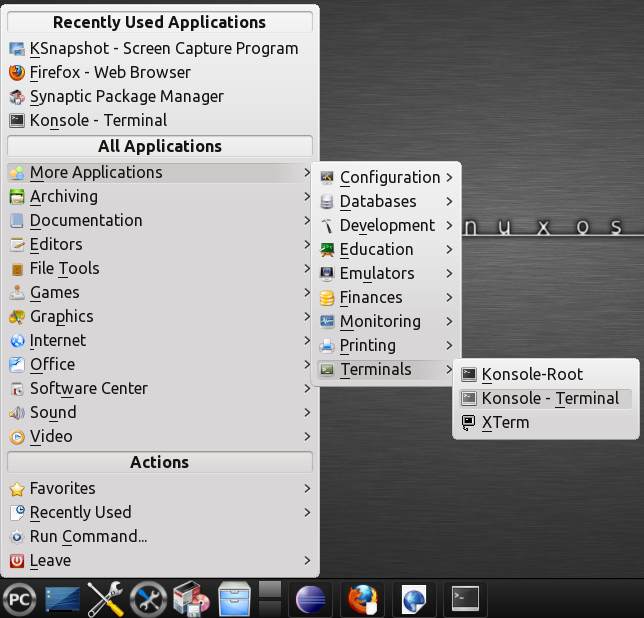
-
2. Downloading Visual Studio Code for PCOSLinux
Download Visual Studio Code for PCOSGNU/Linux
-
3. Extracting Visual Studio Code Archive
Then Extract Visual Studio Code tar.gz into /tmp Directory
If it does Not Open automatically then Double-Click/Right-Click on File Manager.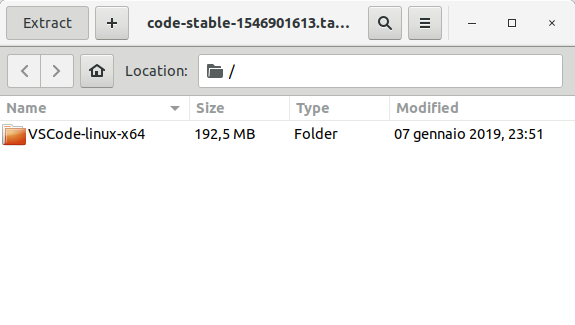
Or from Command Line:tar xvzf ~/Downloads/VSCode-linux*.tar.gz -C /tmp/
-
4. Installing Visual Studio Code
Then to Set up Visual Studio Code on PCOSLinux:
(This a System-Wide Setup, for a Local One without sudo Just Store it on the Home Directory.)sudo mv /tmp/VSCode-linux* /opt/VSCode-linux
Next Make a Symlink for Easy Launching from Shell:
sudo ln -s /opt/VSCode-linux/bin/code /usr/local/bin/code
-
5. Making a Menu App Launcher
How to Create Visual Studio Launcher on Main Menu.
-
6. Launching Visual Studio Code
Finally, Launch & Enjoy Visual Studio Code
Now, to Start from Shell simply:code
Or Best to Make Use of the Desktop Launcher:

So Now I’m truly Happy if My Guide could Help you to Install Visual Studio Code on PCOSLinux!
Contents