Canon i-SENSYS LBP253x Linux Mint Setup
How to Install Canon LBP253x i-SENSYS Printer Driver on Linux Mint desktop – Step by step Tutorial.
And the Canon LBP253x Driver Installation procedure is Quick & Easy and simply involves the execution of some basic Commands on the Terminal Shell emulator.
Canon is recommended when available the CQue Driver should be used as the default Product on all Linux systems.
Canon’s CQue is a powerful tool to create and manage Printer Queues for Canon devices on Linux platforms.
Especially relevant: to achieve the Setup follow the included instructions on How to Add Printer on Linux desktops.
CQue Key Features:
-
Allows the creation of specific or dedicated printer queues giving access to all the features of the Canon device with just few mouse clicks.
-
Create and use a single printer queue with different parameters.
-
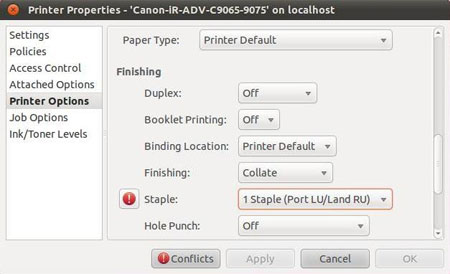
Manages all the features of Canon devices (paper trays, duplex printing, stapling, paper formats, etc.) as specified by the PPD file.
-
Supports advanced features like: mailbox printing, secured printing and printing with department accounting.
-
Supports many command line options to fine-tune printing on-line.
-
Automatic internal transformation of PS and PDF data to PCL5, or PCL6 (or PDF to PS) through the foomatic engine of Linux.


-
1. Launching Terminal
Open a Shell Terminal emulator window
(Press “Enter” to Execute Commands)
In case first see: Terminal QuickStart Guide.
-
2. Downloading Driver
Download Canon LBP253x Linux Mint Driver
-
3. GDebi Setup
Checking/Installing GDebi Package Installer:
which gdebi
If Not there then:
sudo apt-get install gdebi gdebi-core
If Got “User is Not in Sudoers file” then see: How to Enable sudo
-
4. Accessing Target
Changing to the Canon Target Directory:
(When Downloaded with Firefox it may bee instead into the /tmp/mozilla* directory)cd ~/Downloads
Check if the Driver is there:
ls | grep CQue
-
5. Installing Driver
Now to Install Canon LBP253x CQue Driver:
sudo gdebi ./CQue*.deb
-
6. Adding Printer
Finally, Go to Add Printer
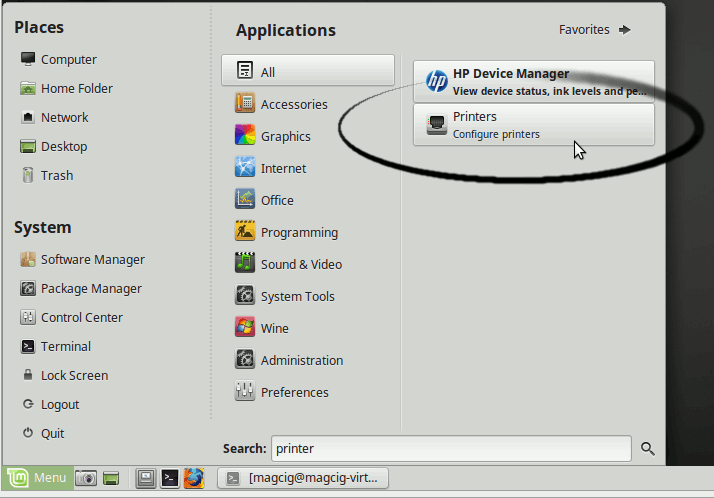
First, Launch the Printer Configure App
So on Mate/Cinnamon/Xfce simply start typing “printer” in the left-bottom Menu Search:
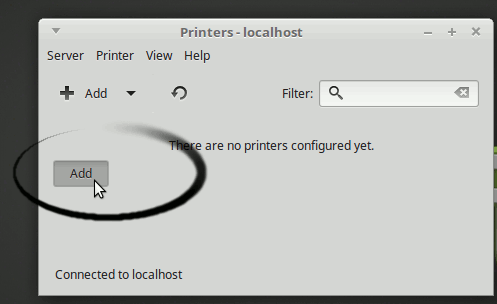
Next Choose Add
And Follow with the Wizard’s Setup…
Now “Install PPD File” and then Browse for the Driver:How to Find Printer PPD File Location on Mint
Or else try to Search it in the “Printers Database”.