Oracle 12c R2 Ubuntu 19.04 – Step by step Guide
The tutorial shows you step-by-step and Visually How to Install Oracle 12c R2 Database on Ubuntu 19.04 Disco Amd64 GNU/Linux desktop/server – Step by step Tutorial.
And this Oracle 12c R2 Ubuntu 19.04 Installation Guide Includes All the Essentials Commands and Basic Screenshots Process.
The Process is Extended and Tricky so it require a little patience and confidence with the Command Line shell.
Especially relevant: Ubuntu-like Systems are Not in the List of Oracle 12c R2 Database Supported OS So you should Use It At Most for Development and Not for Production.
Now Relax and Take the Time of Reading, Understanding and Executing Carefully the Instructions Contained here.

-
1. Downloading
Download the Oracle 12c R2 Database for Linux:
Oracle 12c R2 .zip for Linux
The Link Contains the List of Oracle 12c R2 Database Releases. -
2. Accessing Shell
Open a Shell Session or Terminal Emulator Window
Ctrl+Alt+t on desktop
(Press “Enter” to Execute Commands).
In case first see: Terminal QuickStart Guide.
Or Login into Server Shell. -
3. Extracting
Then Extract Oracle 12c into /tmp
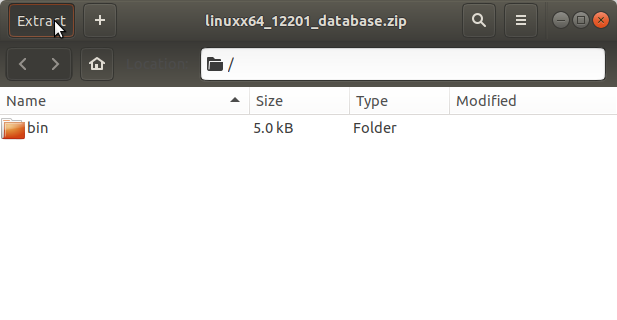
Possibly Double-Click/Right-Click and Open with Archive Manager:
Or From Command Line:unzip -d /tmp linuxx64_122*.zip
Contents