Installing
[ad_slider autoplay=”true” interval=”8″ count=”5″]
-
3. Downloading ClipGrab
Download ClipGrab for Ubuntu GNU/Linux
Get ClipGrab .AppImage for Linux[ad_slider autoplay=”true” interval=”8″ count=”5″] -
4. Setting Permissions
This Step is usually Needed to Give Ececution Permission to the User
First, Access the Target, usually in the Downloads folder:
(But if you are in Trouble to Find it out on Terminal then See: How to Access Downloads Folder from Browser)cd && cd Downloads
To Check that there is run:
ls . | ClipGrab
And Give Execution Permission:
chmod +x ClipGrab*.AppImage
-
5. Setting Up ClipGrab
(Optional because you can simply Run AppImages from Anywhere…)
So Now, if you wanna to Set up ClipGrab on Ubuntu
Make a Folder to Hold the AppImages with:mkdir ~/appImages
And finally Switch ClipGrab in the Location:
mv ClipGrab*.AppImage ~/appImages
-
6. Launching ClipGrab
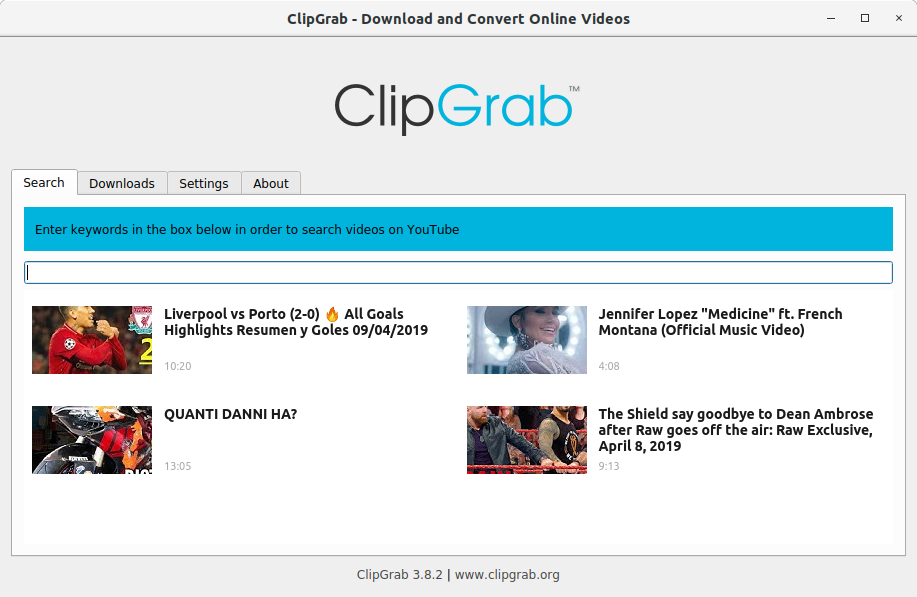
Finally, Launch & Enjoy ClipGrab
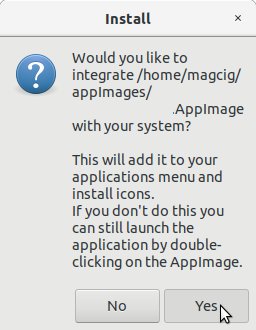
For the First, Time simply Double-Click on it in the File Manager..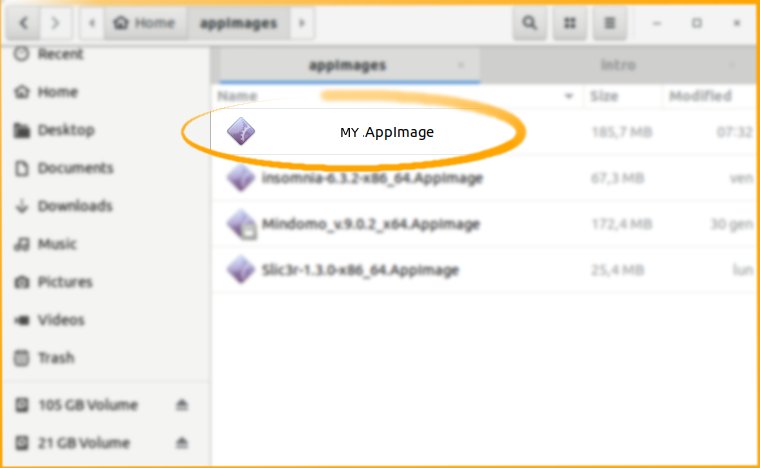
Then Over the First, Start Confirm to Make a Launcher!
[ad_slider autoplay=”true” interval=”8″ count=”5″]
So Now I’m truly Happy if this Info could Help you to Install ClipGrab on Ubuntu 18.04 Bionic!
Contents