GNU/Linux Ubuntu 18.04 Installing Avidemux – Step by step Guide
How to Install Avidemux on Ubuntu 18.04 Bionic LTS GNU/Linux – Step by step Tutorial.
And Avidemux for Ubuntu Bionic is a Free Video Editor designed for simple Cutting, Filtering and Encoding tasks. It supports many File Types, including AVI, DVD compatible MPEG files, MP4 and ASF, using a variety of Codecs.
Moreover, Avidemux tasks can be Automated using Projects, Job Queue and Powerful Scripting Capabilities.
Finally, this guide includes detailed instructions on Getting Started with Avidemux on Ubuntu.

-
1. Launching Shell Emulator
Open a Terminal window
Ctrl+Alt+t on desktop
(Press “Enter” to Execute Commands).In case first see: Terminal Quick Start Guide.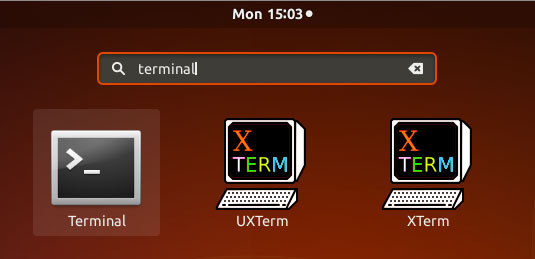
Contents