Install Canon Scanner Fedora 29
[ad_slider autoplay=”true” interval=”8″ count=”5″]
How to Install Canon Scanner Scangear Driver on Fedora 29 GNU/Linux desktops – Step by step Tutorials.
And to Install Fedora 29 Canon Scanner it’s enough to Download and Install the Canon Scanner Driver on Fedora.
Finally, Included in the GNU/Linux desktops Canon Scanner Installation Tutorial you will find also Link to Guide for Quick Start with Canon Scanning on Fedora.

-
Open a Shell Terminal emulator window
(Press “Enter” to Execute Commands)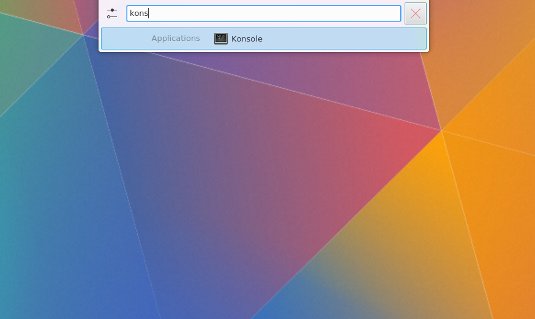
In case first see: Terminal Quick Start Guide.
-
Download Canon Printer/Scanner Fedora Drivers
Canon Scanner .rpm Driver[ad_slider autoplay=”true” interval=”8″ count=”5″]Search for “linux [myCanonModNumRounded]”
You may need to Round Down the Printer Model Number as here below…
Eg: for ‘mx472’ search for “linux mx470”
And for ‘MG2240’ search for “linux MG2200” -
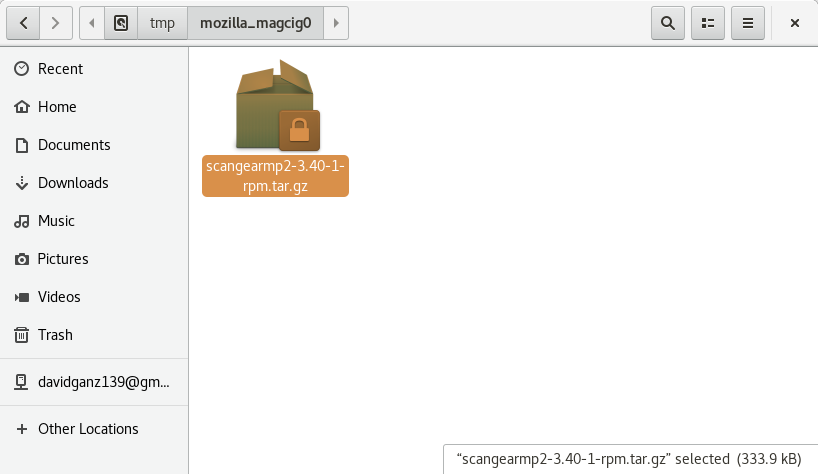
Confirm to Open with Archive Manager on Browser
Or after Double-Click/Right-Click on Scanner Driver(When Downloaded with Firefox may be located in /tmp/mozilla* Dir)
-
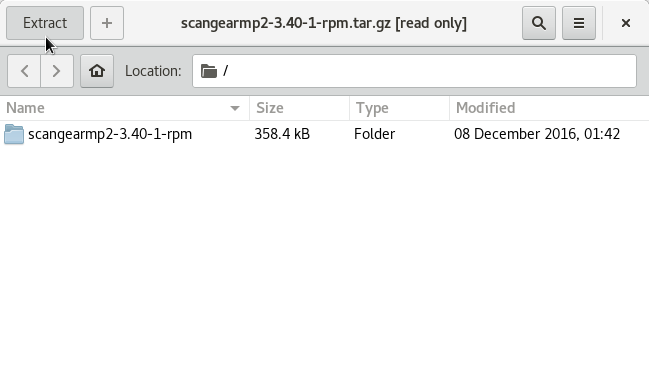
Extract into the /tmp Directory.
-
Installing Canon Scanner Driver
Access the Target location:cd /tmp/scangearmp-*-rpm
Run the Installation script:
sudo ./install.sh
During installation you may be Asked to Connect & Power On your Printer…
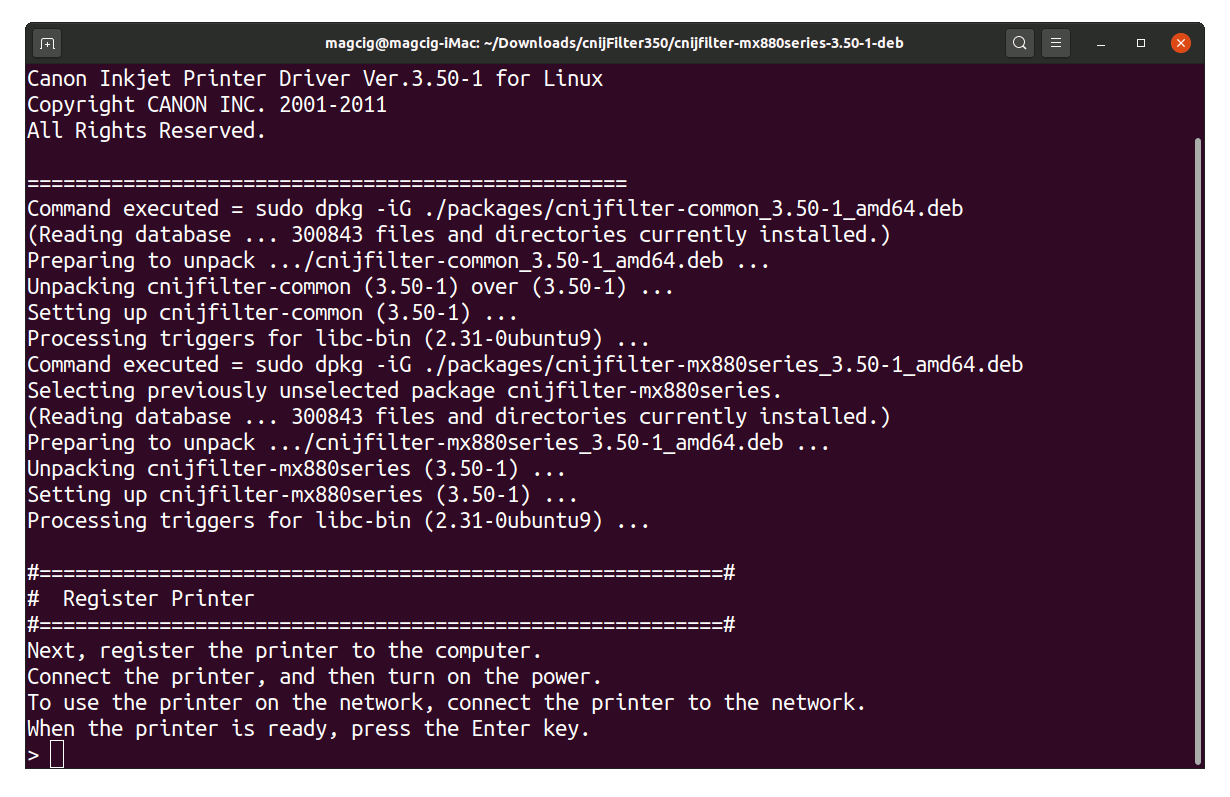
Now in case of Issue then try first to execute:cd /tmp/scangear*/packages
sudo su -c "yum install ./*.rpm"
-
How to Get Started with Canon Scanning on GNU/Linux desktops
GNU/Linux desktops Canon Scanner Quick Start[ad_slider autoplay=”true” interval=”8″ count=”5″]