$schemamarkup = get_post_meta(get_the_ID(), 'schemamarkup', true); if(!empty($schemamarkup)) { echo $schemamarkup; }

How to Install Oracle 11g R2 Database on Ubuntu 18.04 64-bit

June 13, 2019 | By the+gnu+linux+evangelist.

Install DB Software

  1. 12. Installing Software

    Finally, to Install the Oracle 11g Database Software
    First, Run the Installer:

    cd /tmp/database
    chmod -R +x /tmp/database
    ./runInstaller

    If you Get: “Check if the DISPLAY variable is set. Failed”. Look Link Below.

    Link2+ Oracle 11g Database Troubleshooting
    .
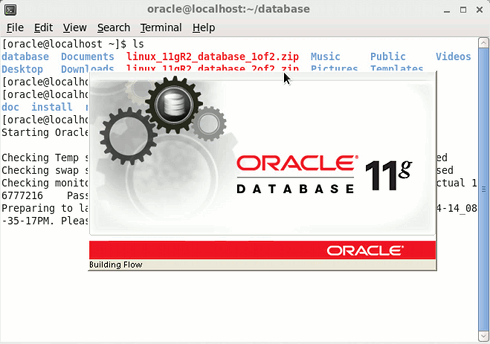
    Getting-Started with Oracle 11g Database on Ubuntu 18.04 Bionic LTS 64-bit - Linux Start Oracle 11g R2 Installation

    On the first screen Just Leave eMail Blank and Un-Check the Demand of Security Update Support then Click on Next
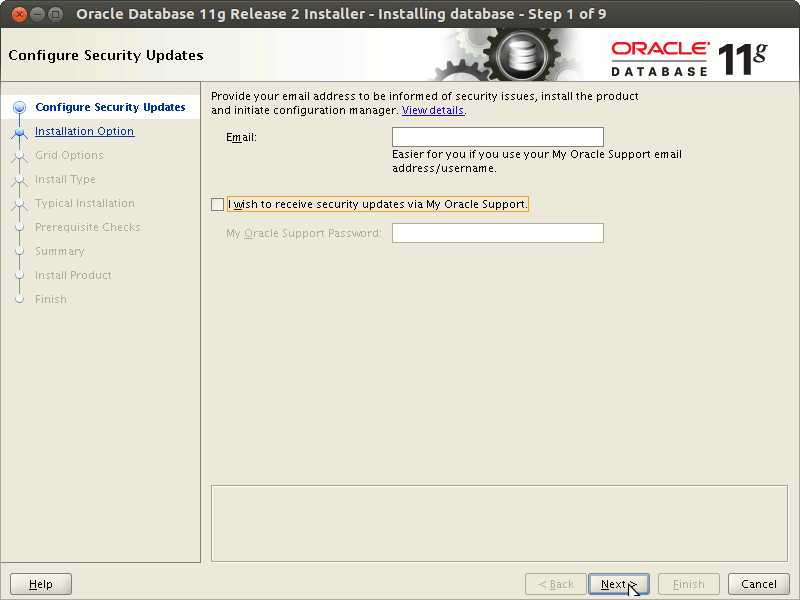
    Getting-Started with Oracle 11g Database on Ubuntu 18.04 Bionic LTS 64-bit - Linux Oracle 11g R2 Installation Step 1 - Disabling Security Updates

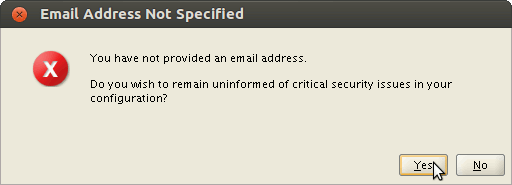
    Then Confirm on Warning and Follow.
    Getting-Started with Oracle 11g Database on Ubuntu 18.04 Bionic LTS 64-bit - Linux Oracle 11g R2 Installation - Confirm on Missing eMail Warning

    On “Select Installation Option” Select “Install database software only” and Click on Next
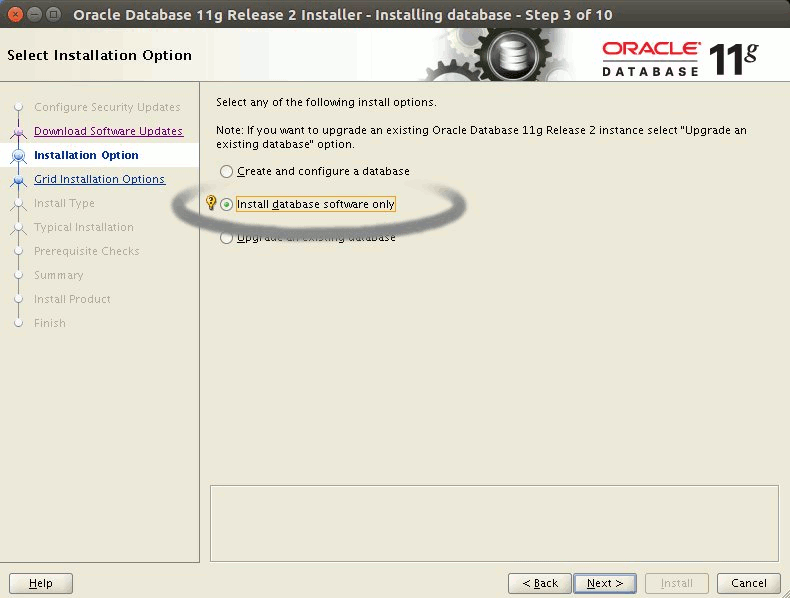
    Getting-Started with Oracle 11g Database on Ubuntu 18.04 Bionic LTS 64-bit - Linux Oracle 11g R2 Installation Step 2 .

    On Step 3 Leave Default “Single instance database installation” and Click on Next
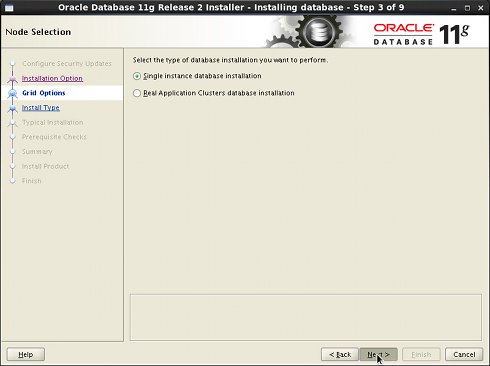
    Getting-Started with Oracle 11g Database on Ubuntu 18.04 Bionic LTS 64-bit - Linux Oracle 11g R2 Installation Step 3 .

    On Step 4 Select your Language and Click on Next
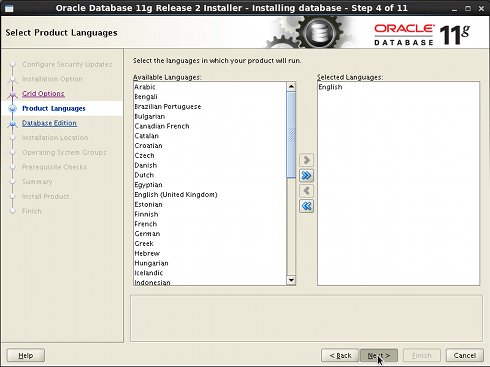
    Getting-Started with Oracle 11g Database on Ubuntu 18.04 Bionic LTS 64-bit - Linux Oracle 11g R2 Installation Step 4

    On Step 5 Leave Default Enterprise Edition and Click on Next
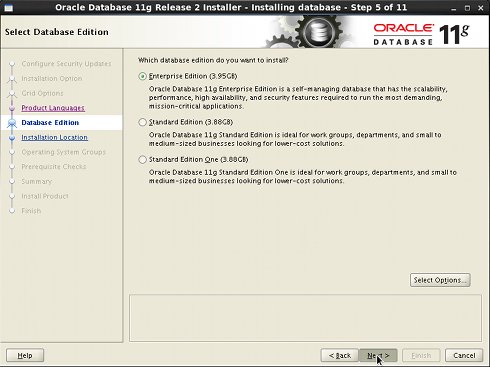
    Getting-Started with Oracle 11g Database on Ubuntu 18.04 Bionic LTS 64-bit - Linux Oracle 11g R2 Installation Step 5

    On “Installation Location” Set All As Here Below and Click on Next

    • Oracle Base: /u01/app/oracle

    • Software Location: /u01/app/oracle/product/11.2.0/dbhome_1

    These are the Same Settings Inserted into the .bashrc File…
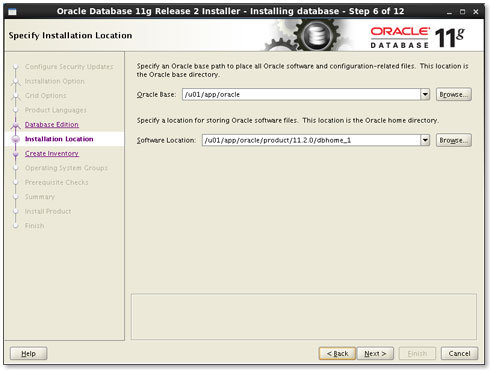
    Getting-Started with Oracle 11g Database on Ubuntu 18.04 Bionic LTS 64-bit - Linux Oracle 11g R2 Installation Step 6

    On “Create Inventory” if you Setup the Path on .bashrc Like Here Leave Default and Click on Next
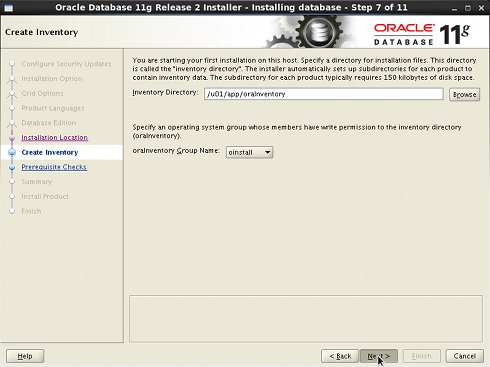
    Getting-Started with Oracle 11g Database on Ubuntu 18.04 Bionic LTS 64-bit - Linux Oracle 11g R2 Installation Step 7 .

    On “Operating System Groups” if you Setup the Path on .bashrc Like Here Leave Default and Click on Next
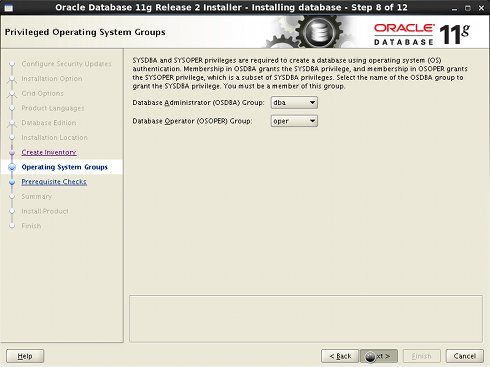
    Getting-Started with Oracle 11g Database on Ubuntu 18.04 Bionic LTS 64-bit - Linux Oracle 11g R2 Installation Step 8 .

    On “Prerequisite Checks” you will Get Easily a “Warning Message” about some Missing Requirements

    Just Check: “Ignore All” and Follow Up with Installation…

    Check Ignore All and Follow…
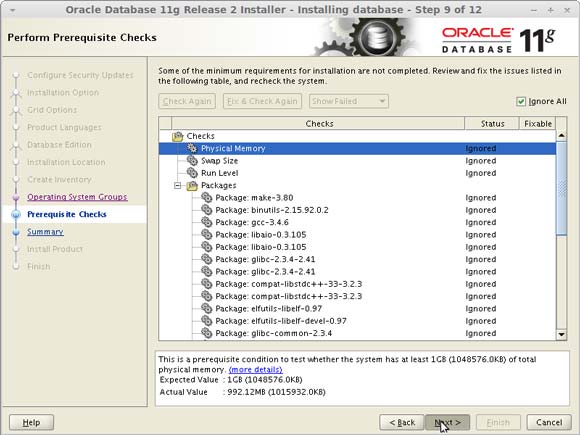
    Getting-Started with Oracle 11g Database on Ubuntu 18.04 Bionic LTS 64-bit - Linux Oracle 11g R2 Installation Ubuntu-like Ignore All

    On the “Summary” Click on “Save Response File” to Take Note of Settings and then Click on Finish or Install
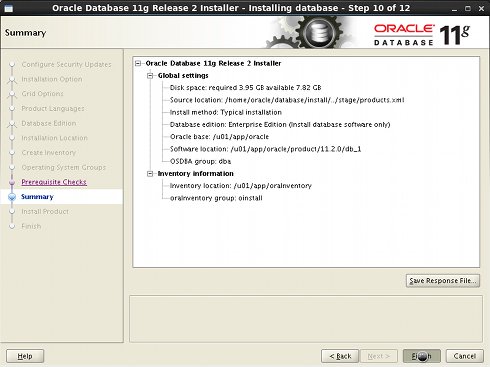
    Getting-Started with Oracle 11g Database on Ubuntu 18.04 Bionic LTS 64-bit - Linux Oracle 11g R2 Installation Step 10 .

    The Installation Product Procedure should Start…

    Solving Errors in invoking target ‘install’ & ‘agent nmhs’
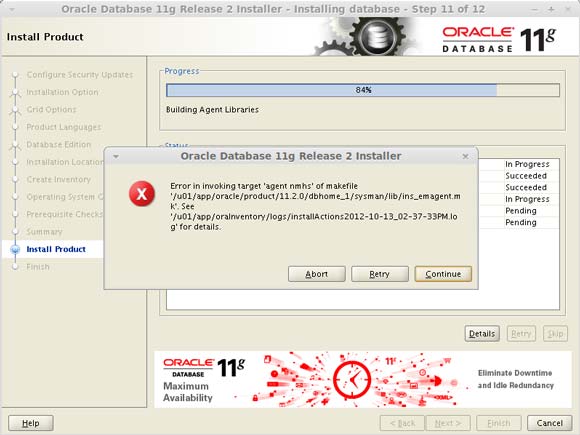
    Troubleshooting for Libraries Linking Errors

    Oracle 11g Ubuntu-like Installation Error in Invoking Target Agent nmhs of makefile

  2. Execute ScriptsRight Before the End of Process a Pop-Up Window will Show the Path to Two Configuration Scripts you Need to Execute on Terminal!
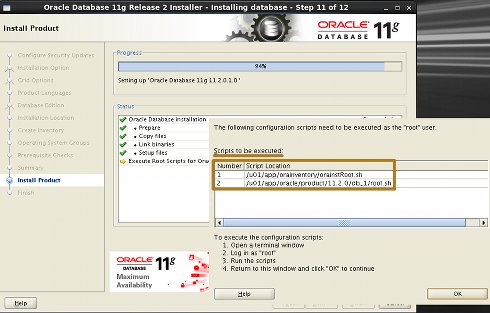
    Getting-Started with Oracle 11g Database on Ubuntu 18.04 Bionic LTS 64-bit - Linux Oracle 11g R2 Installation Step 11
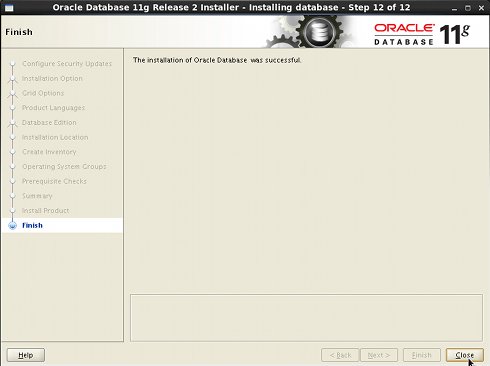
    Next Oracle Should Confirm you of the Successful Installation Achivement.) Getting-Started with Oracle 11g Database on Ubuntu 18.04 Bionic LTS 64-bit - Linux Oracle 11g R2 Installation Step 12 .