Installing
-
2. Checking System
Now Check if Already Installed with
dpkg -l amdgpu-pro
-
3. Downloading AMDGPU-Pro for Ubuntu
Download AMDGPU for Ubuntu GNU/Linux
Grab the Latest available Release.
If possible Select directly “Open with Archive Manager”! -
4. Extracting AMDGPU Archive
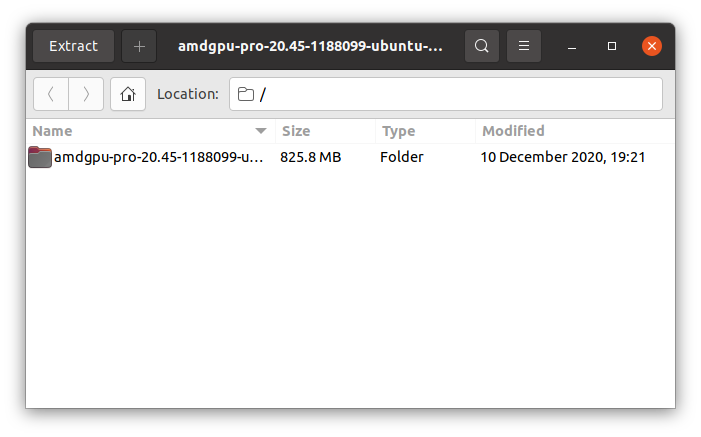
Then Extract AMDGPU tar.xz into /tmp Directory
If it does Not Open automatically then Double-Click on File Manager:
Or from Command Line:tar xvf ~/Downloads/amdgpu-pro*.tar.xz -C /tmp/
But if you are in Trouble to Find the Location on Terminal then See: How to Access Downloads Folder from Browser.
-
5. Fixing Installation Script
Then Follow Instruction to Fix Installer
-
6. Installing AMDGPU-Pro
First, Access Target directory:
cd /tmp/amd*
Now to Set up AMDGPU Run Installer:
/tmp/amdgpu*/amdgpu-pro-install -y
Again for the Pro with OpenCL Support:
/tmp/amdgpu*/amdgpu-pro-install --opencl=pal,legacy -y
Instead, for the OpenCL Headless variant do:
/tmp/amdgpu*/amdgpu-pro-install --opencl=pal,legacy -y --headless
Last, for the Open-Source alternative play:
/tmp/amdgpu*/amdgpu-install -y
Finally, to load it reboot with:
sudo reboot
Contents