Setting Up
-
2. Launching
Now, to Start KeePassXC UI
From Command Line execute:keepassxc
Or Use the desktop Launcher:
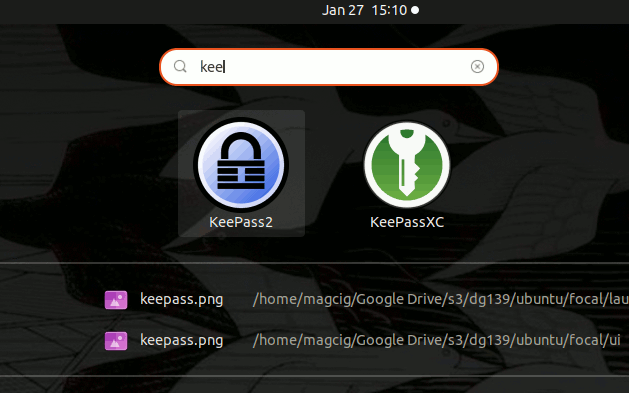
Here above on GNOME 3 desktop.
-
3. Creating DB
Next to Create KeePassXC Database
So first Choose to Create New Database: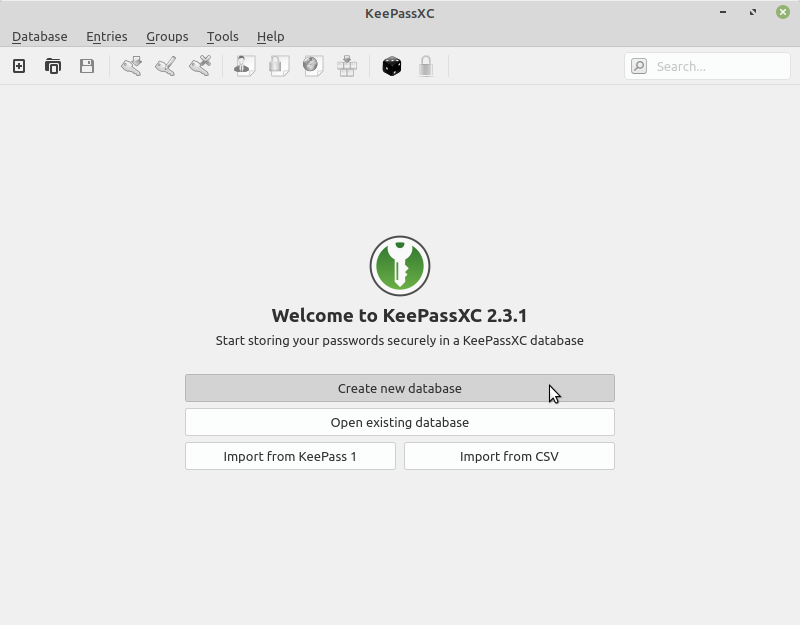
And then Browse for a Target Store location:

-
4. Setting up DB
And then Set Up Database’s Password
Start by Creating a Master Key Pass:
You can also specify a Key File.
-
5. Enabling Browser Integration
Again to Enable KeePassXC Browser Integration
First, Choose Tools > Settings:
And then Check the Used Browsers:

-
6. Adding Pass Entry
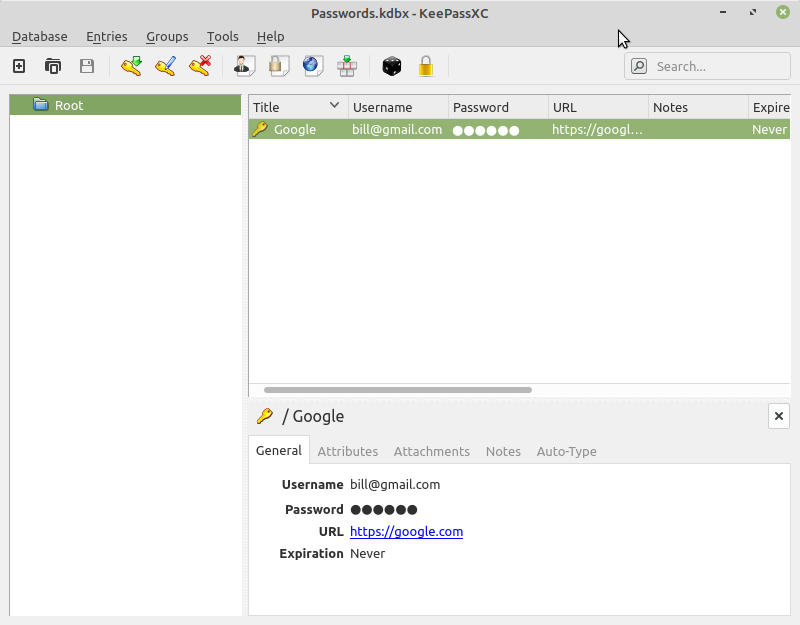
Then to Add Pass Item Manually
Start Choosing the Add New Entry Icon Key:
And then follow to Enter the needed Credentials:

So Now I’m truly Happy if My Guide could Help you to Quick Start with KeePassXC on Linux!
Contents