GNU/Linux Bodhi 5 Installing VirtualBox – Step by step Guide
How to Install Latest Oracle VirtualBox 7.x in Bodhi 5.x LTS GNU/Linux – Step by step Tutorial.
And Oracle VirtualBox for Bodhi Linux 5 is a powerful PC Virtualization solution allowing you to run a wide range of PC Operating Systems on your Linux platform. This includes Windows, Linux, FreeBSD, DOS, OpenBSD and others.
Especially relevant, for Linux VM Clients it’s recommended instead to see: KVM/QEMU Virtualization Guide!
Moreover, Oracle VirtualBox comes with a Broad Feature Set and Excellent Performance, making it the premier Virtualization software solution on the market.
Finally, this guide includes detailed instructions about to Install VirtualBox Extension Pack on Bodhi Linux.

1. Launching Terminal
Open a Terminal Shell Emulator
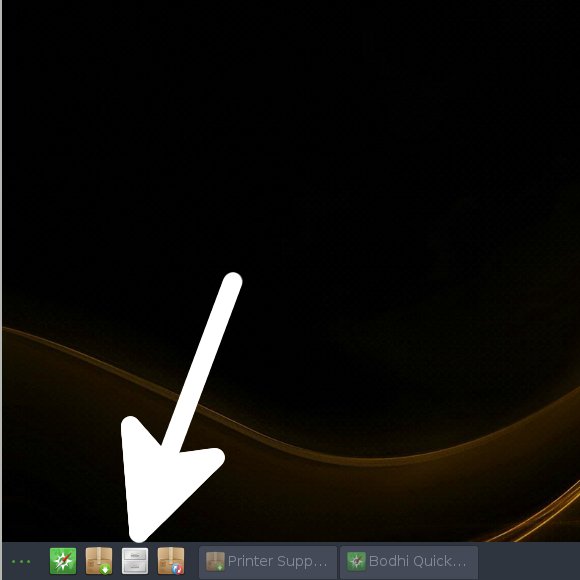
First, Open a File Manager Window:
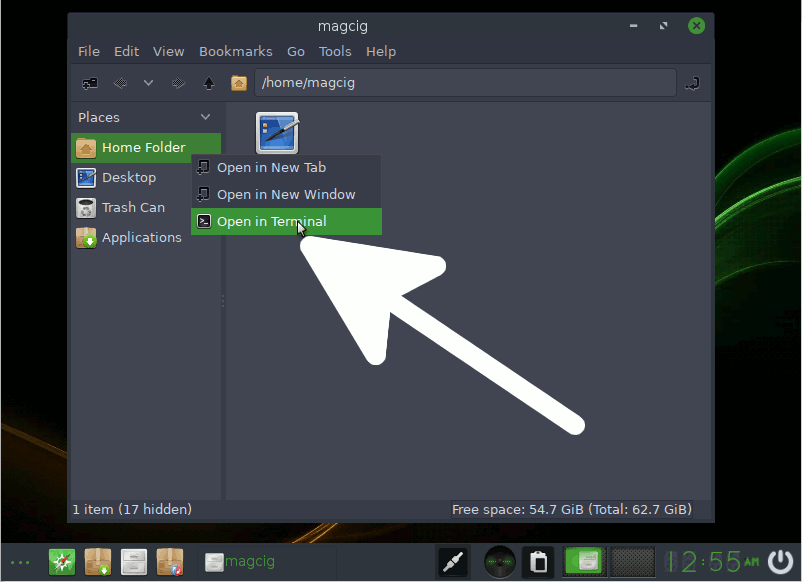
(Press “Enter” to Execute Commands).Then Right Click on a Location > Open in Terminal: And Update Bodhi Apt Repository:
sudo apt update
Authenticate with the User Admin Pass.
If Got “User is Not in Sudoers file” then see: How to Enable sudo.
Contents