Adding Printer
-
4. Launching Printer Settings
Then Search Print Settings App into the Main Menu:
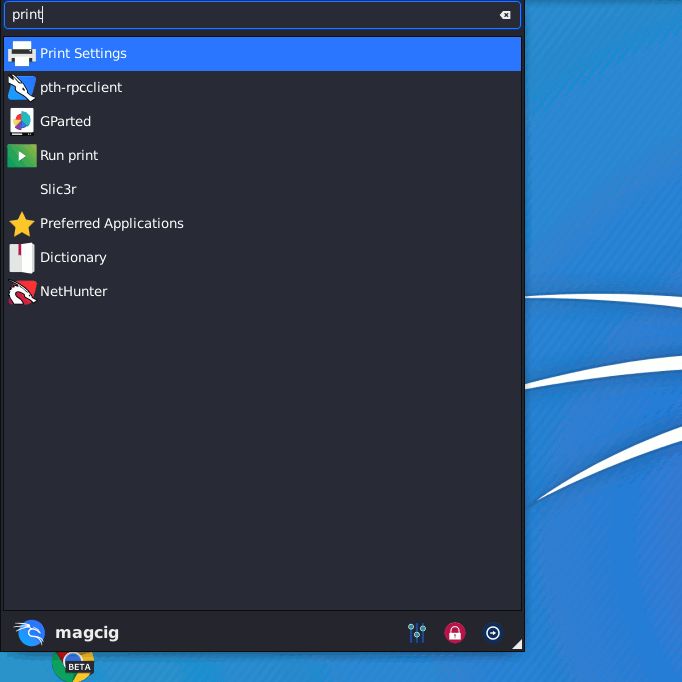
Your Printer should be Connected and Turned On.
-
5. Adding Printer
Finally, to Add Printer
First, Unlock the Applet: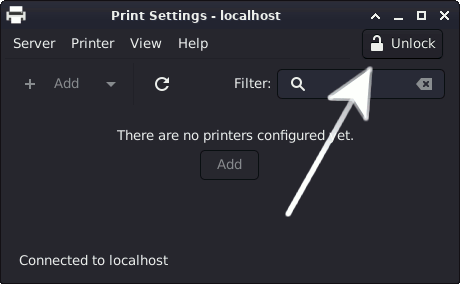
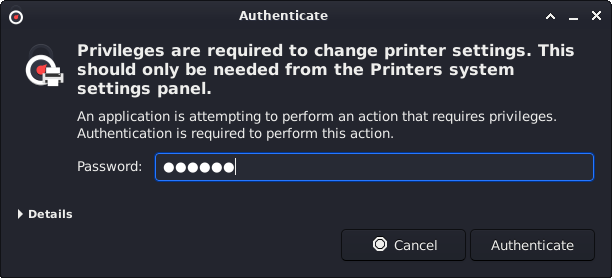
Authenticate to proceed:
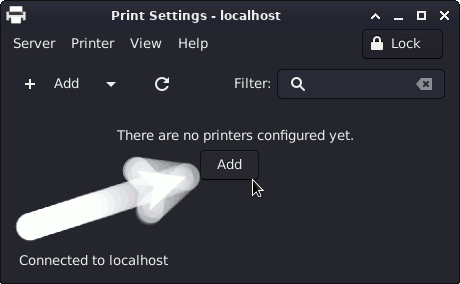
Then Choose “Add“:
So then Select the Printer that should be Found and and possibly the Connection Type:
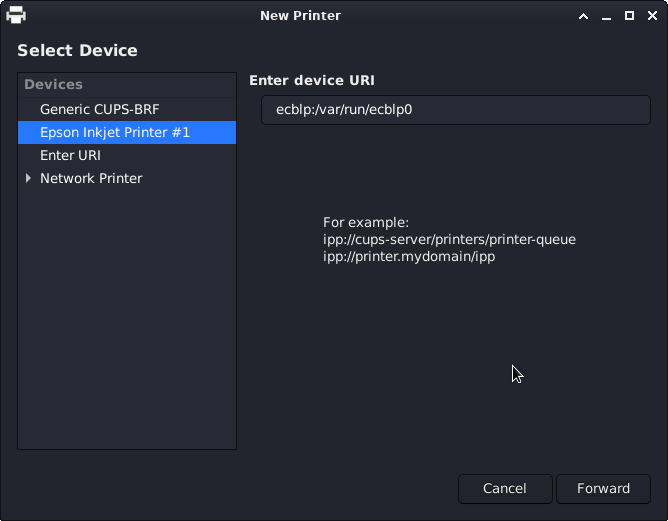
Choose “Forward” to Follow with the Setup.
Then you have 2 possible Choices:
Browsing for PPD Printer Driver
So Choose “Provide PPD file”:
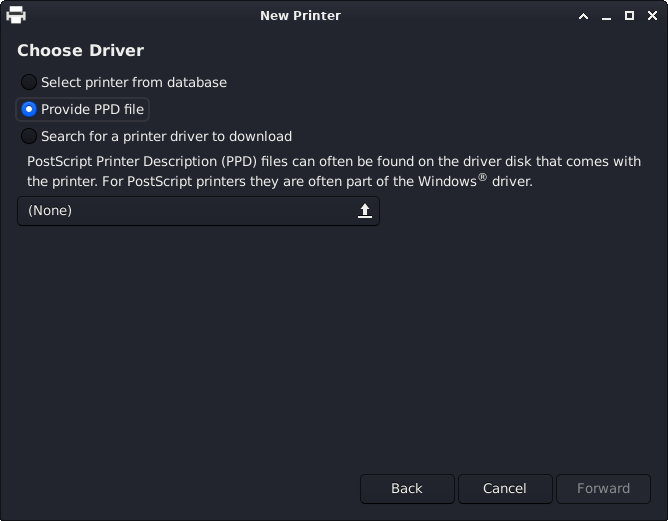
This Step is Needed for many Laser Printer New Models, but may be Used to Install Any Printer!
Again Go Forward.
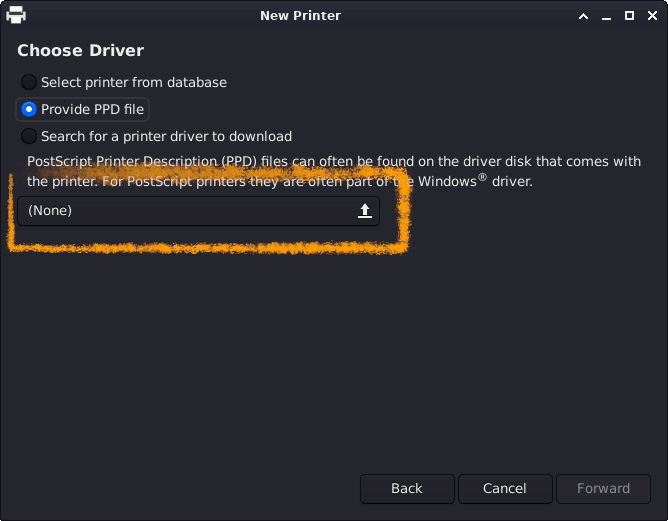
Browsing for the PPD File Location:How to Find Printer PPD File Location on Kali
Selecting Printer from Database
Instead, Choose “Select Printer from Database” and the Manufacturer:
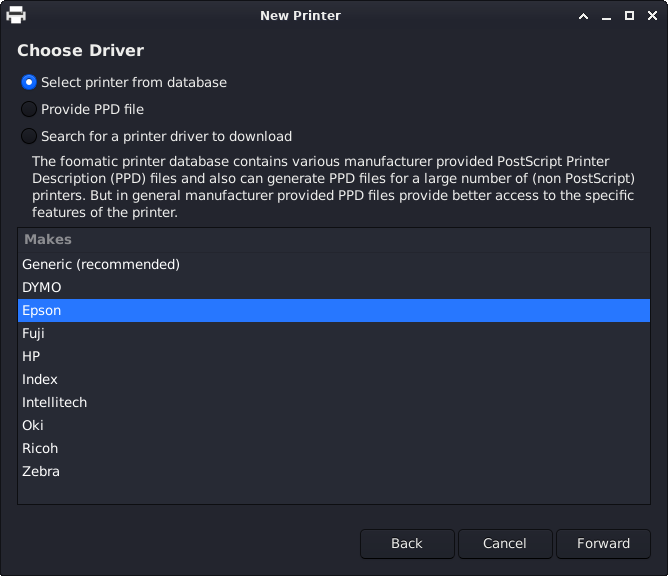
Confirm to Follow.
Now you have simply to Find out your Printer Model and possibly Driver Type: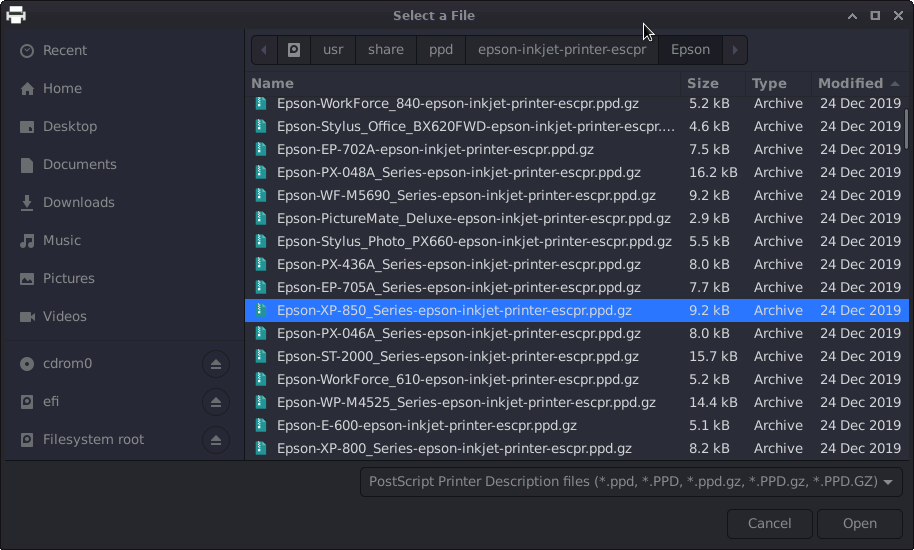
Take into account that the Printer Model in this Wizard may Shows up Rounded.
So 3600 is valid for All the 3600 Series Printer like for instance 3640; and again 10x is valid for All the 100 Series Printer as for example 107a.Again you’ll be Asked to Describe your Printer:
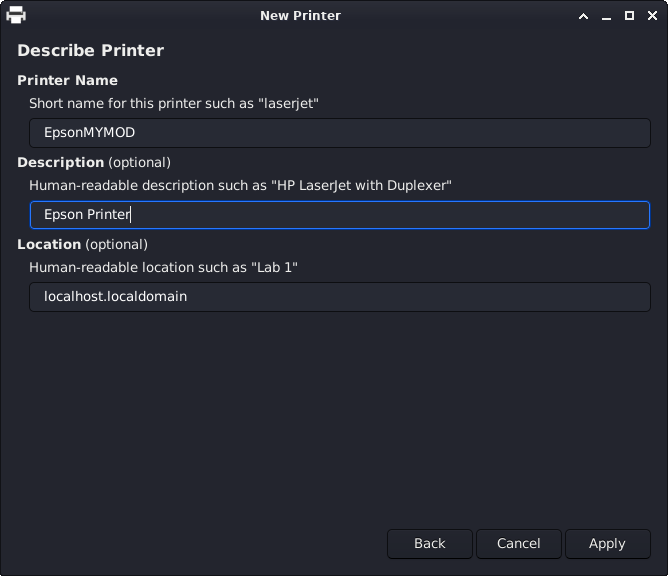
Finally, the Printer should be Successfully Installed and Working!
You may Print the Test Page to Check it Up: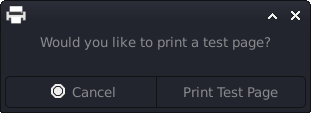
So Now I’m truly Happy if My Guide could Help you to Add Printer Kali Linux!
Contents