Installing
-
2. Downloading
Download Glassfish 5.0 App Server for Linux.
And the Full Platform is Used rather than Web Profile.
-
3. Extracting
Then Extract Glassfish 5
First, Check if Unzip is there:which unzip
If Not then to Install the Unzip Tool:
sudo apt install unzip
Authenticate with the User Admin Pass.
If Got “User is Not in Sudoers file” then see: How to Enable sudo
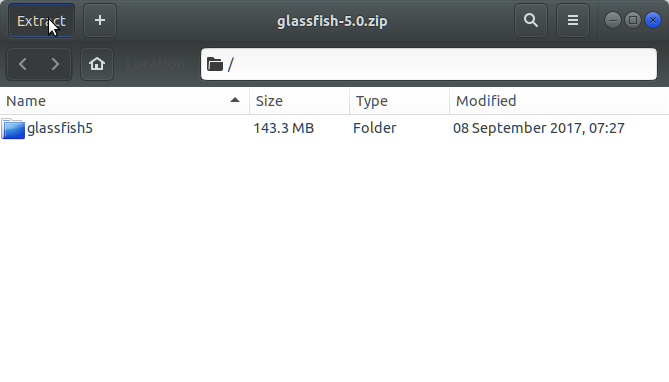
Then Double-Click on Archive and Decompress it into /tmp:
Or from Command Line:
unzip -d /tmp/ $HOME/Downloads/glassfish*.zip
-
4. Installing Oracle JDK
How to Install Required Oracle Java JDK 8+ on Ubuntu Linux.
-
5. Installing Glassfish
Finally, to Install Glassfish 5.0 on Ubuntu
(Here we describe a System-Wide Setup, for a Local one Just Run from inside Home)
Set the SuperUser as Owner:sudo chown -R root:root /tmp/glassfish5
Again, give Execution Permissions with:
sudo chmod -R +x /tmp/glassfish5
And then Switch contents:
sudo mv /tmp/glassfish5 /opt/
Moreover, Append Glassfish into User’s Path:
echo "export PATH=$PATH:/opt/glassfish5/bin" >> ~/.bashrc
To Reload Path simply:
bash
Finally, to Test Glassfish 5.0 Installation:
which asadmin
Contents