GNU/Linux Mint 20 Canon MX372 Printer Setup – Step by step Guide
How to Install Canon PIXMA MX372 Printer Driver on Mint 20.x Ulyana/Ulyssa/Uma/Una LTS desktop – Step by step Tutorial.
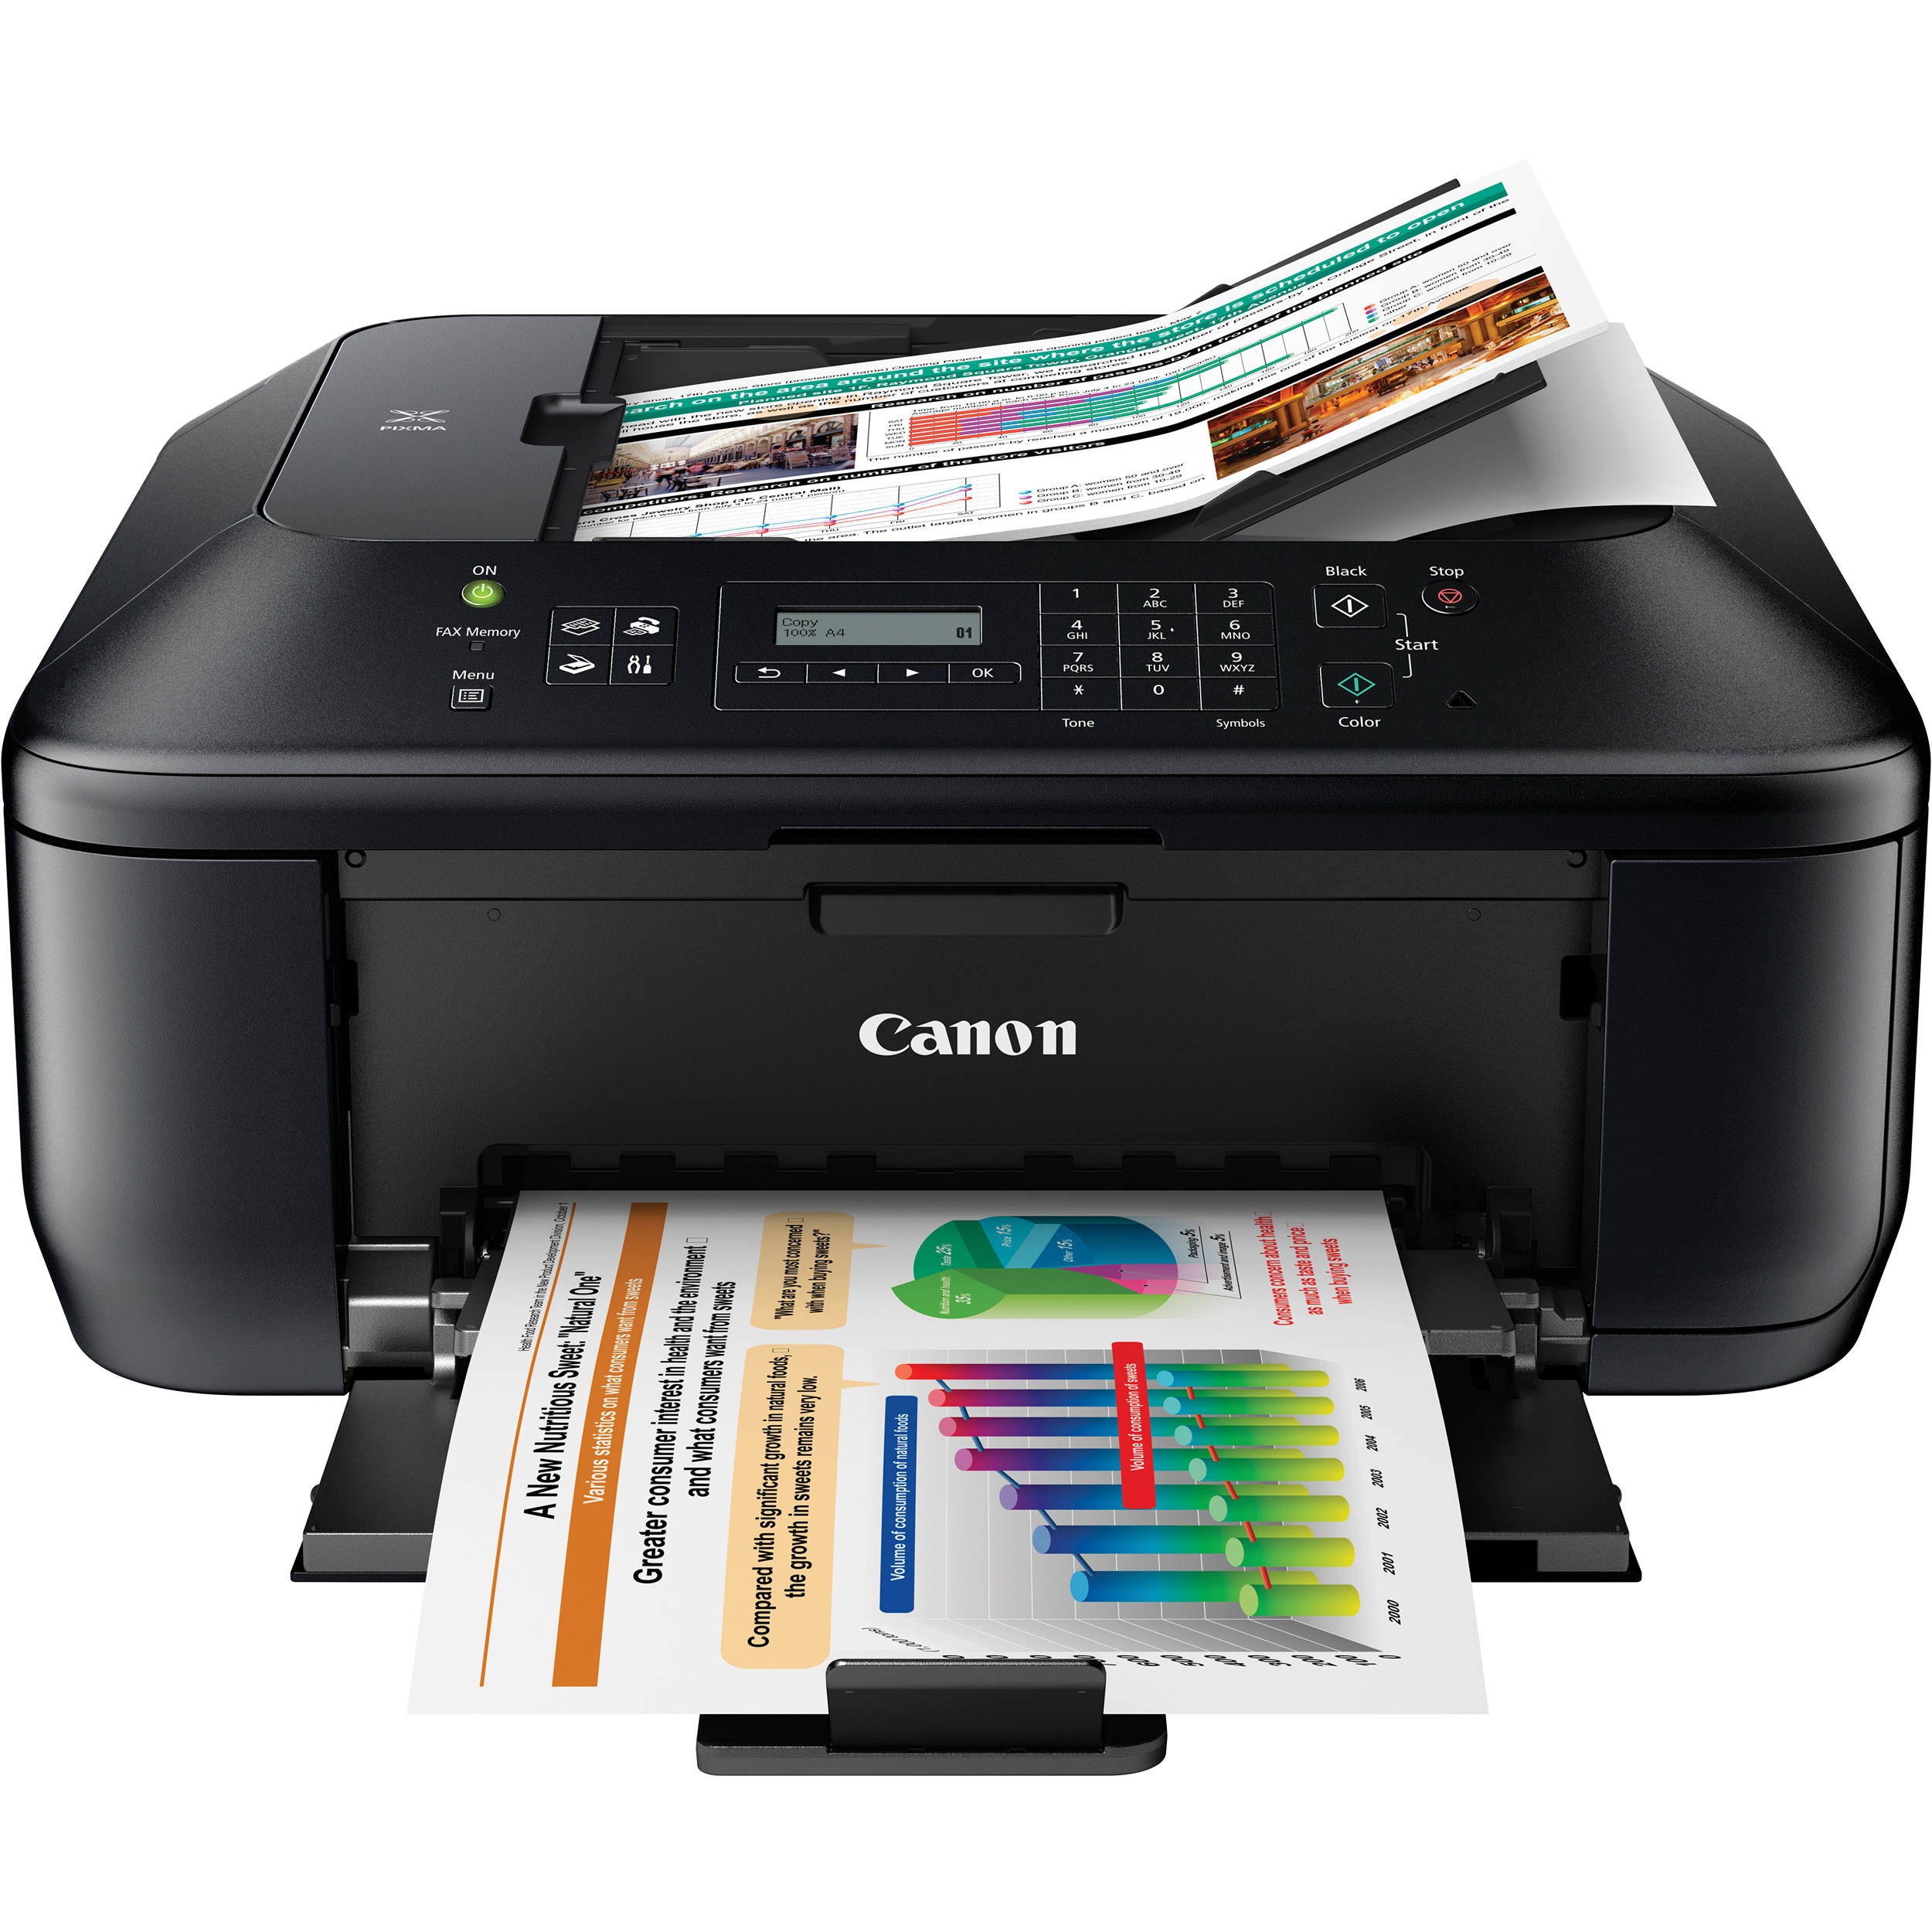
And the Canon PIXMA MX372 Printer Installation on Mint 20 simply involve to Download the Proprietary driver and execute few Basic Commands on Shell.
Especially relevant: after Installing the Driver to achieve the Setup follow instructions to Add Canon MX372 Printer.
Finally, included in the guide also detailed instructions to Getting Started with Canon MX372 Scanning on Ubuntu.
1. Launching Terminal
Open a Terminal Shell emulator window
(Press “Enter” to Execute Commands).
Contents
Tags: Canon MX372 Driver Elementary OS, Canon MX372 Driver Elementary OS 6, Canon MX372 Driver Elementary OS 6 Install, Canon MX372 Driver Elementary OS 6 Installation, Canon MX372 Driver Elementary OS 6 Setup, Canon MX372 Driver Elementary OS Install, Canon MX372 Driver Elementary OS Installation, Canon MX372 Driver Elementary OS Setup, Canon MX372 Driver Install Elementary OS, Canon MX372 Driver Install Elementary OS 6, Canon MX372 Driver Install Linux Mint 20, Canon MX372 Driver Install Mint 20, Canon MX372 Driver Install Zorin OS, Canon MX372 Driver Install Zorin OS 16, Canon MX372 Driver Linux Mint 20, Canon MX372 Driver Linux Mint 20 Install, Canon MX372 Driver Linux Mint 20 Installation, Canon MX372 Driver Linux Mint 20 Setup, Canon MX372 Driver Mint 20, Canon MX372 Driver Mint 20 Install, Canon MX372 Driver Mint 20 Installation, Canon MX372 Driver Mint 20 Setup, Canon MX372 Driver Zorin OS, Canon MX372 Driver Zorin OS 16, Canon MX372 Driver Zorin OS 16 Install, Canon MX372 Driver Zorin OS 16 Installation, Canon MX372 Driver Zorin OS 16 Setup, Canon MX372 Driver Zorin OS Install, Canon MX372 Driver Zorin OS Installation, Canon MX372 Driver Zorin OS Setup, Canon MX372 Printer Elementary OS, Canon MX372 Printer Elementary OS 6, Canon MX372 Printer Elementary OS 6 Install, Canon MX372 Printer Elementary OS 6 Installation, Canon MX372 Printer Elementary OS 6 Setup, Canon MX372 Printer Elementary OS Install, Canon MX372 Printer Elementary OS Installation, Canon MX372 Printer Elementary OS Setup, Canon MX372 Printer Install Elementary OS, Canon MX372 Printer Install Elementary OS 6, Canon MX372 Printer Install Linux Mint 20, Canon MX372 Printer Install Mint 20, Canon MX372 Printer Install Zorin OS, Canon MX372 Printer Install Zorin OS 16, Canon MX372 Printer Linux Mint 20, Canon MX372 Printer Linux Mint 20 Install, Canon MX372 Printer Linux Mint 20 Installation, Canon MX372 Printer Linux Mint 20 Setup, Canon MX372 Printer Mint 20, Canon MX372 Printer Mint 20 Install, Canon MX372 Printer Mint 20 Installation, Canon MX372 Printer Mint 20 Setup, Canon MX372 Printer Zorin OS, Canon MX372 Printer Zorin OS 16, Canon MX372 Printer Zorin OS 16 Install, Canon MX372 Printer Zorin OS 16 Installation, Canon MX372 Printer Zorin OS 16 Setup, Canon MX372 Printer Zorin OS Install, Canon MX372 Printer Zorin OS Installation, Canon MX372 Printer Zorin OS Setup, Elementary OS 6 Canon MX372 Driver, Elementary OS 6 Canon MX372 Driver Installation, Elementary OS 6 Canon MX372 Printer, Elementary OS 6 Canon MX372 Printer Installation, Elementary OS 6 Install Canon MX372 Driver, Elementary OS 6 Install Canon MX372 Printer, Elementary OS Canon MX372 Driver, Elementary OS Canon MX372 Driver Installation, Elementary OS Canon MX372 Printer, Elementary OS Canon MX372 Printer Installation, Elementary OS Install Canon MX372 Driver, Elementary OS Install Canon MX372 Printer, Install Canon MX372 Driver Elementary OS, Install Canon MX372 Driver Elementary OS 6, Install Canon MX372 Driver Linux Mint 20, Install Canon MX372 Driver Mint 20, Install Canon MX372 Driver Zorin OS, Install Canon MX372 Driver Zorin OS 16, Install Canon MX372 Printer Elementary OS, Install Canon MX372 Printer Elementary OS 6, Install Canon MX372 Printer Linux Mint 20, Install Canon MX372 Printer Mint 20, Install Canon MX372 Printer Zorin OS, Install Canon MX372 Printer Zorin OS 16, Linux Mint 20 Canon MX372 Driver, Linux Mint 20 Canon MX372 Driver Installation, Linux Mint 20 Install Canon MX372 Driver, Mint 20 Canon MX372 Driver, Mint 20 Canon MX372 Driver Installation, Mint 20 Canon MX372 Printer, Mint 20 Canon MX372 Printer Installation, Mint 20 Install Canon MX372 Driver, Mint 20 Install Canon MX372 Printer, Setup Canon MX372 Driver Elementary OS, Setup Canon MX372 Driver Elementary OS 6, Setup Canon MX372 Driver Linux Mint 20, Setup Canon MX372 Driver Mint 20, Setup Canon MX372 Driver Zorin OS, Setup Canon MX372 Driver Zorin OS 16, Setup Canon MX372 Printer Elementary OS, Setup Canon MX372 Printer Elementary OS 6, Setup Canon MX372 Printer Linux Mint 20, Setup Canon MX372 Printer Mint 20, Setup Canon MX372 Printer Zorin OS, Setup Canon MX372 Printer Zorin OS 16, Zorin OS 16 Canon, Zorin OS 16 Canon MX372 Driver, Zorin OS 16 Canon MX372 Driver Installation, Zorin OS 16 Install Canon MX372 Driver, Zorin OS Canon MX372 Driver, Zorin OS Canon MX372 Driver Installation, Zorin OS Canon MX372 Printer, Zorin OS Canon MX372 Printer Installation, Zorin OS Install Canon MX372 Driver, Zorin OS Install Canon MX372 Printer