Getting Started
-
4. Launching Arduino IDE
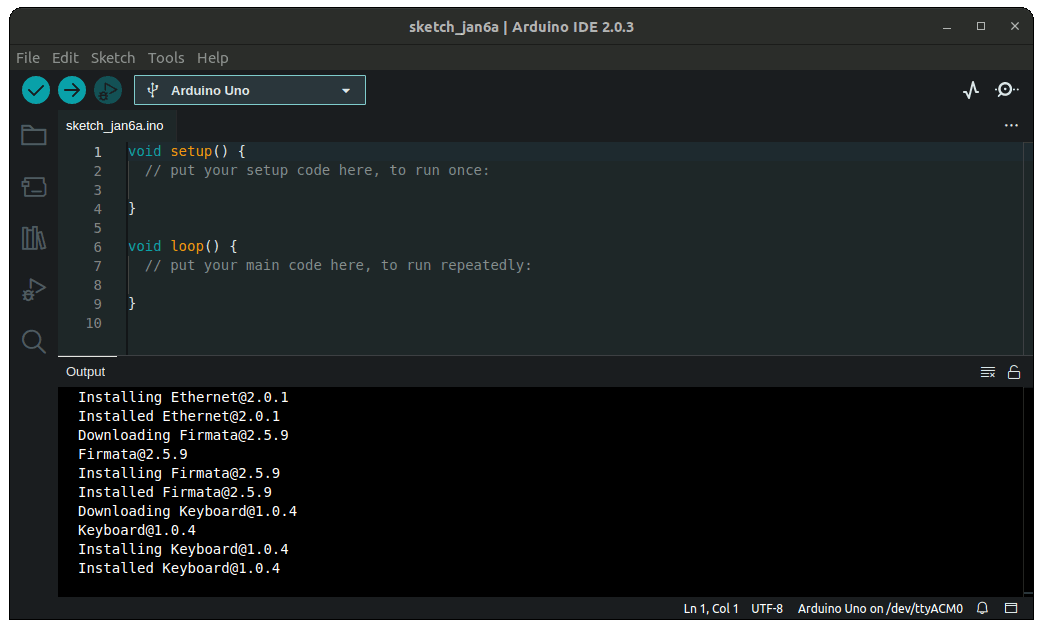
Finally, Launch & Enjoy Arduino IDE
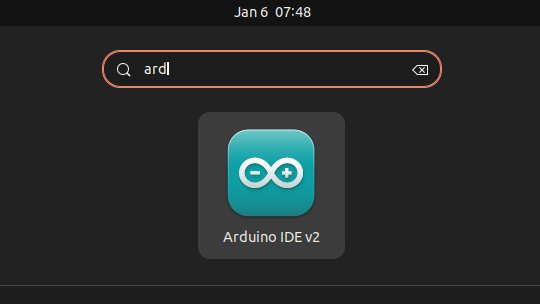
Use the desktop Launcher:
Of from Shell with:flatpak run cc.arduino.IDE2
The Flatpak build of Arduino IDE 2.x requires the user to have USB permissions to upload a sketch, preferably, the user has to be part of the dialout group.
Alternatively, add the following 2 lines to /etc/udev/rules.d/50-arduino.rules.
With the nano Editor:sudo nano /etc/udev/rules.d/50-arduino.rules
Copy and Paste the below Contents:
KERNEL=="ttyUSB[0-9]*",MODE="0666"

KERNEL=="ttyACM[0-9]*",MODE="0666"
Ctrl+Shift+v to Paste in with nano.
Finally, Ctrl+x to Save & Exit from nano Editor. -
5. Arduino IDE Getting-Started
Getting Started with Arduino IDE on GNU/Linux

Contents