GNU/Linux Mint 20 Installing Latest WineHQ – Step by step Guide
How to Install Latest WineHQ on Mint 20 Ulyana/Ulyssa/Uma/Una LTS GNU/Linux desktop – Step by step Tutorial.
Especially relevant, as a possible and often better Alternative you could first see instead How to Install Wine on GNU/Linux.
And by this WineHQ Mint 20 Setup you’ll be able to Run Windows Software!
Because Wine (originally an acronym for “Wine Is Not an Emulator”) is a Compatibility Layer capable of Running Windows Apps on several POSIX-compliant OSes systems, such as Linux, Mac OSX, & BSD.
Instead, of Simulating internal Windows Logic like a Virtual Machine or Emulator, Wine translates Windows API calls into POSIX calls On-the-Fly, eliminating the Performance and Memory Penalties of other Methods and allowing you to Cleanly Integrate Windows Apps into your desktop.
🍷 You may try Bottles—Wine is included and preconfigured to run Windows apps on Linux.
Especially relevant is how you dispose of 2 Branches of the Latest Wine Release: Stable and Development.

1. Launching Terminal
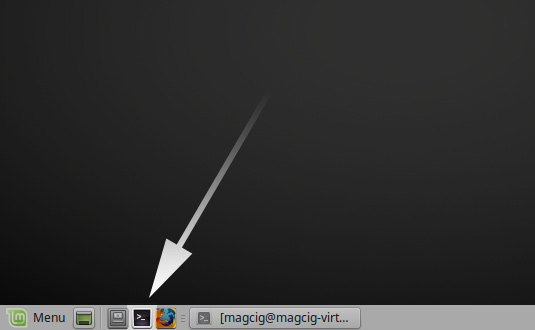
Open a Terminal Shell emulator window
(Press “Enter” to Execute Commands).In case first see: Terminal QuickStart Guide.
Contents